 Help Center
By using the Messages app on iPhones, iPads, Macs, and Apple Watches, your customers can easily contact your business, receive real-time support, and access products or services.
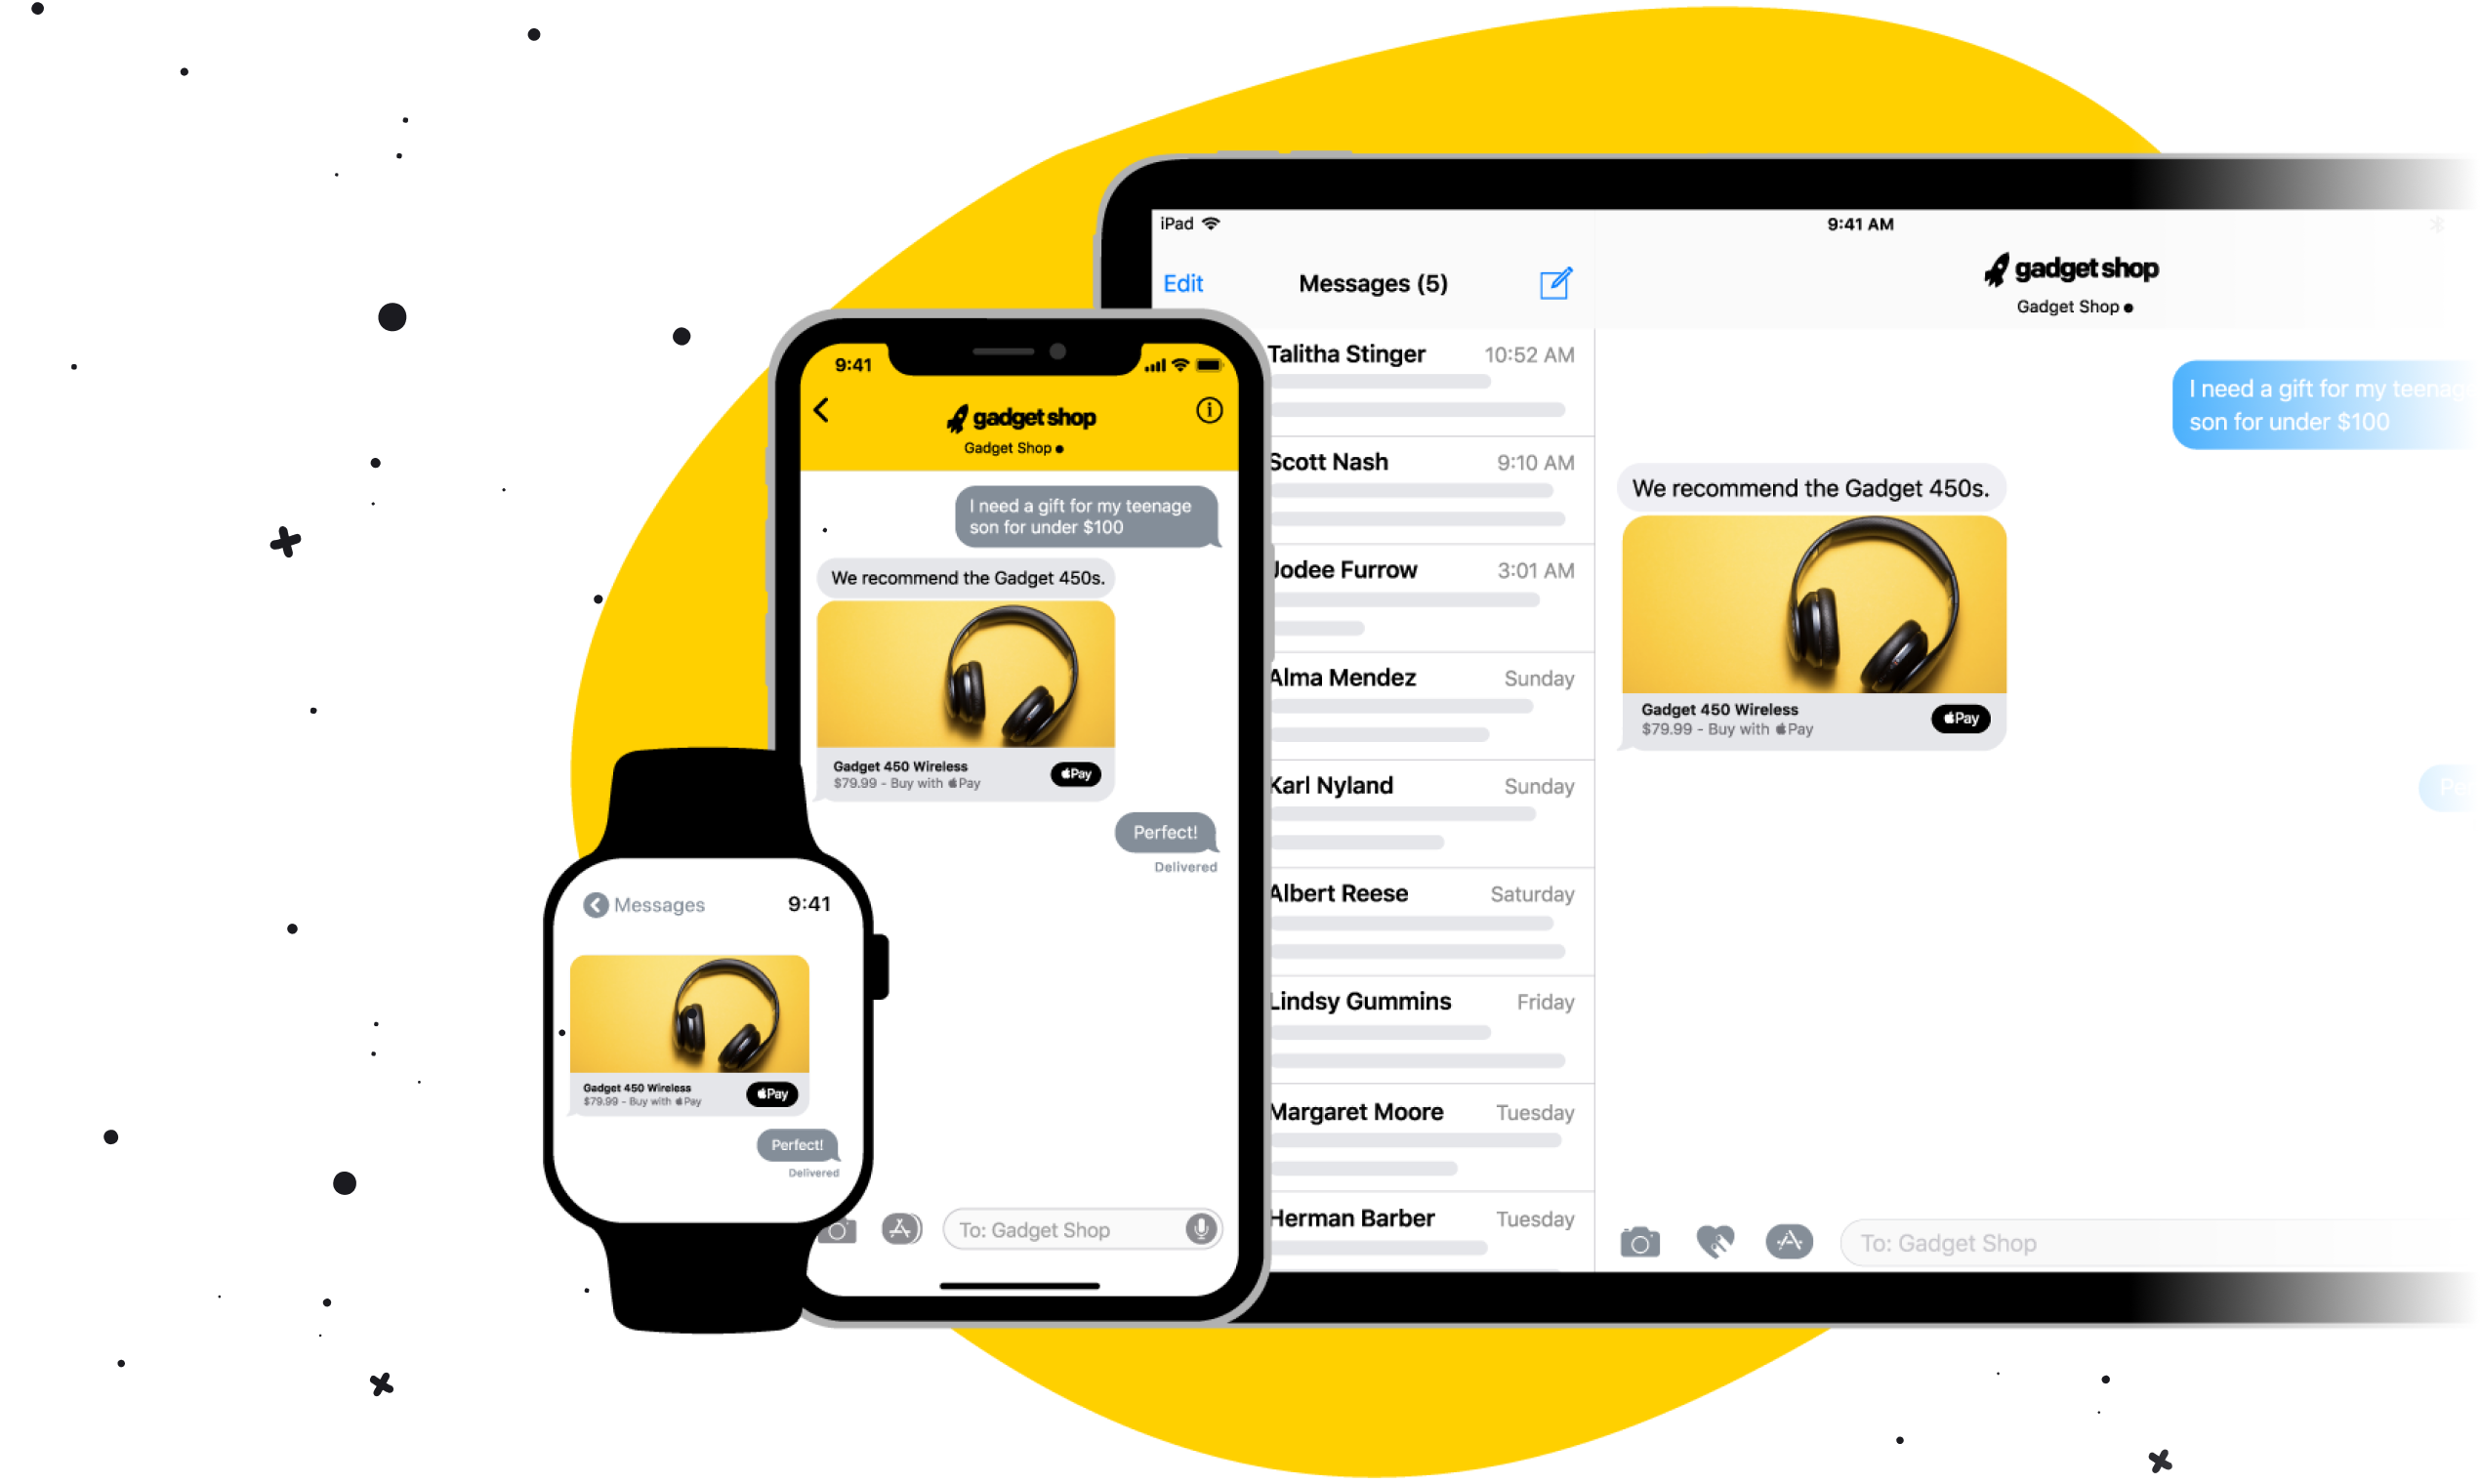
The service is seamless from your agent’s perspective. Chats, incoming from the Apple service, are managed within the LiveChat Agent Application. There is no need for customer service agents to learn a new interface.
For the full list of benefits of Apple Messages for Business and to test it out live with our support, visit the features page.
Integration tutorial
To integrate LiveChat with Apple Messages for Business, you’ll need to set up and configure your Apple Messages for Business, connect your Apple Messages for Business account with LiveChat, and add a way for your customer to contact you via Messages. Here’s how to do it:
Create a Messages for Business Account
First, go to Apple Business Register and connect your Apple ID with Apple Business. We recommend using an Apple ID that is connected to your business email.
Add Business Account for Messages
Next, add a Business Account for Messages:
1) Go to Manage connections.

2) In the Messages section, find Business Accounts for Messages and click + Add service.

3) Click Done at the bottom of the page.
Configure your Business Chat Account
Next you will need to add a Business Chat Account:
1) In Your connections, select Messages for Business Accounts.

2) In the new window, click on + Add new in the top left corner.
3) Then, click on Get Started.
4) Read and agree to Apple Messages for Business policies. Check all boxes and click Next to proceed.
Now you need to fill out your application. It will need to be reviewed by Apple before you can start using Business Chat.

5) The first part of the application consists of general questions about your business, such as basic company details and the contact person in your company. Fill out all mandatory fields, and click Next to move on to the next steps.
6) In the second part of the application, you need to provide information that will be displayed on the Brand Information Card. For example, your website address and agent response hours.
7) In the third part of the application, you’ll need to upload your brand logo that will be displayed in the Messages app.
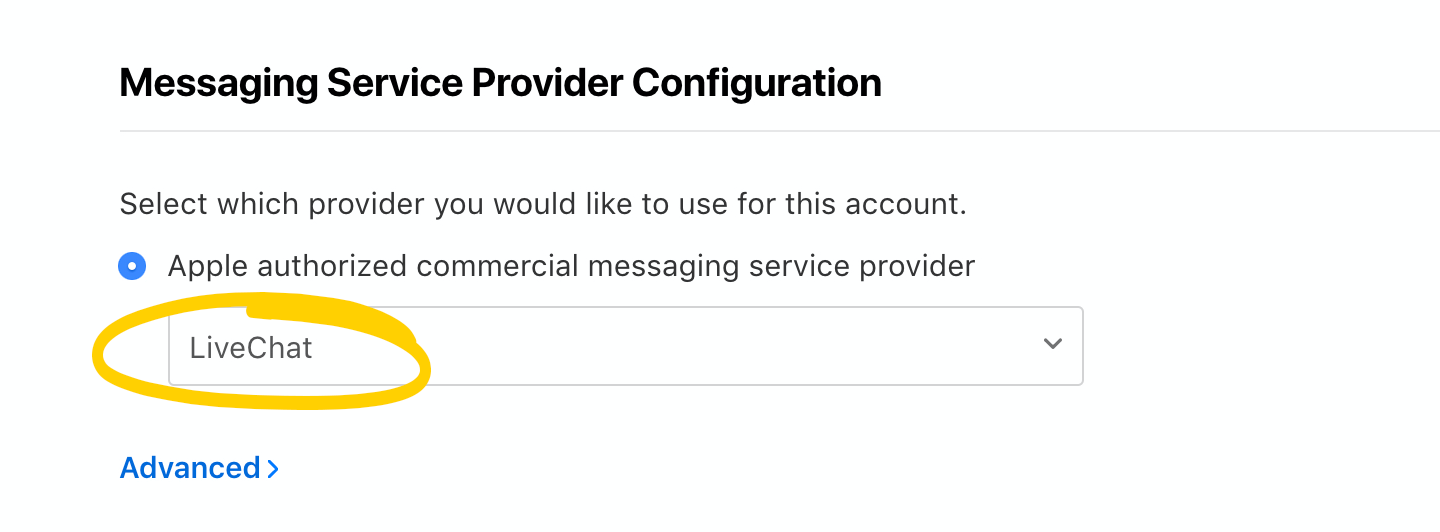
8) In the last part of the application process, you need to select the messaging service provider – in this case it’s LiveChat.
To do so, click on the dropdown list, and select LiveChat from the list.
9) Finally, check if all the information you provided is correct and click Send for review.
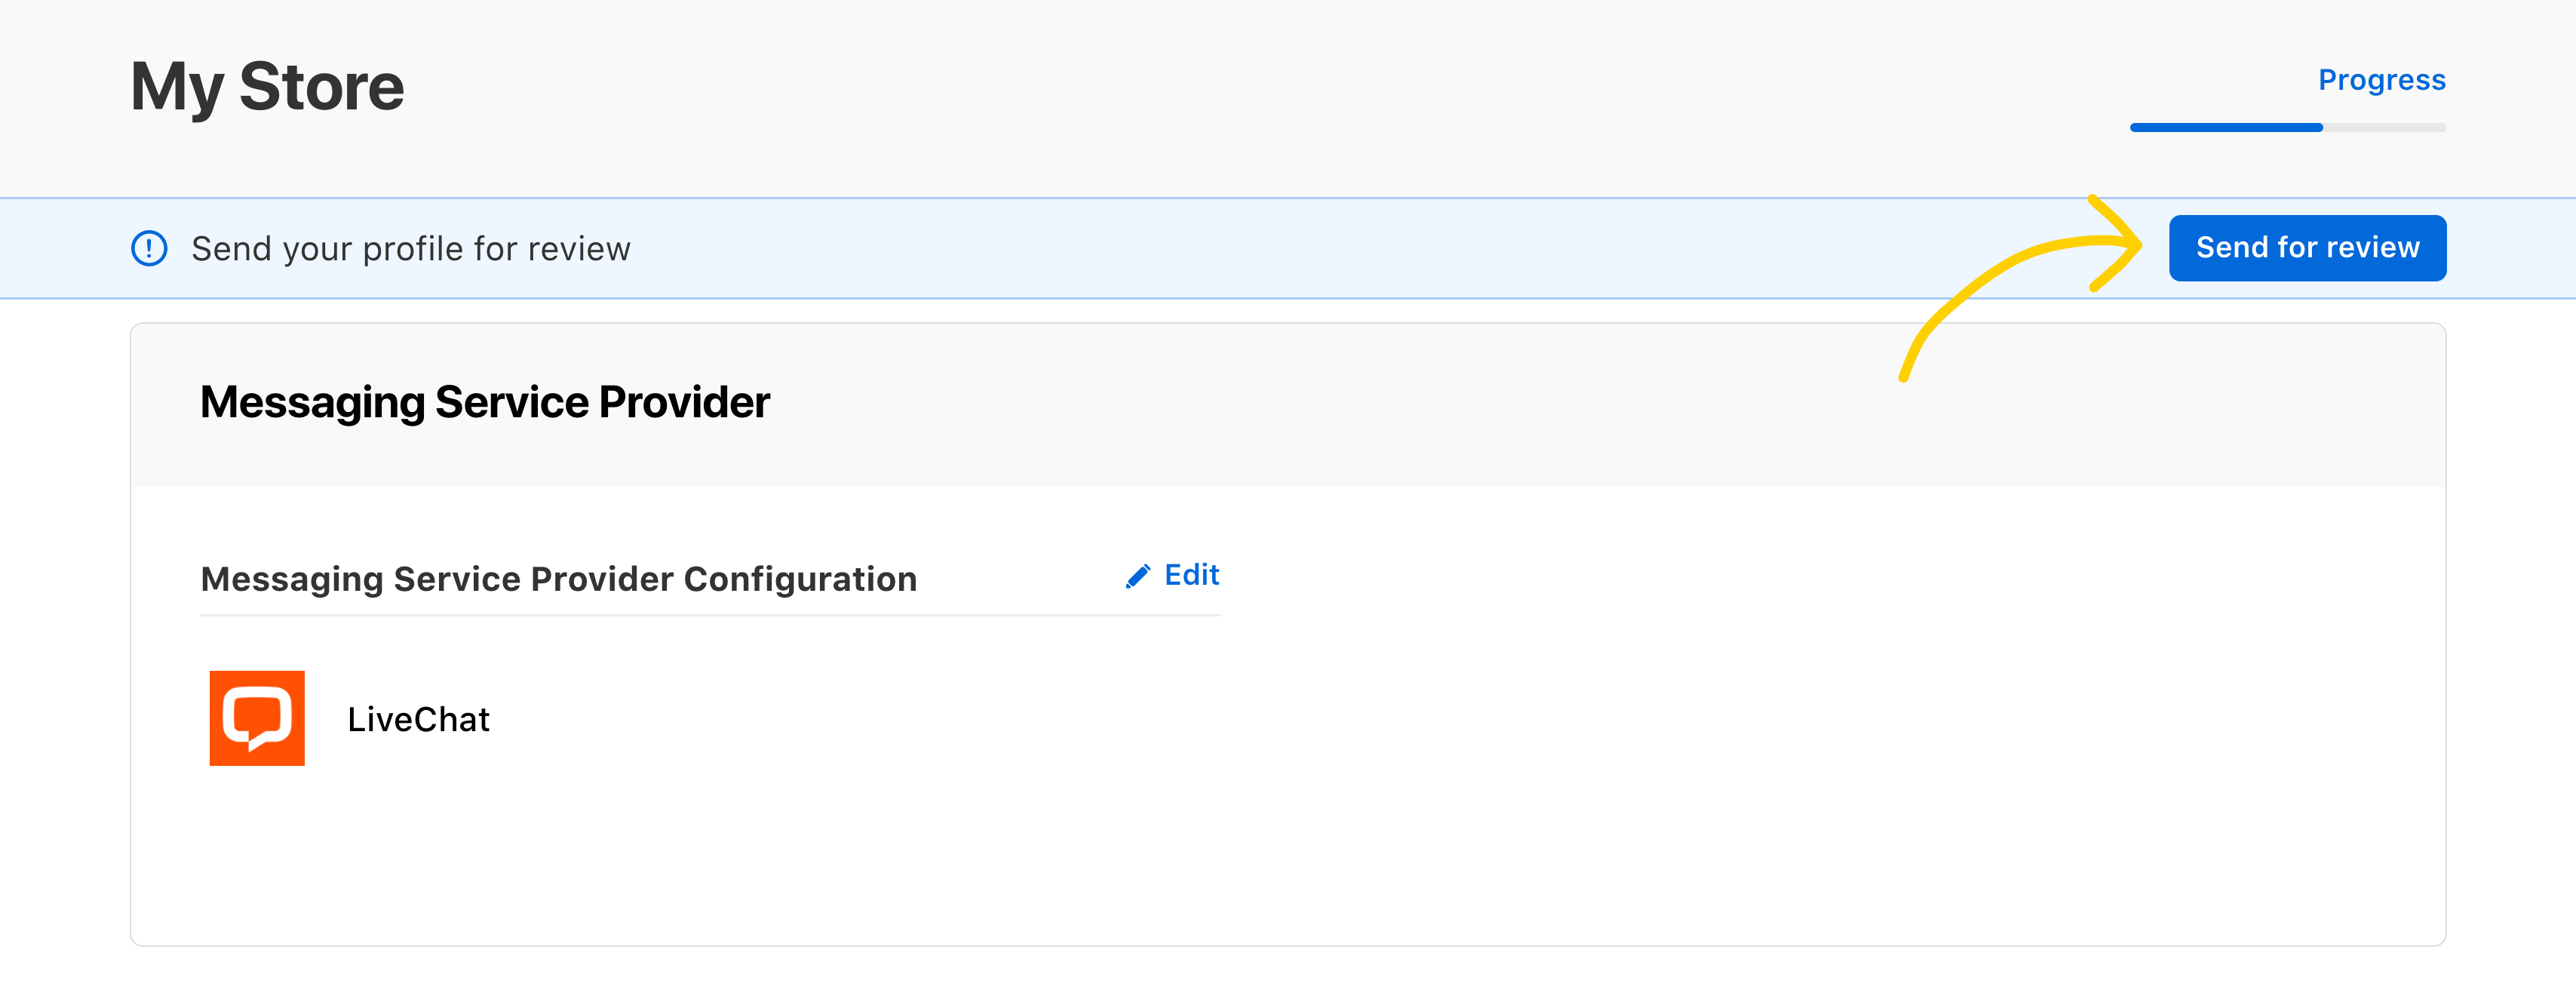
You will now enter the review process with the Apple QA Team. You will be provided with precise information about further steps. If you are setting up Apple Messages for Business for the first time, allow additional time for the review process.
You’ll need answers for the following questions:
- What are your use cases for Apple Messages for Business?
- Which entry points do you plan to use?
- Is your Support Team ready to use the integration?
Connect with LiveChat
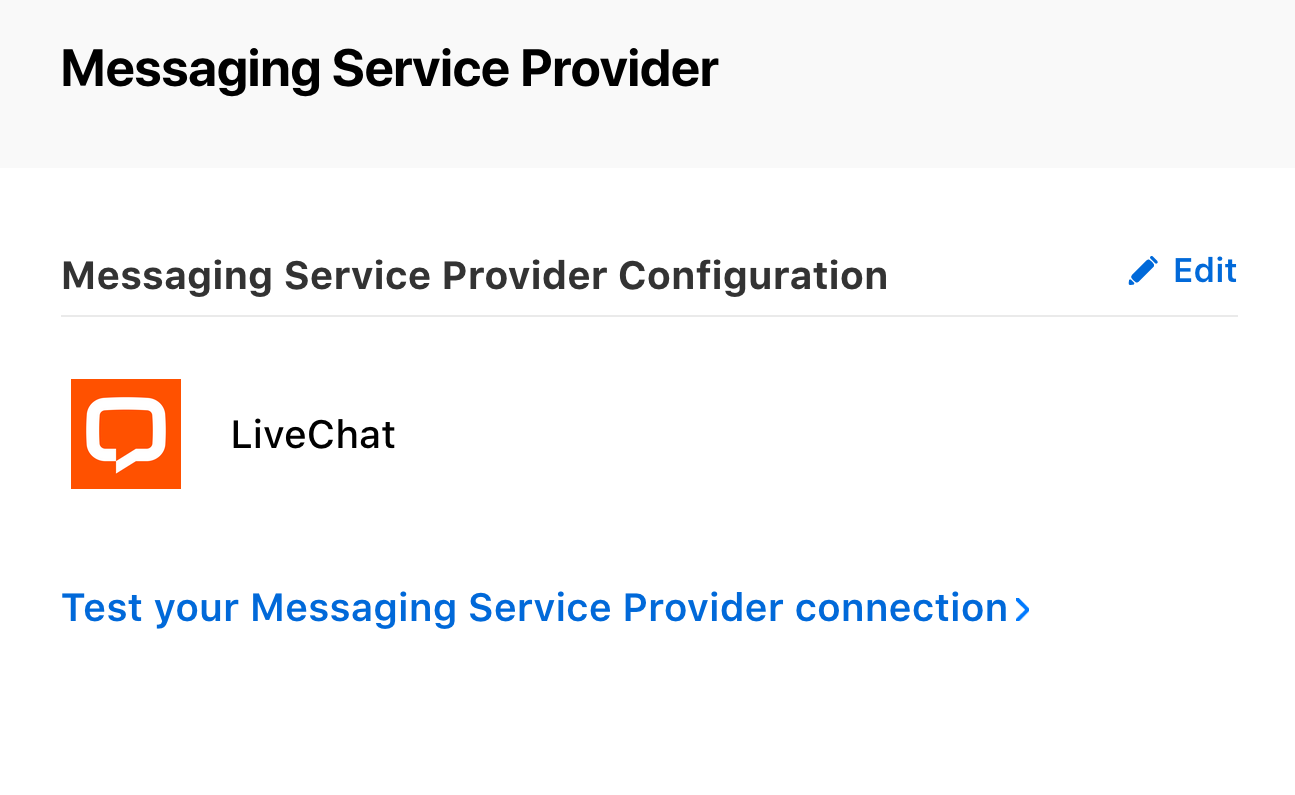
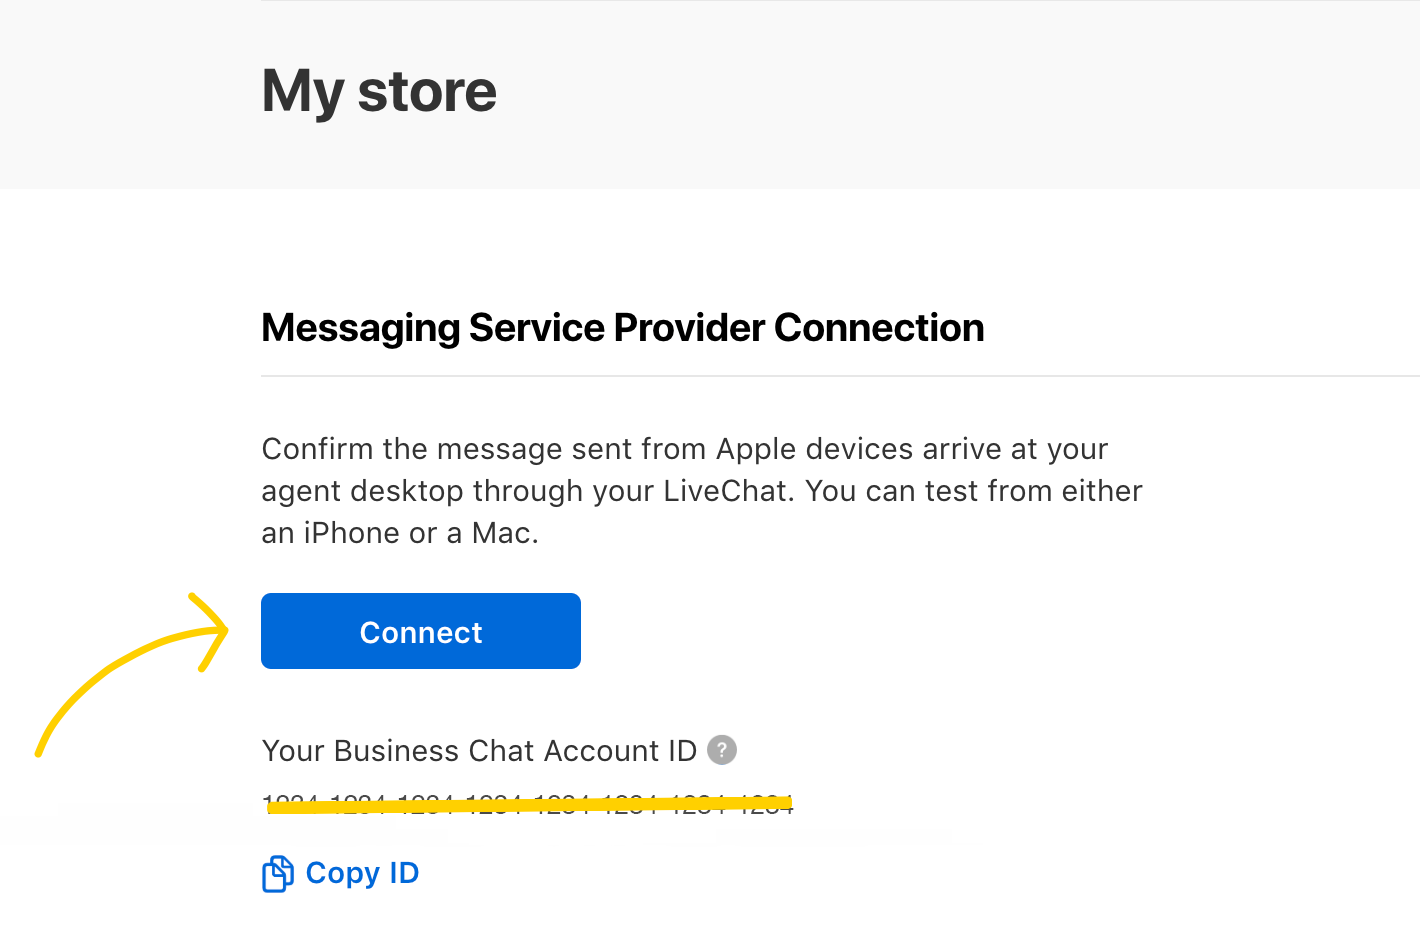
1) Once your application has been approved, you will be able to connect your Apple Messages for Business account with LiveChat. You will then be asked to test your Messaging Service Provider connection. You need to click on the link.
PLEASE NOTE: If this is not available for you at a given moment, wait until your Business Chat account has been approved.
2) Then click on the Connect button.
3) Sign in using your LiveChat credentials and follow the instructions.

4) Once you sign in with LiveChat credentials, you should see the below screen informing you which LiveChat license is going to be connected with your Apple Messages for Business. If you are ready to proceed, click Connect Business Chat Account.

Set up entry points
Setting up entry points is a crucial part of your setup. It defines how your customers can reach you via Apple Messages for Business. Make sure your entry points match your business use-cases.
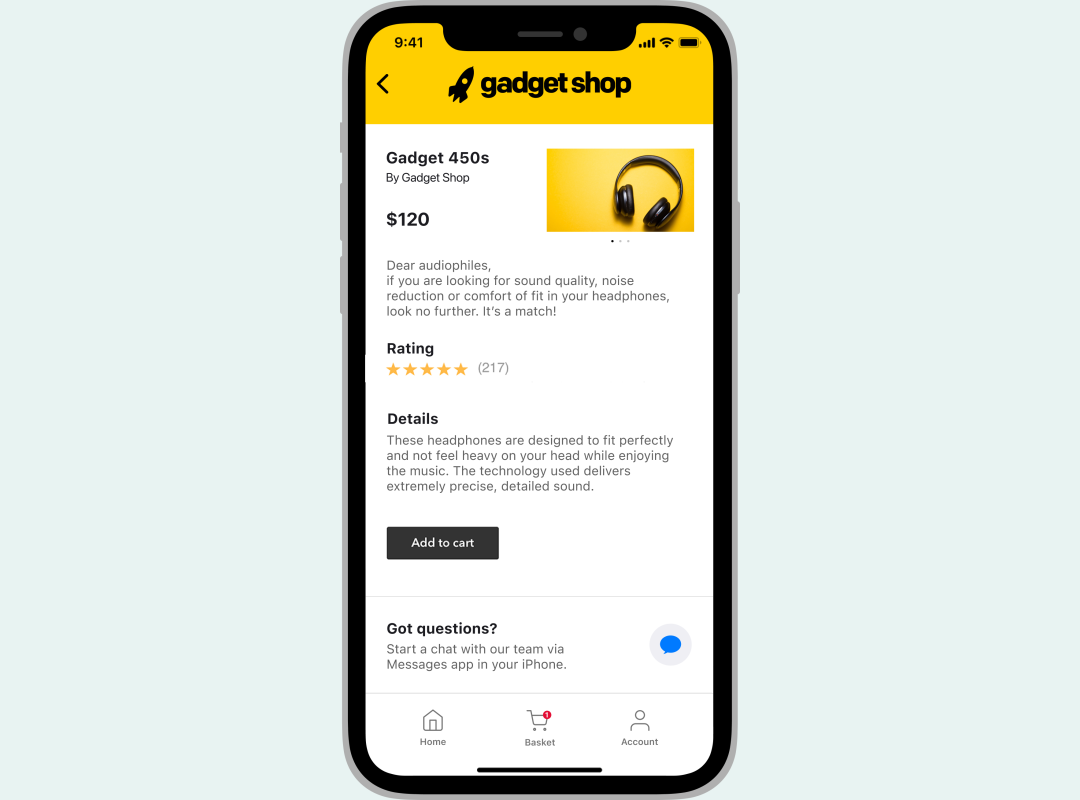
1) Starting a Chat from your App
If you have an app, you can add a button that will redirect the customer to start a chat with you in the Messages app. Keep in mind that the design must be approved by Apple, it must follow Apple’s design guidelines and include a call to action and context.
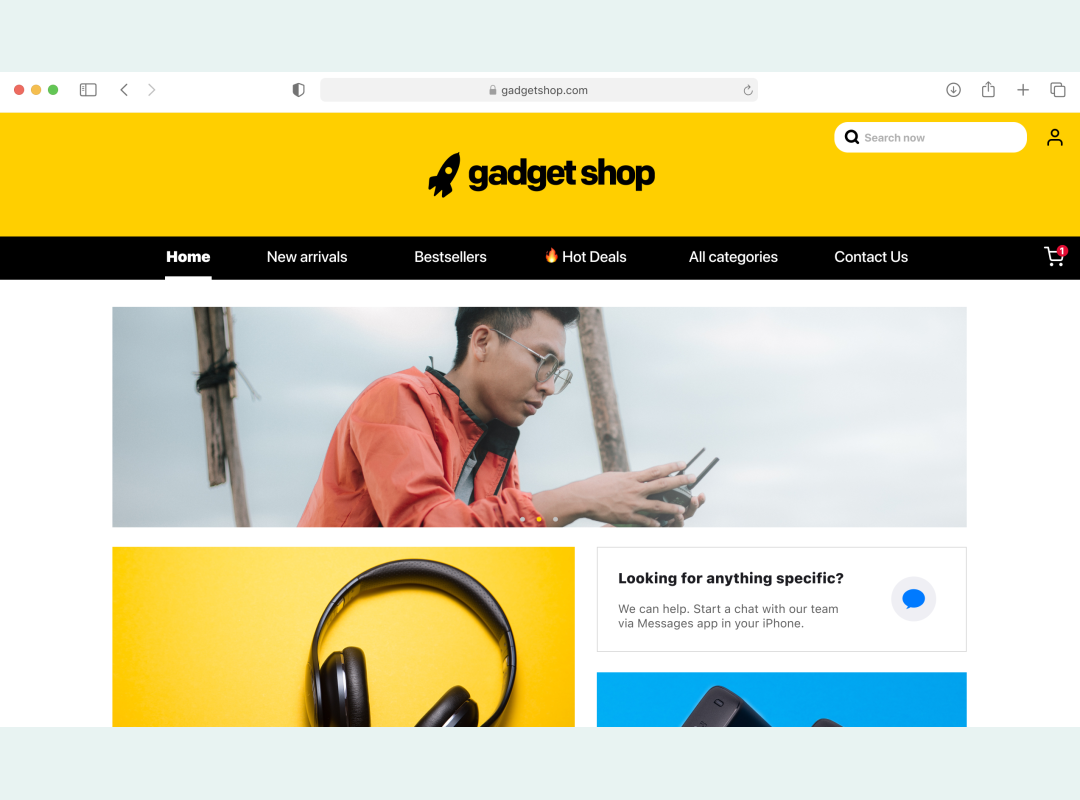
2) Adding a Business Chat Button to Your Website
Make sure that the chat button is visible and well incorporated on your website. Without it, customers might miss out on the advantages of this communication channel. It’s a good idea to place the button on the contact information, support, order confirmation, product, and order history pages. Make sure that it also follows Apple’s design guidelines.
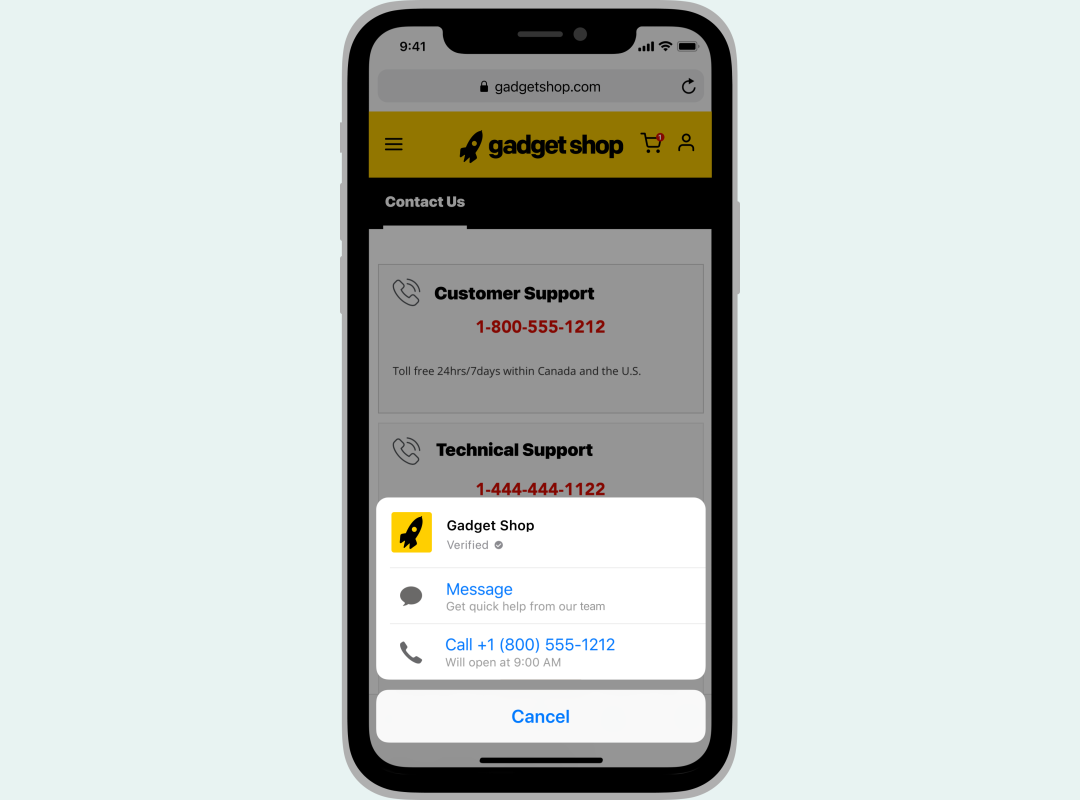
3) Enabling Message Suggest
Make sure that you have your company phone numbers connected with Apple Messages for Business. Contact the Business Chat Team and they will set it up for you. This is an important entry point for your customers. You can use it to deflect your call volume and increase your agent’s productivity.
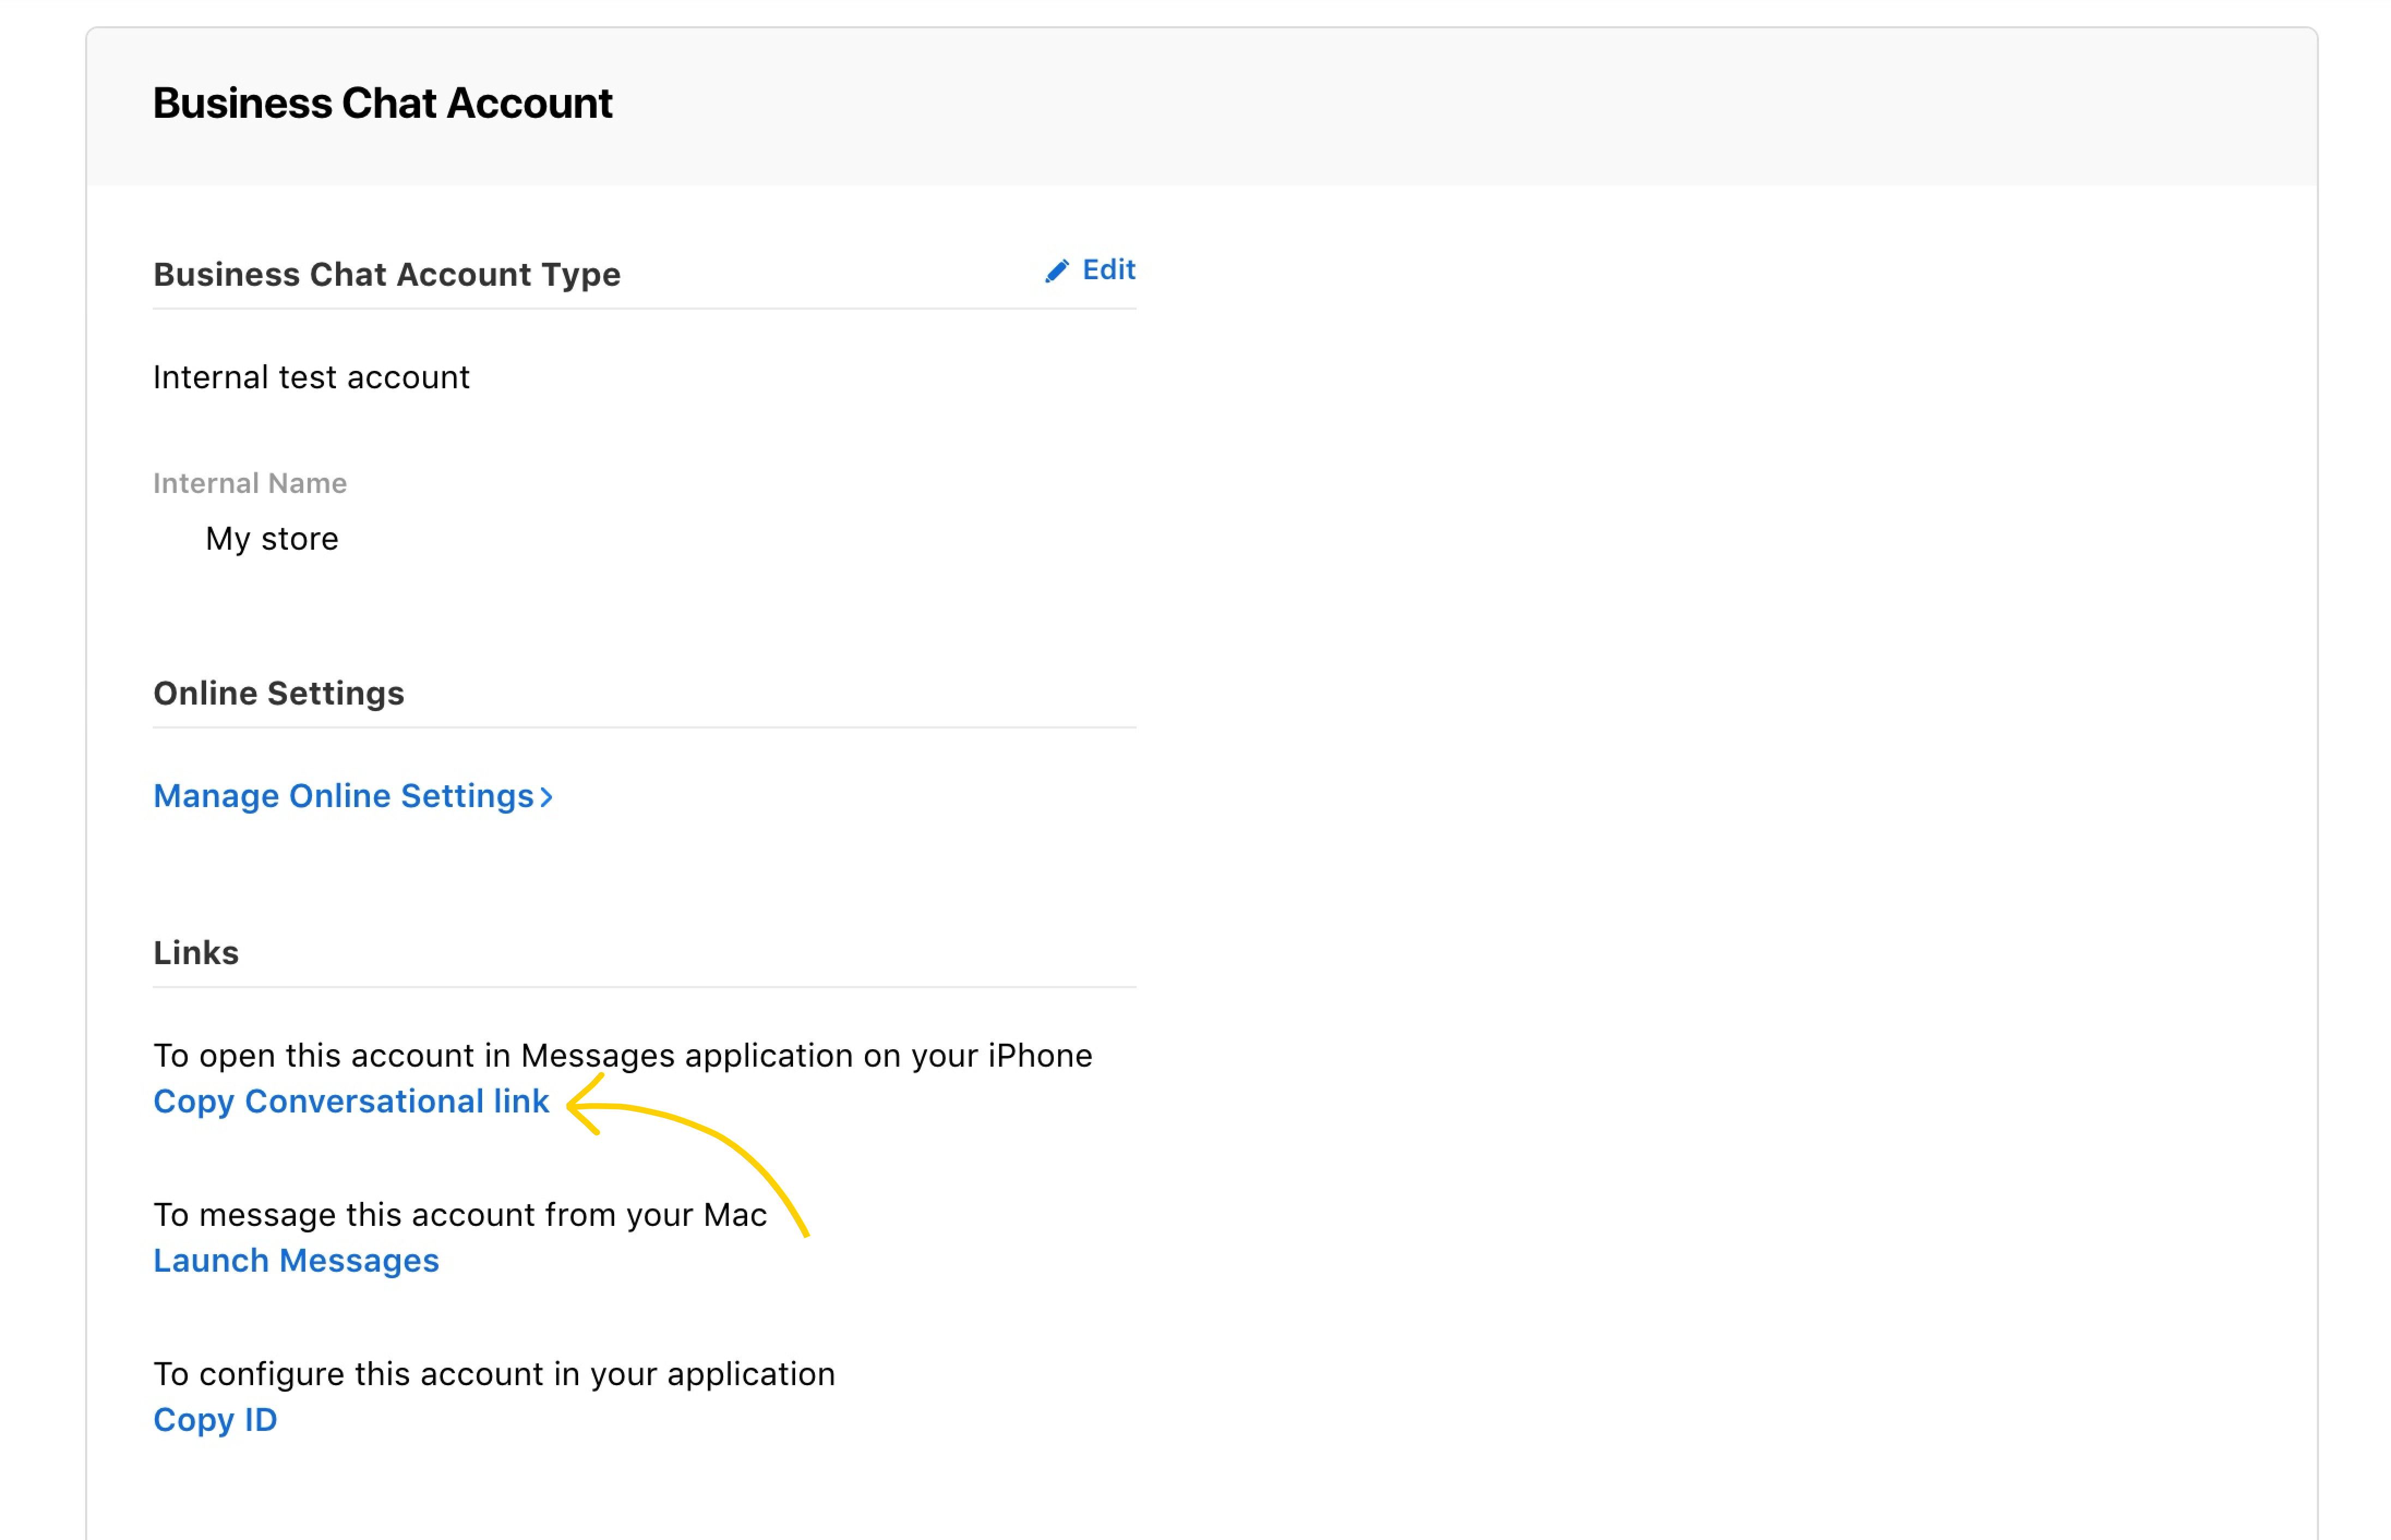
4) Starting a Chat from a URL
You can find your Conversational link in your Business Chat account within the Apple Register portal
or by accessing the Apple Messages for Business settings in LiveChat, under Routing.
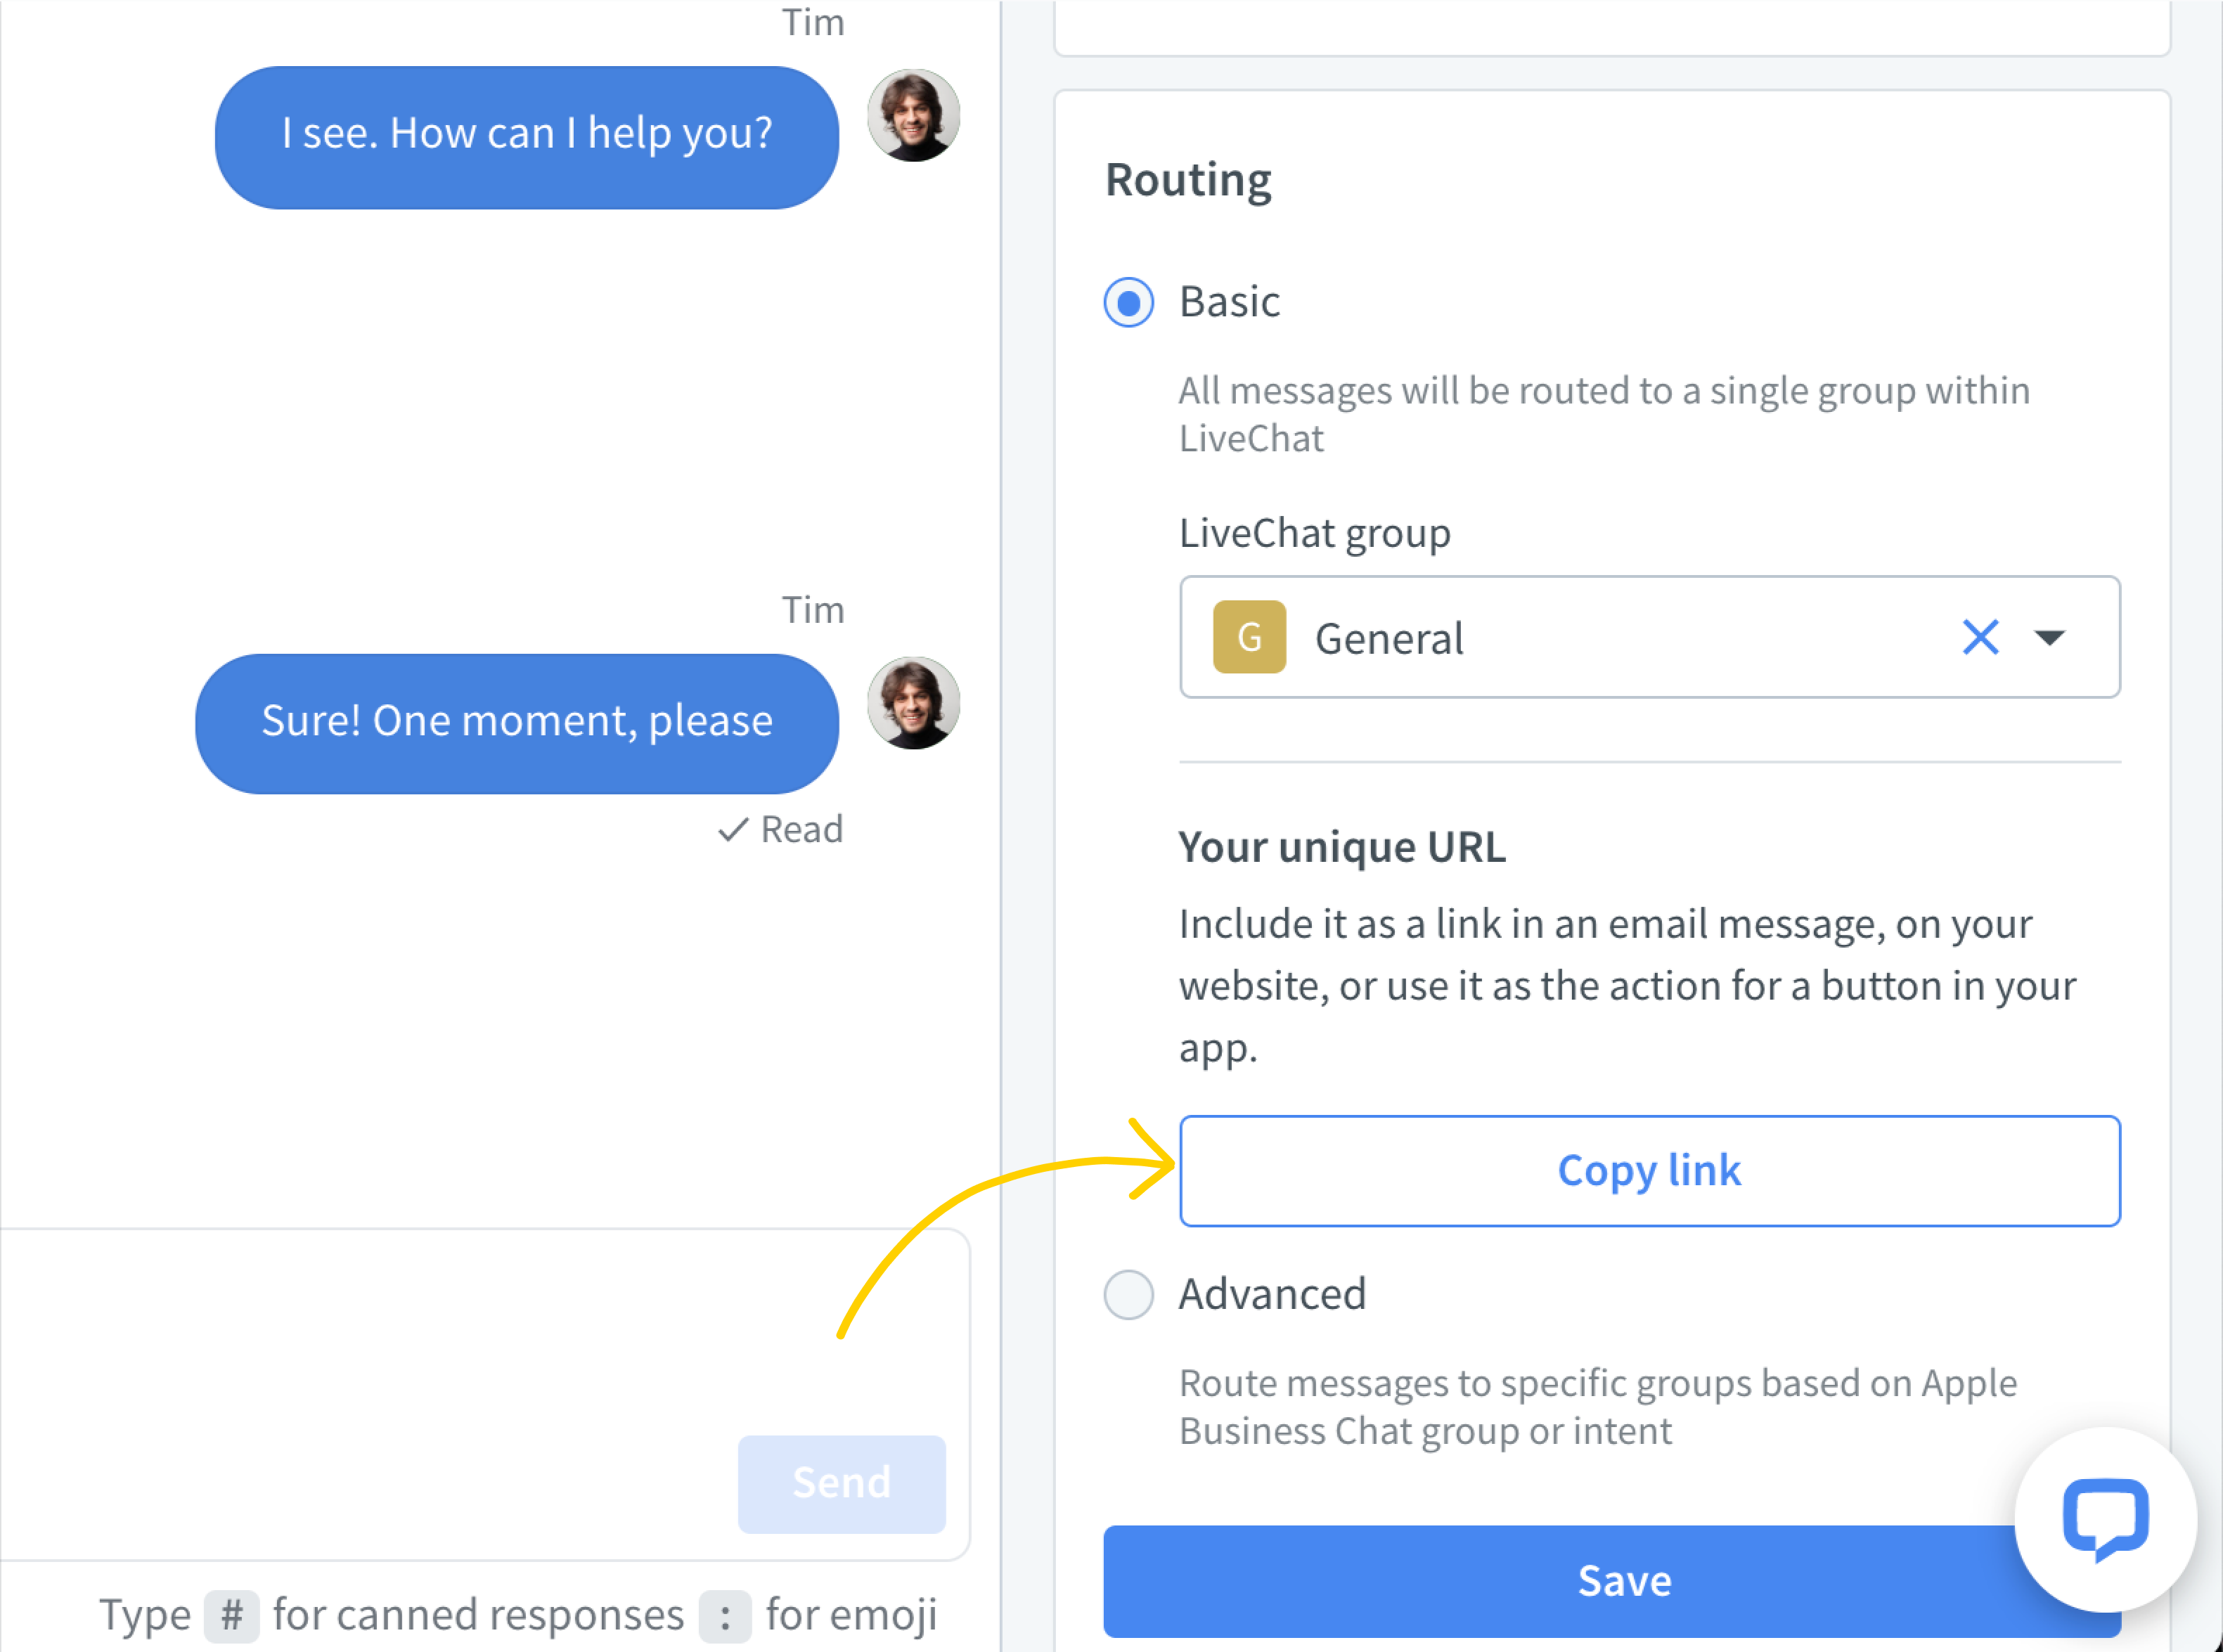
When customers land on the URL, they get redirected to the Messages app so they can contact your business. It can also be used to e.g. create QR codes. For the best user experience, make sure that the link opens up the Messages app or the URL directly, and there are no redirects in between.
To learn about the usage of Apple Messages for Business in LiveChat see this article.
Please note that Apple Messages for Business integration is only available for customers using our Business or Enterprise plans.