 Help Center
At LiveChat, we know how important it is to maintain the awareness of your brand among customers. That’s why each LiveChat account comes pre-equipped with a powerful yet easy to use chat widget configurator.
With just a few easy steps, you can not only change the looks of your chat window but also tweak the behaviour of your widget, for example by disabling it for customers visiting your website from mobile devices. And all of that without using any additional CSS or JavaScript configuration! So, without further due, let’s dive in and see how you can use the chat widget configurator to your advantage.
- Customize your chat widget: how to? - learn how to use the chat widget configurator;
- Customize your chat widget: available options - learn what customization options are available in chat widget configurator;
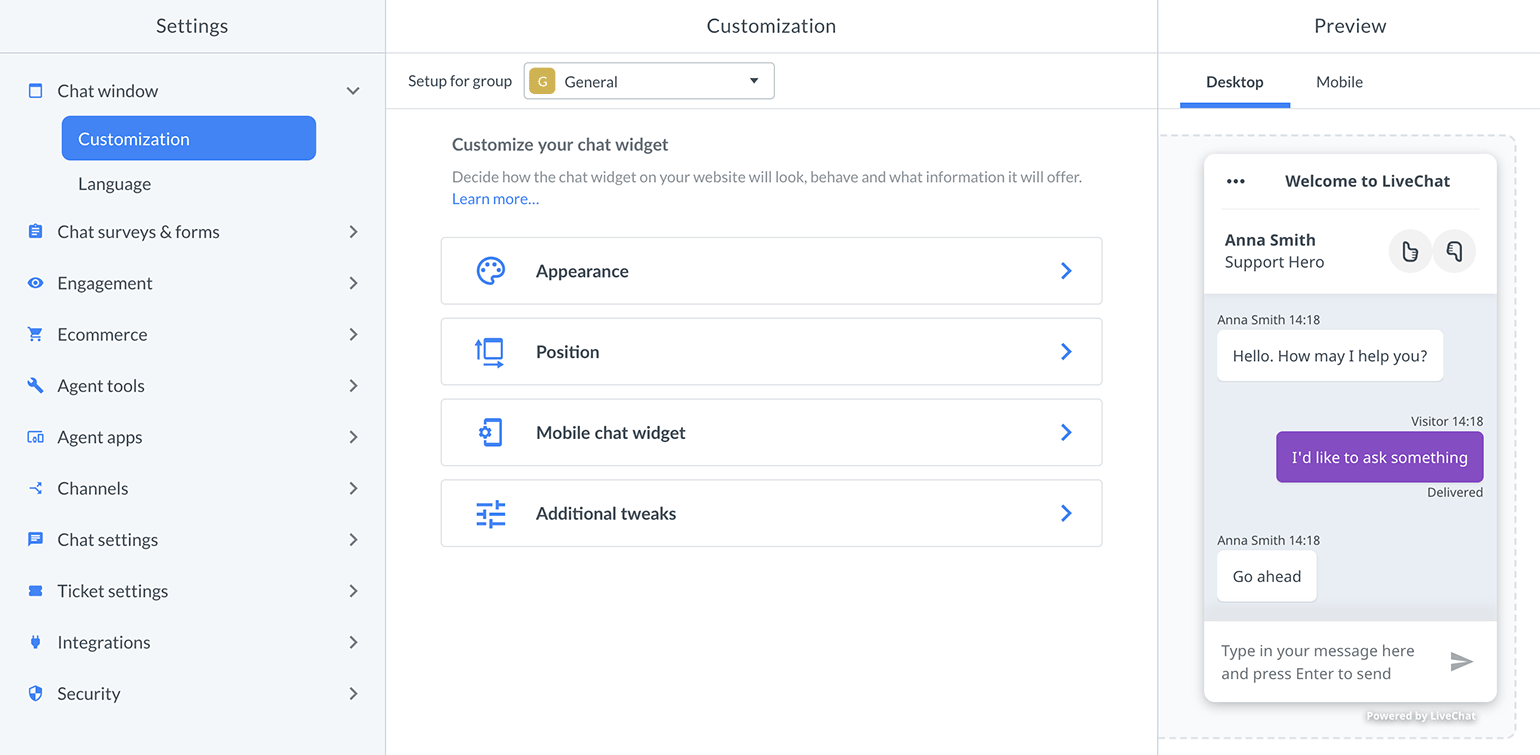
Customize your chat widget: how to?
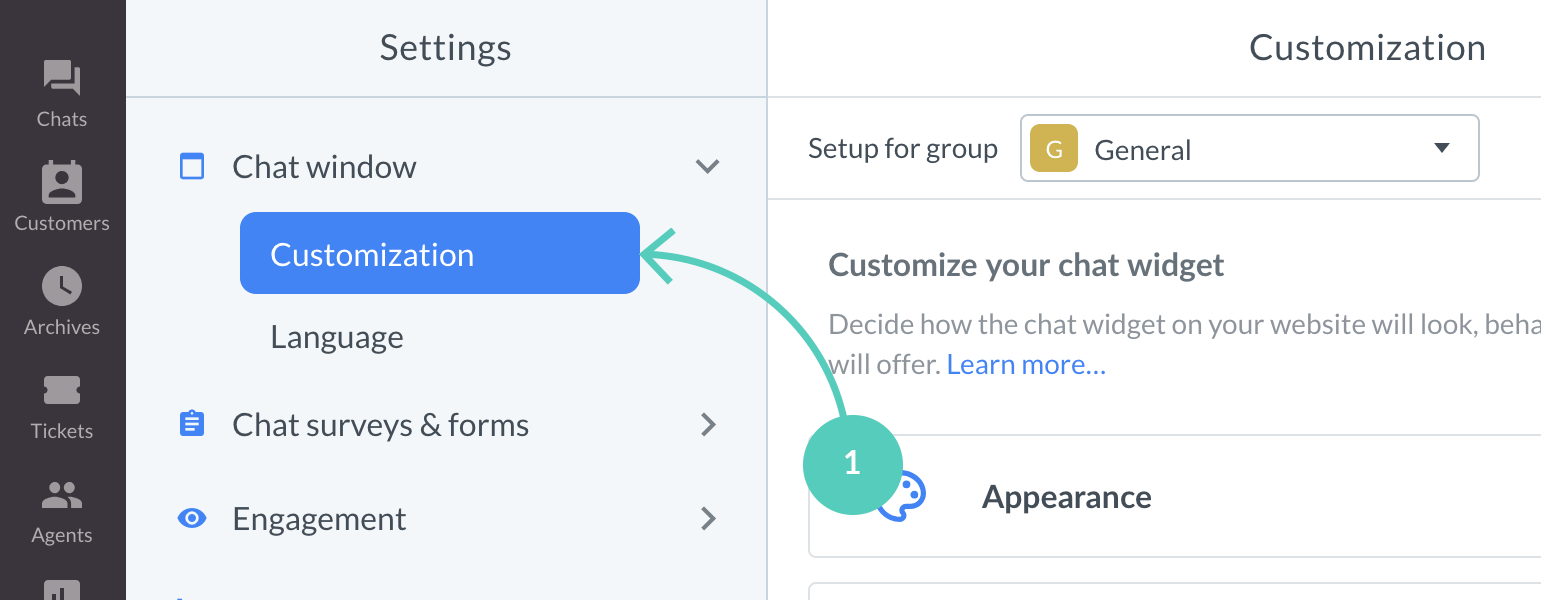
1) To start customizing your chat, go to the Settings → Chat window → Customization.
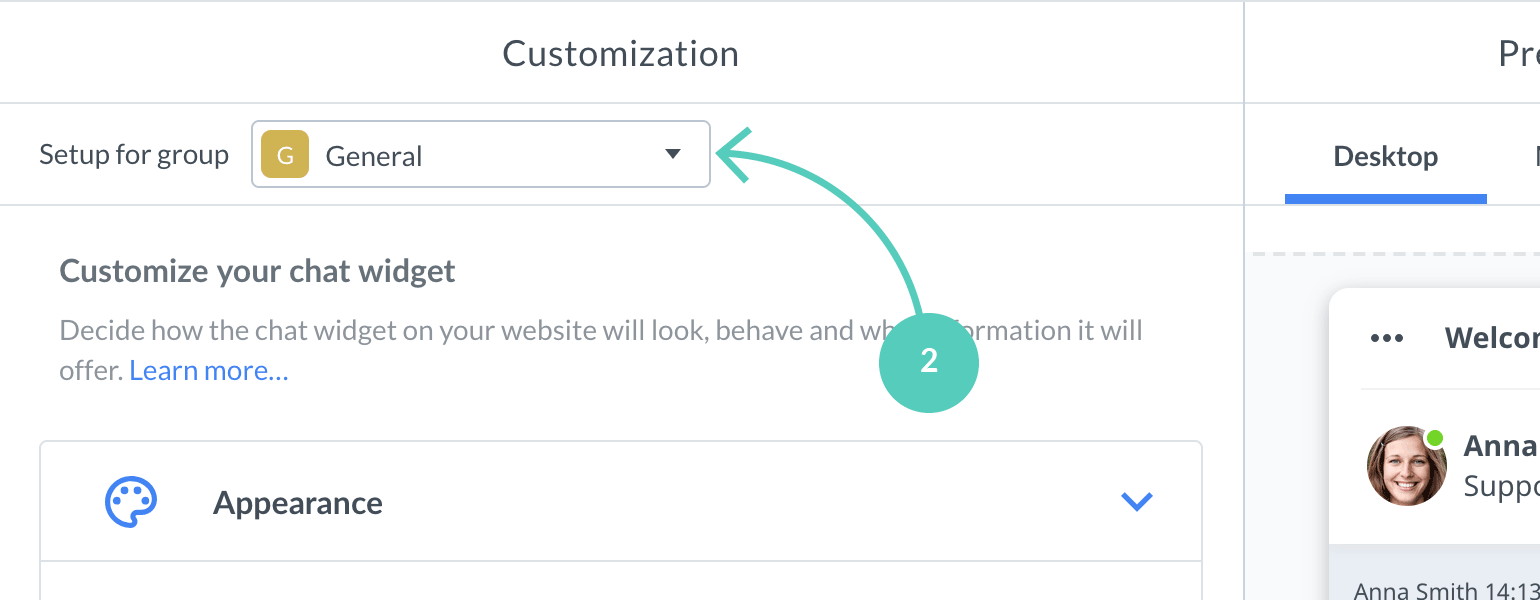
2) If you're using Groups at LiveChat, choose the group for which you'd like to customize your chat widget.
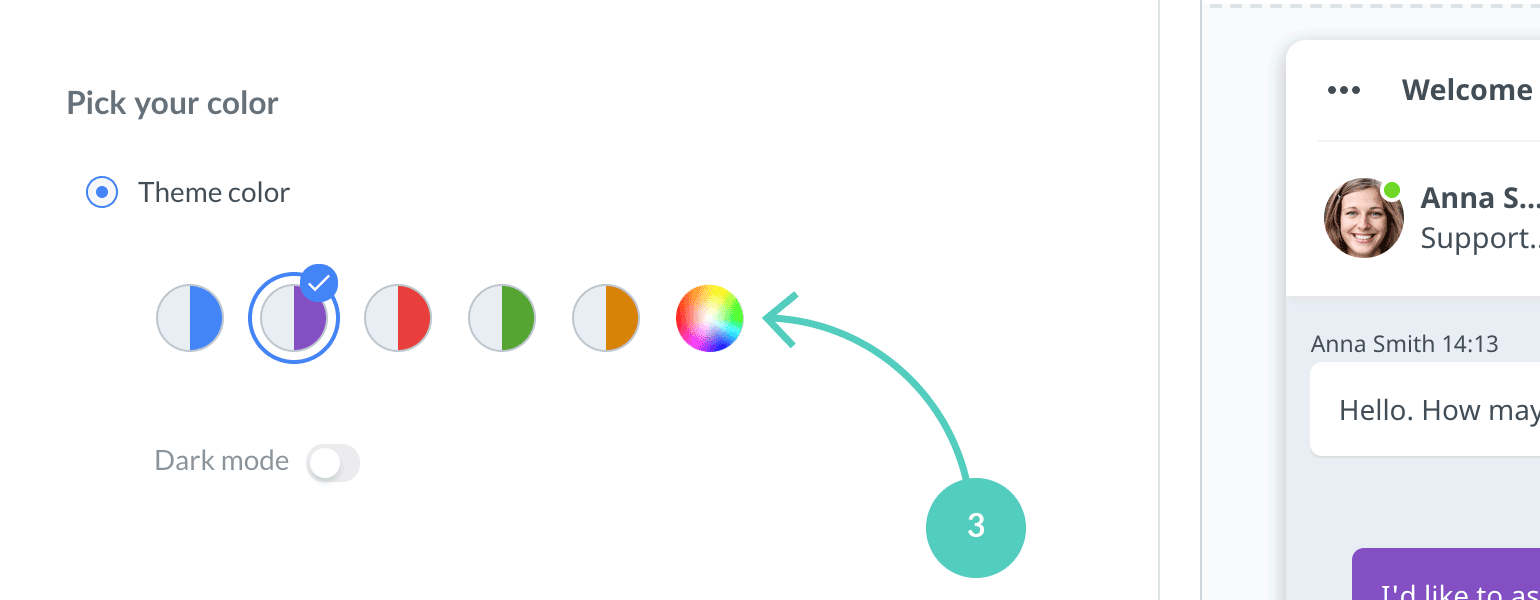
3) Now, choose which element of the chat widget you would like to customize. You can, for example, choose a Ready sets of colors for your chat window.
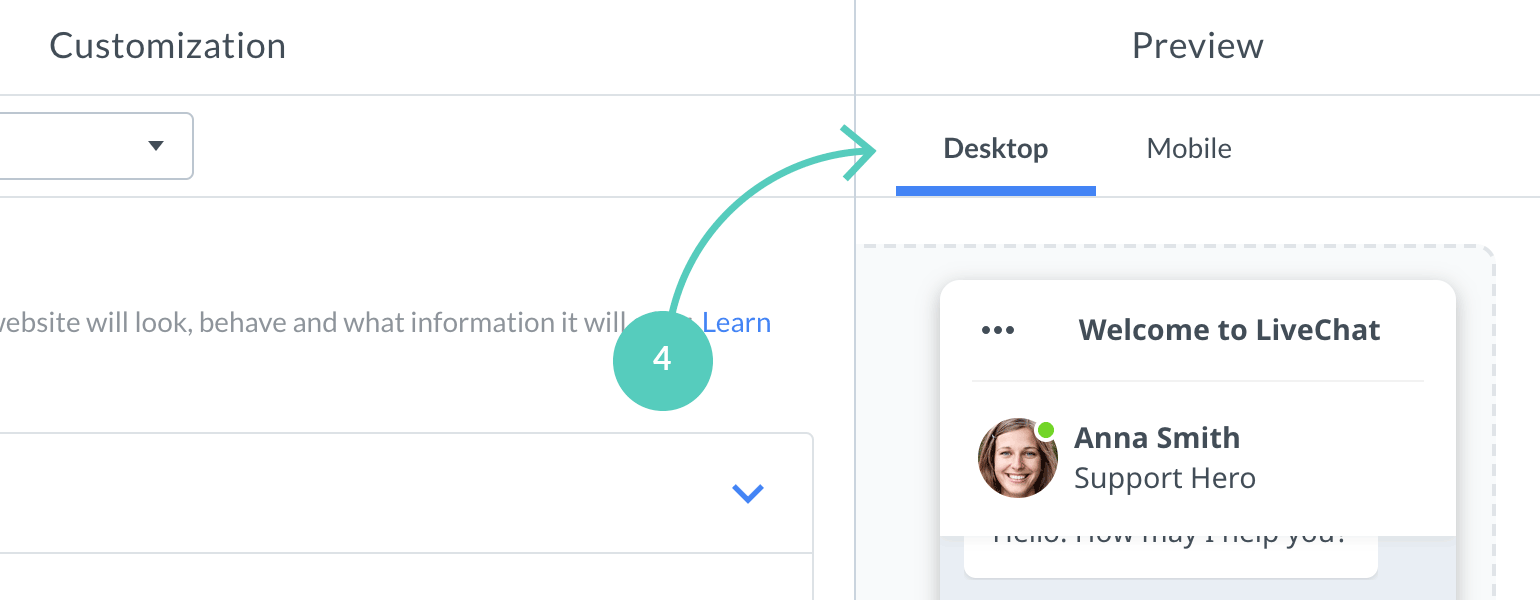
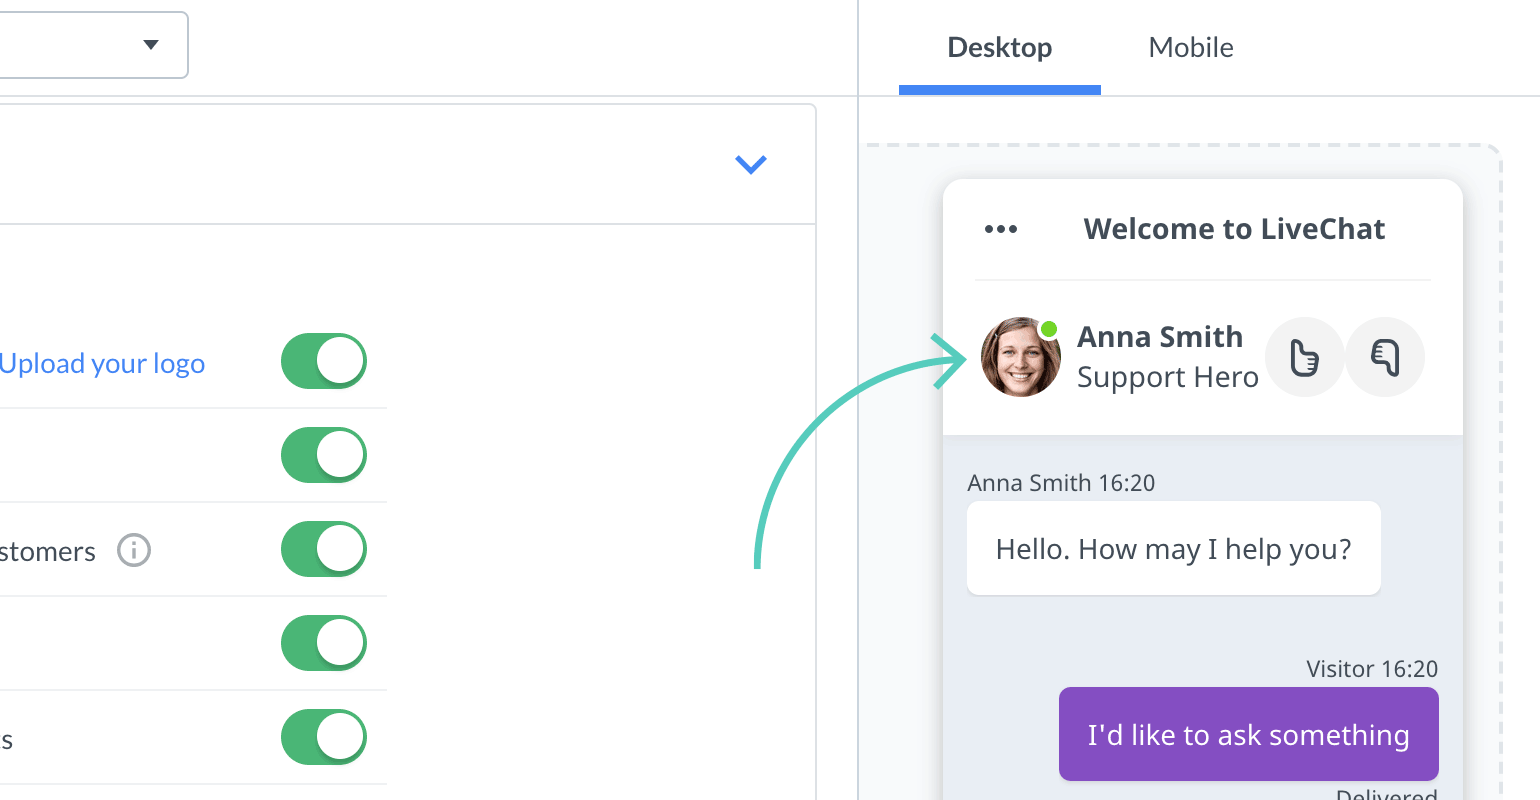
4) When customizing your chat widget, take a look at the Preview section located on the right side of the screen. You can see all changes reflected in real-time, before applying them to your website. Preview feature provides separate views for both desktop and mobile devices.
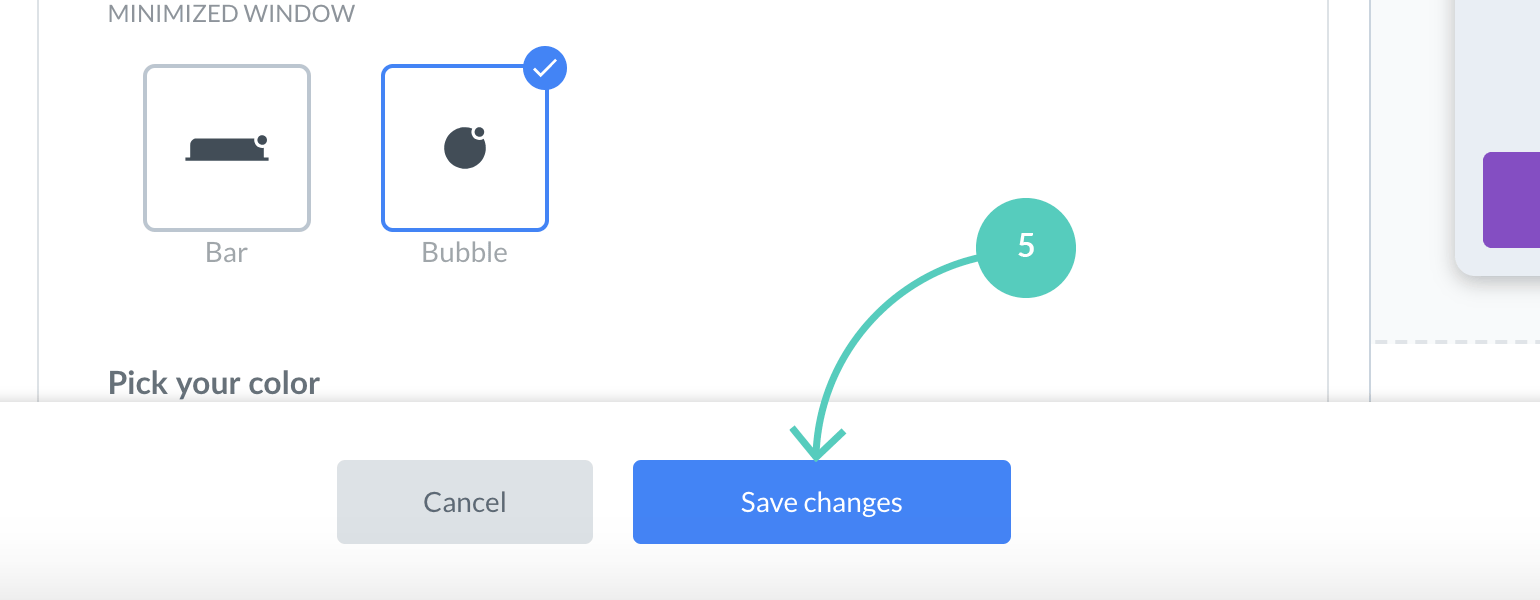
5) f you're done with your chat widget configuration, simply hit Save changes, available at the bottom of the configurator. This will apply all changes to your website.
And that's it! So, now that you know how to use the chat widget configurator, let us review each option that it has to offer.
Customize your chat widget: available options
Appearance
- Choose your minimized theme
Chat window gives you the option to change the style of the minimized window. Choose between a simple yet functional Bar and a modern and minimalistic Bubble!
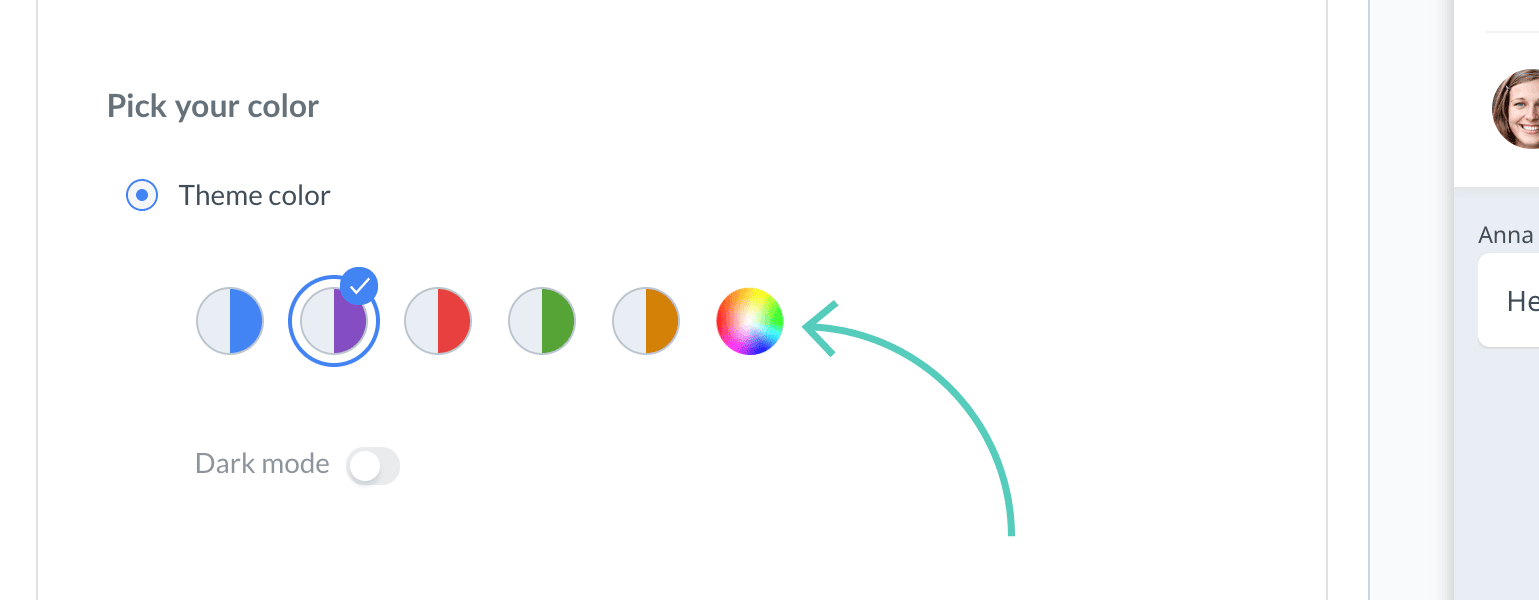
- Pick your color
Select Theme color to use one of our predefined sets. If you want to edit the accent color, click on the first option on the right. A color picker will pop-up. You can also change themes to their dark versions by turning on the Dark mode switch (it will change to green).
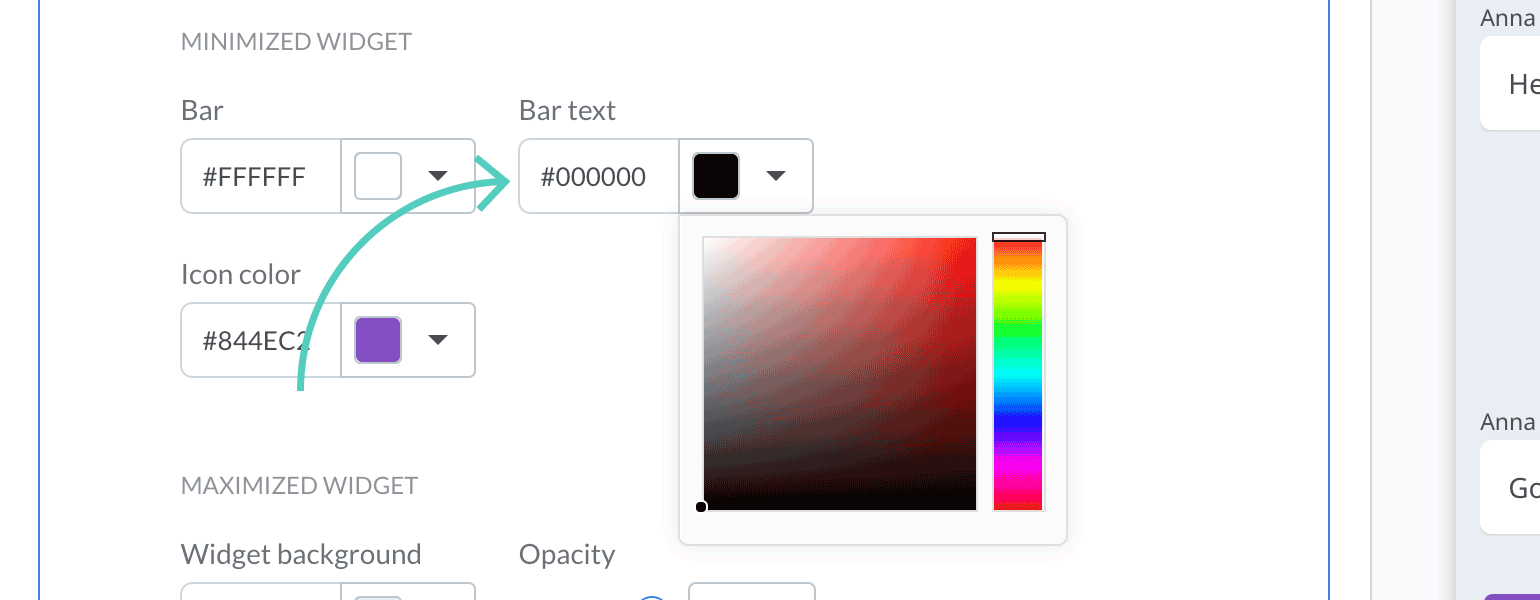
We also realize that each website is different. That is why, in addition to the prefabricated sets of colors, you can choose any combination that suits you. Click on More color settings to create your own color scheme.

You are able to change the color of both minimized and maximized widget elements, either by providing a hexadecimal representation or by using our built-in color picker!
Position
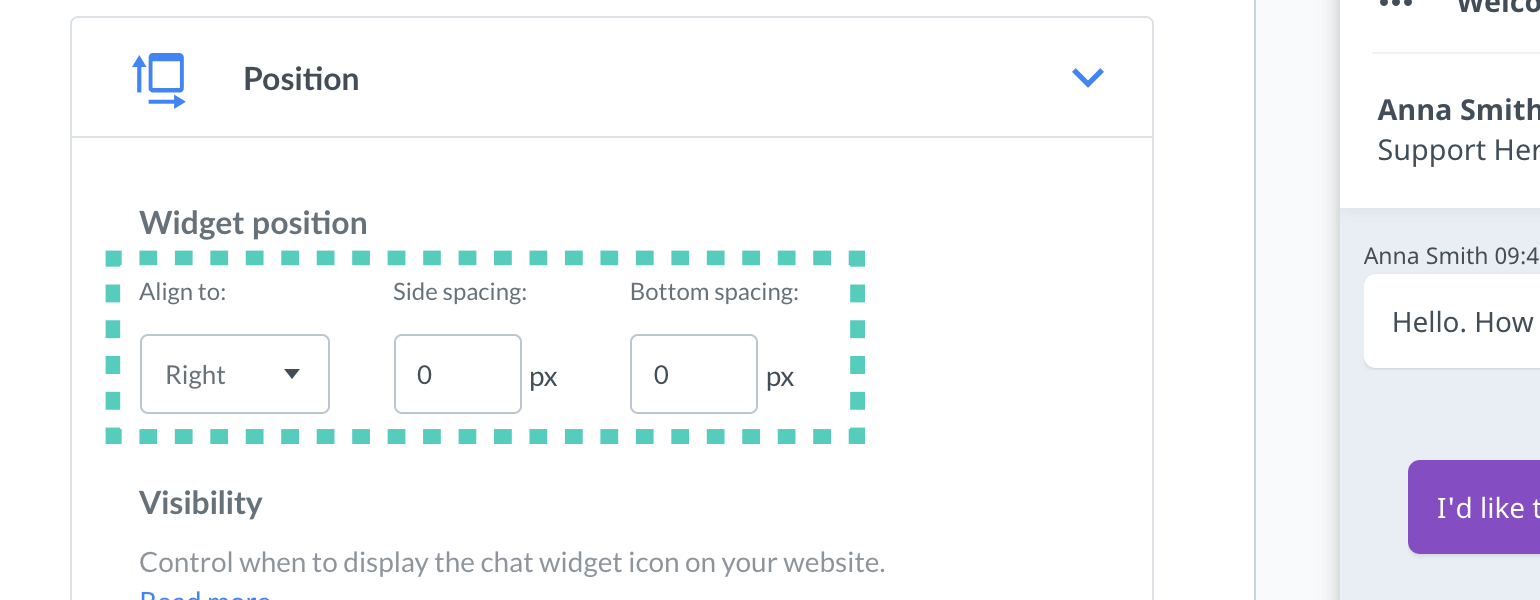
- Widget position
Decide where the chat widget should be placed on your website. You can choose between left and right. It is also possible to define the spacing between your chat widget and corresponding bottom and side edges.
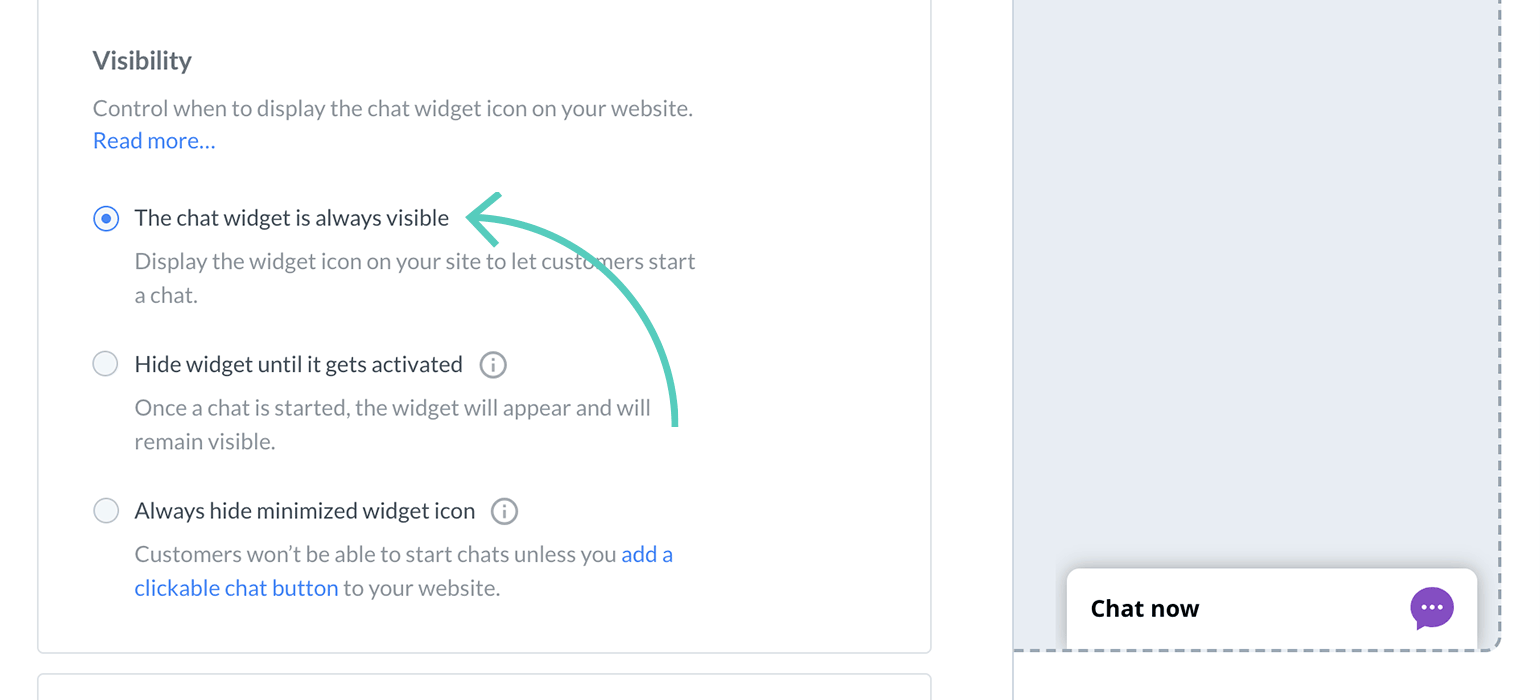
- Visibility
Control when to display the chat widget icon on your website. If you want to learn more about the differences between the options described below head to our article on Chat widget visibility.
The chat widget is always visible.
The widget icon on your site is always visible so your customers can start a chat by clicking on it.
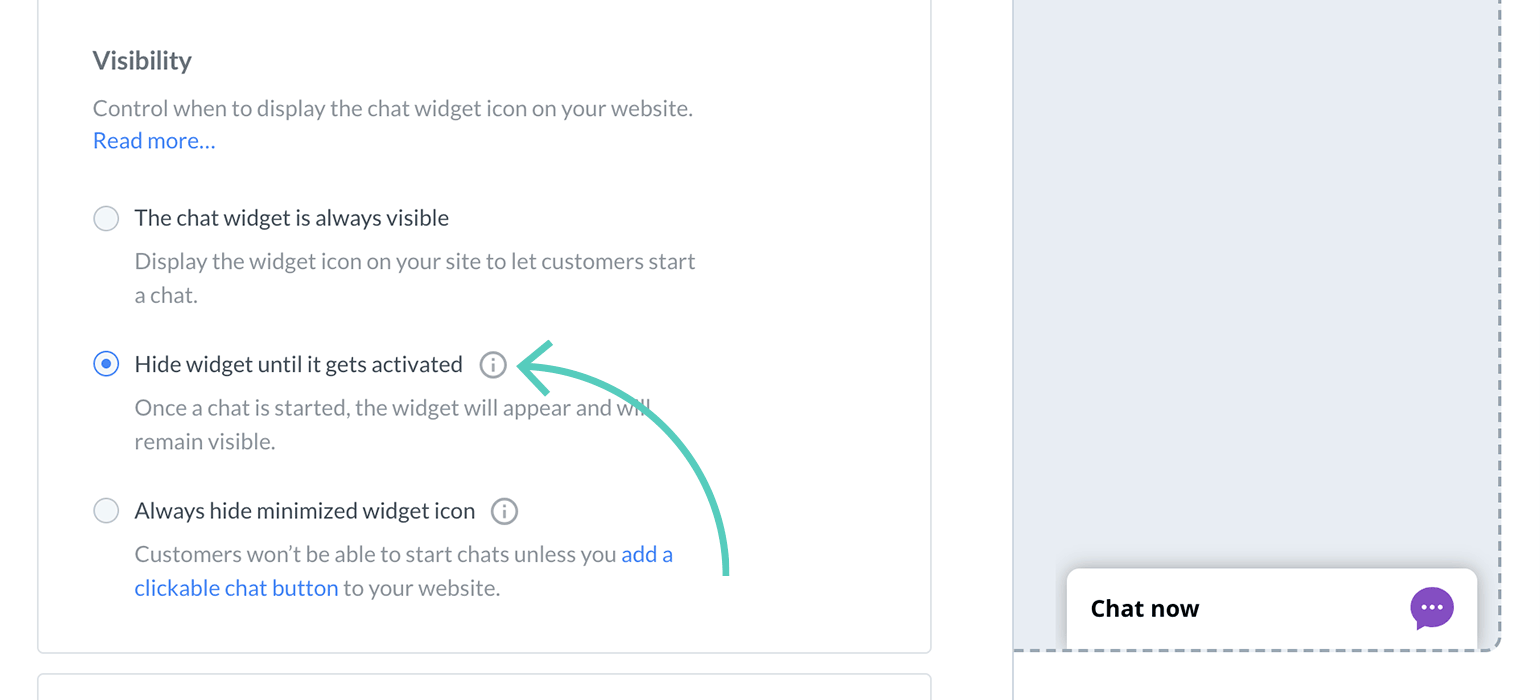
Hide widget until it gets activated
This option allows you to keep your chat widget hidden until it gets activated via: a greeting, an interaction with a custom start chat button added to your website, or an open chat window API method. Once a chat starts, a customer can initiate a conversation by clicking on the chat widget icon as well.
Always hide minimized widget icon
The widget icon is never displayed, hence your visitor can’t initiate a chat by clicking on it. Chats can start when either a visitor interacts with a custom start chat button added to your website, or if you implemented an open chat window API method, that builds a custom mechanism responsible for opening a chat.
Mobile chat widget
In this section, you can control if you want to Show your chat widget on mobile (this option is turned on by default). Once you turn it off (the switch button will grey out) your mobile users won’t be able to chat with you.
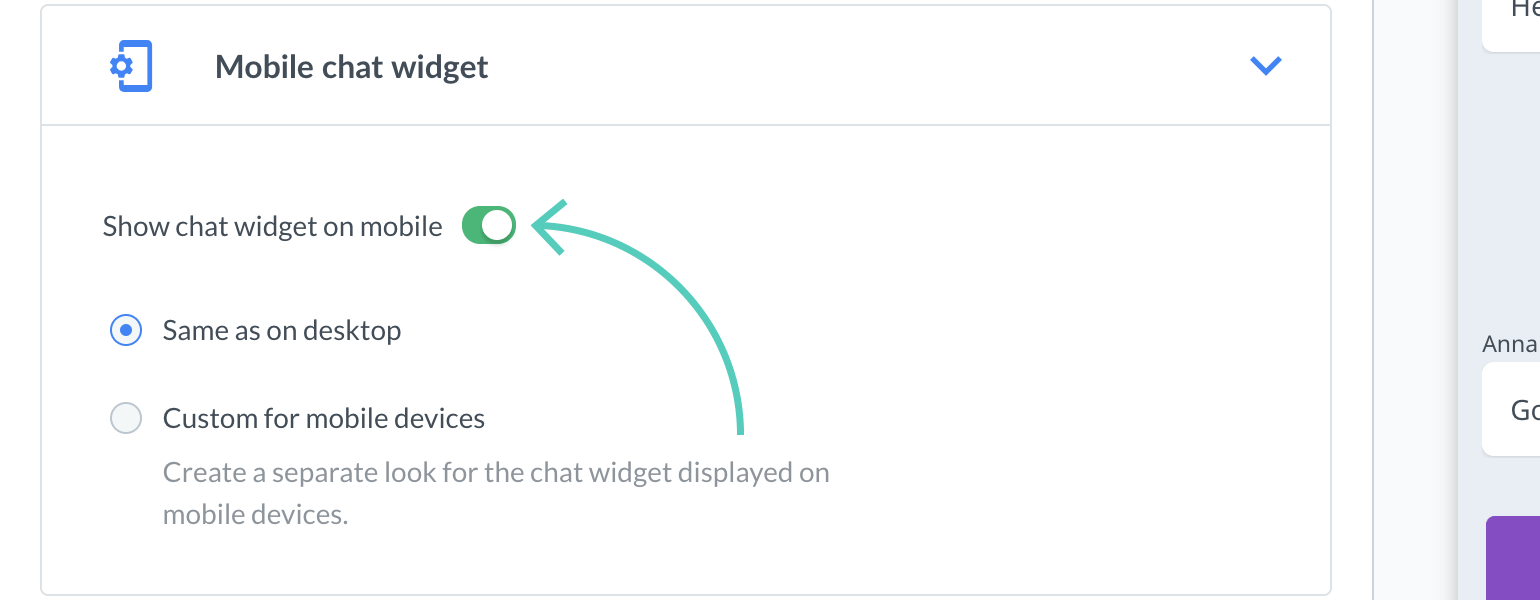
If you decide to have it displayed on mobile, you can choose to have it appear Same as on desktop.
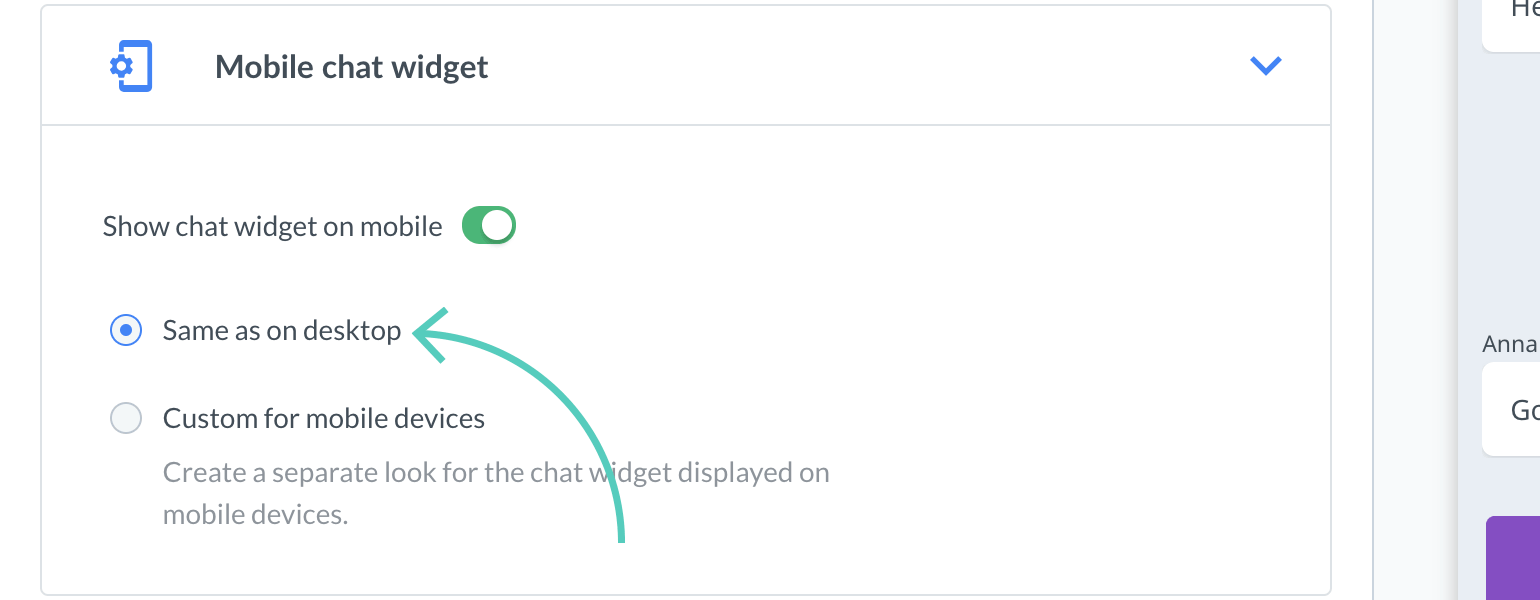
If you want your chat widget to be displayed differently on mobile devices (than on desktop) select Custom for mobile devices.
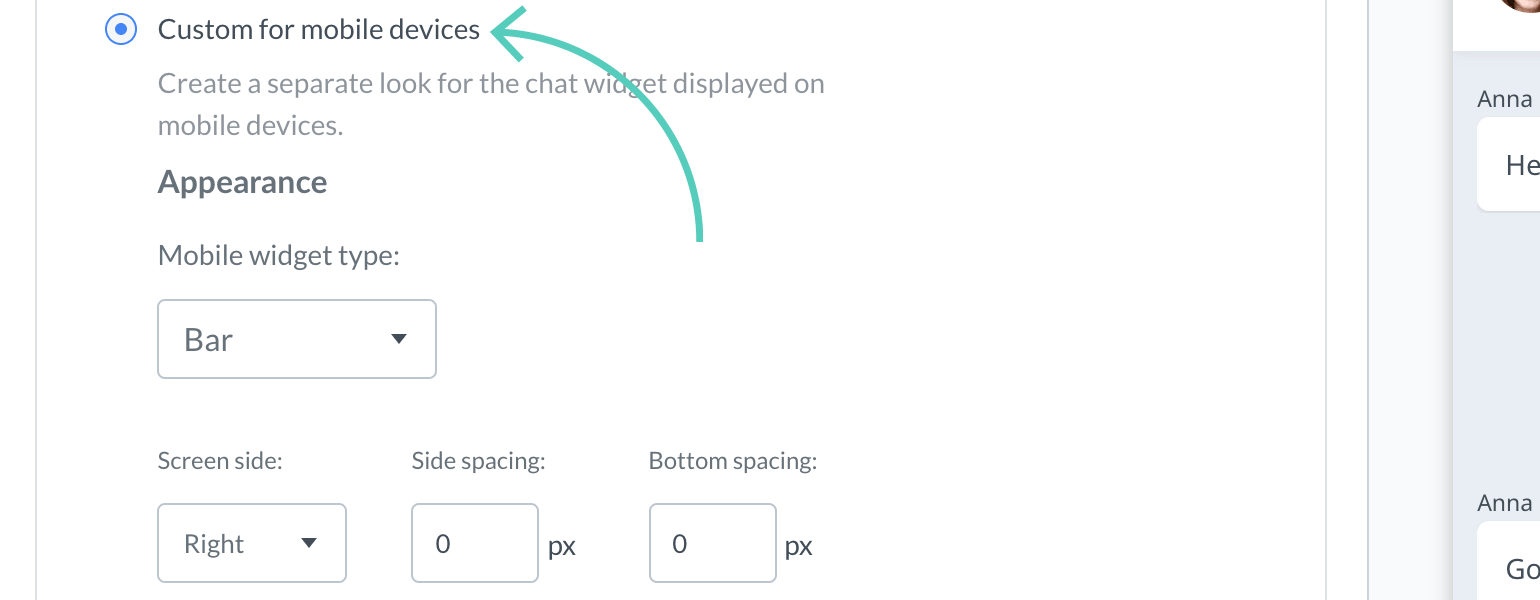
You can customize Mobile widget type, position on screen and visibility (read more about Chat widget visibility).
Additional tweaks
With additional tweaks, we want to bring you the possibility to change the behaviour of your chat window, without modifying LiveChat script added to the source code of your website. And what exactly can you modify? As there are quite a few options, we will go through each of them below.
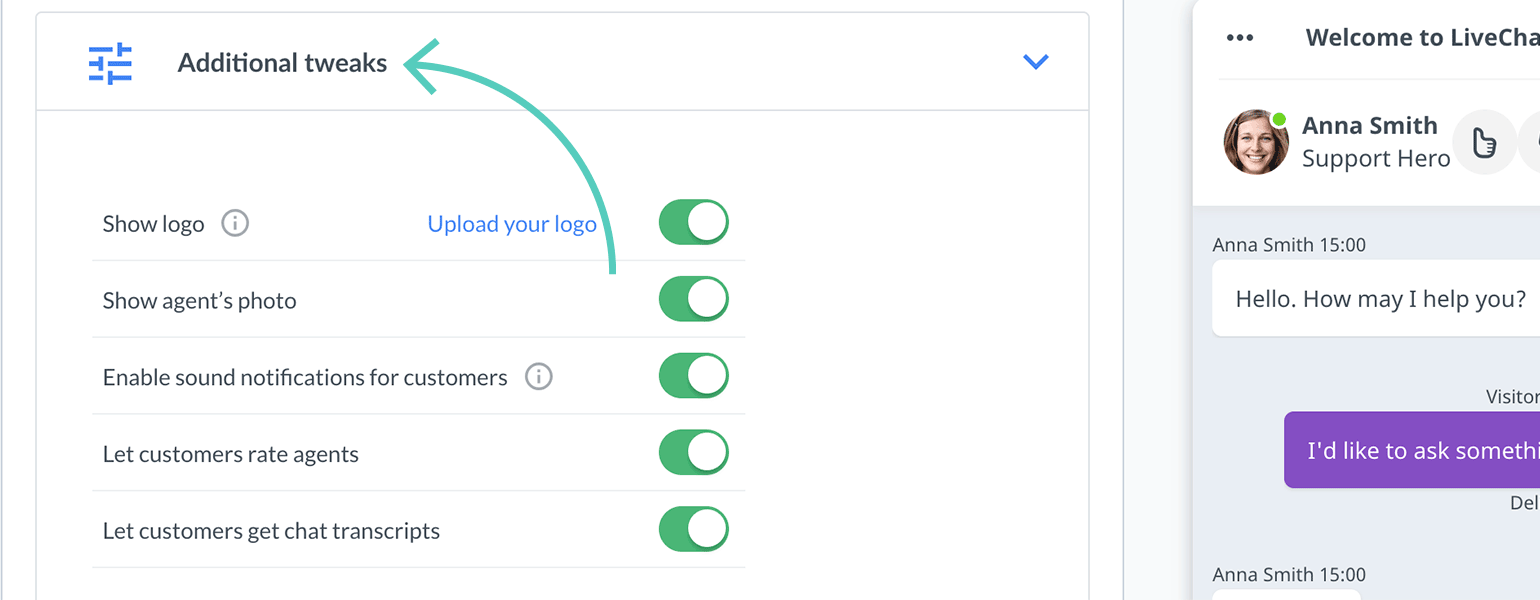
- Show logo - you can upload your own logo that will be displayed in the top right corner, next to agent’s details (note that it will only be visible in tickets if you use the Smooth theme).
- Show agent’s photo – decide whether you'd like to display your agent's photo during a chat and in the chat bubble, after your customer will minimize the chat window or receive a greeting.
- Enable sound notifications for customers – by default, your customers will be notified about a new greeting and a new message received in a chat by a sound notification. This should get their attention whenever they, for example, minimized their browser while talking with your agents. However, if you'd like to disable those sound notifications, simply switch this option off.
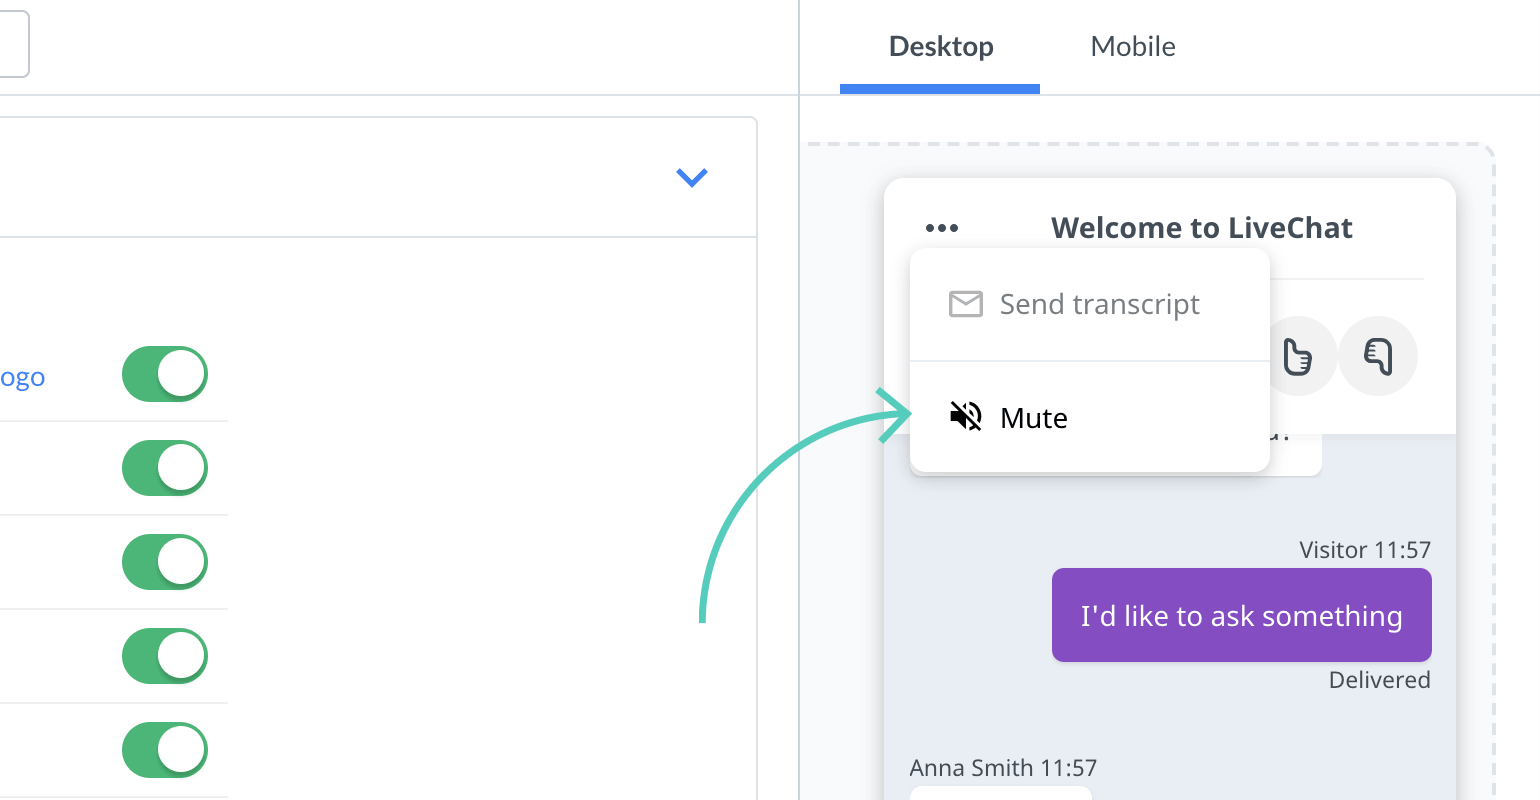
Your customers can also mute the sounds of the chat widget themselves! They can do this by clicking on the Mute button, available under three little dots in the chat widget.
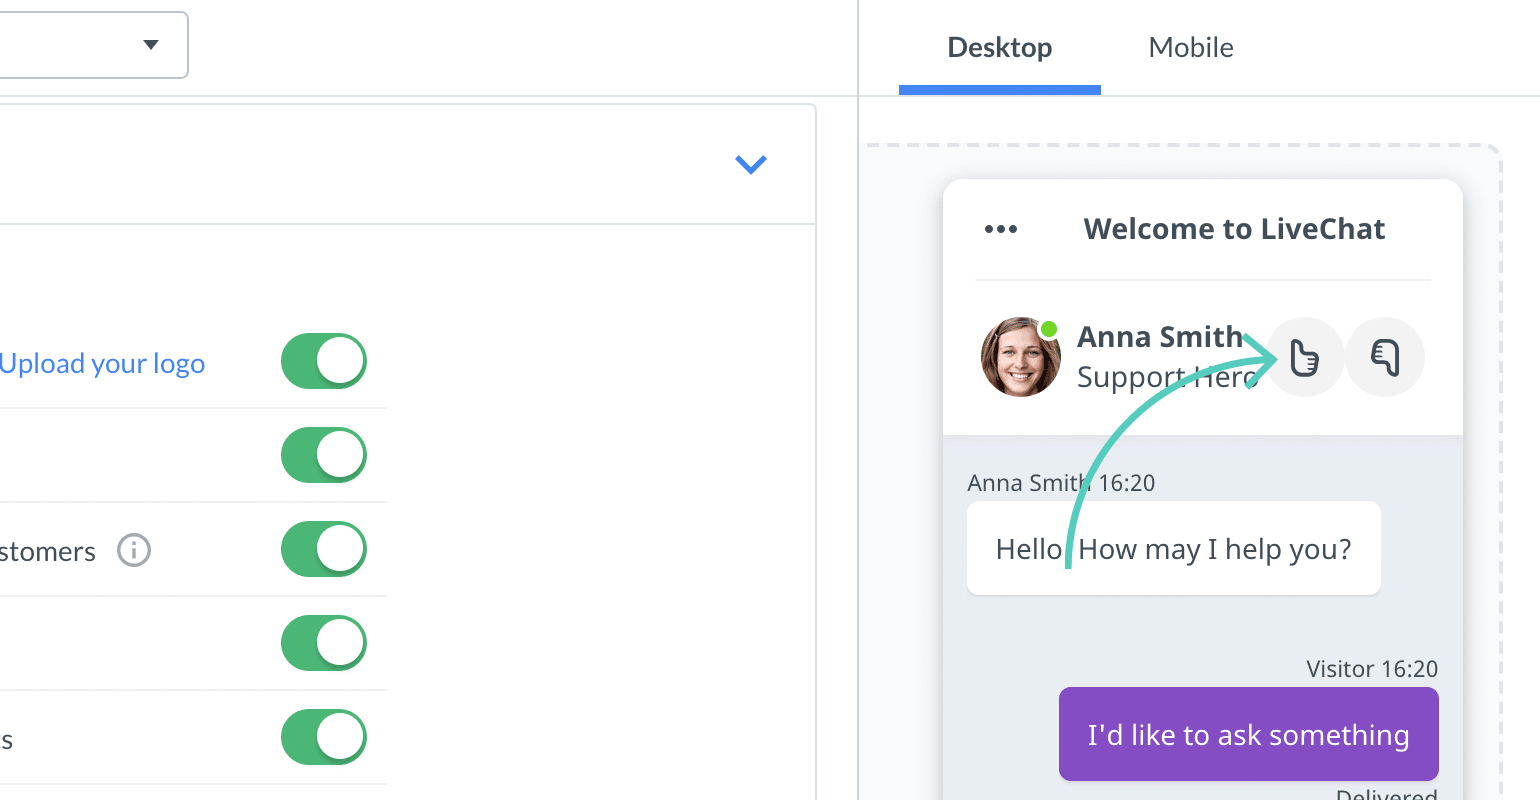
- Let customers rate agents – with this option, you can decide whether your customers can rate your agents during or after the chat.
- Let customers get chat transcripts – turn on this option to give your customers the possibility to request the transcript of their current chat. The chat transcript will be sent to their email.
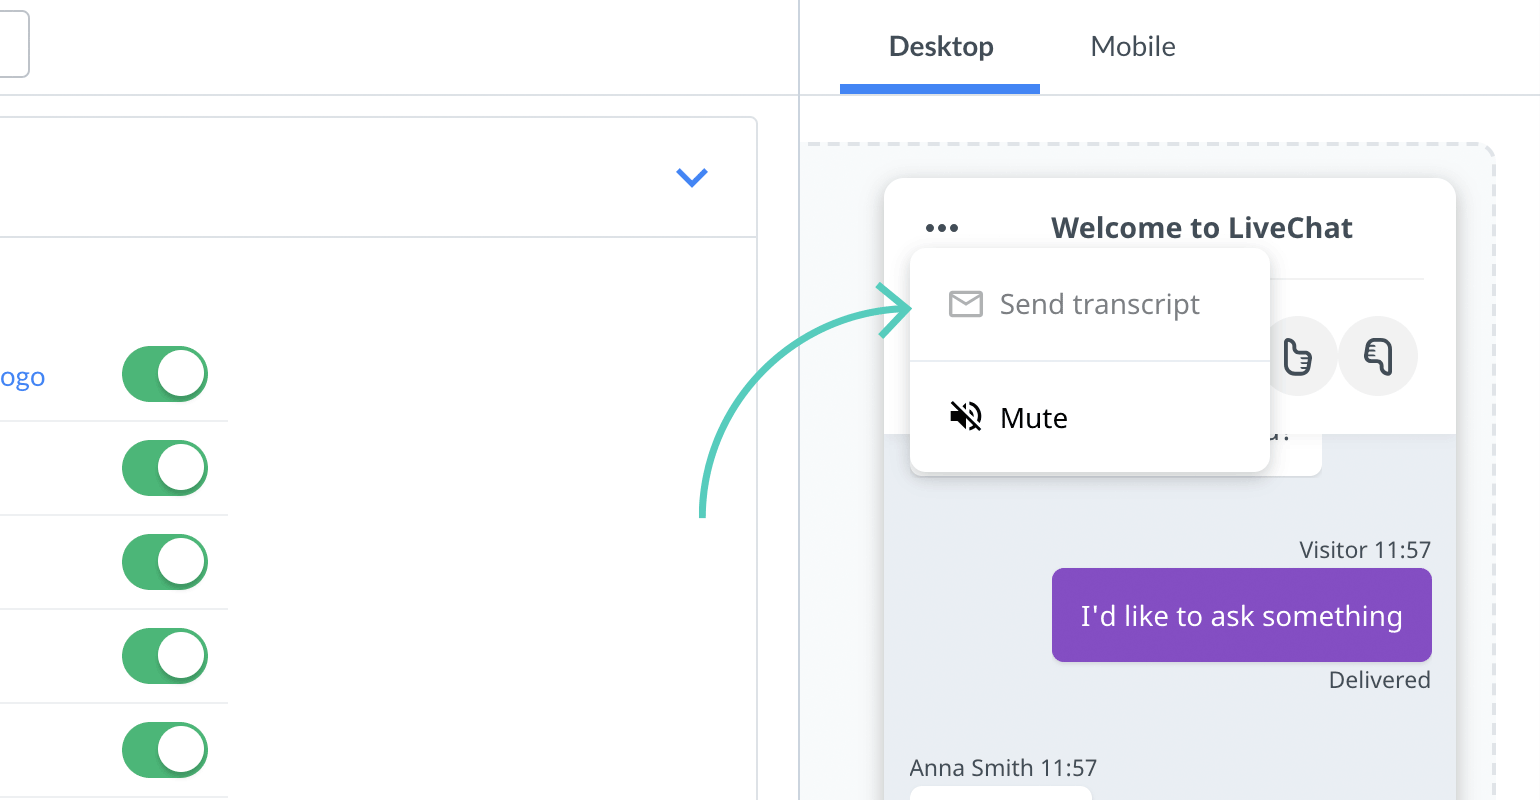
Your customers can receive the transcript by clicking on the Send transcript button, available under three little dots in the chat widget.
To make sure that the transcripts are sent only to the customers who want them, we send a verification email to customers requesting a transcript for the first time. Once their email address is verified, the requested transcripts are sent immediately.
As to this tutorial, that's it for now! If you have any questions or feature requests, feel free to start a chat with us. Our Support Heroes are available 24/7/365!