 Help Center
DotNetNuke Chat module: DotNetNuke provides you with a world's largest CMS platform for .NET developers. And now you can equip it with a powerful chat tool that will elevate your Customer Service to another level!
Reply to your customers' queries on-the-spot and start closing more sales in the process!
Don't have a LiveChat account yet? Click here to create a free, 14-day trial!
With this tutorial, you will learn how to install LiveChat plugin in your DNN and how to link LiveChat with your online store. So, without further due, let's begin!
- Installation - learn how to install LiveChat plugin in DotNetNuke;
- Configuration - learn how to configure plugin and link your LiveChat account with DotNetNuke.
DotNetNuke Chat: Installation
1) First, click here to download LiveChat plugin for DotNetNuke.
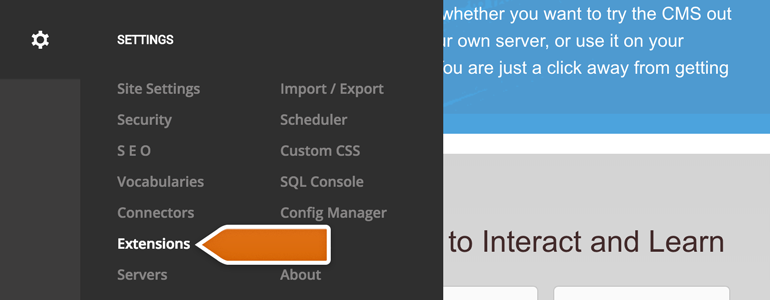
2) Now, log into your DNN's administration panel and go to Extensions section, available under Settings at the left side of your DNN.
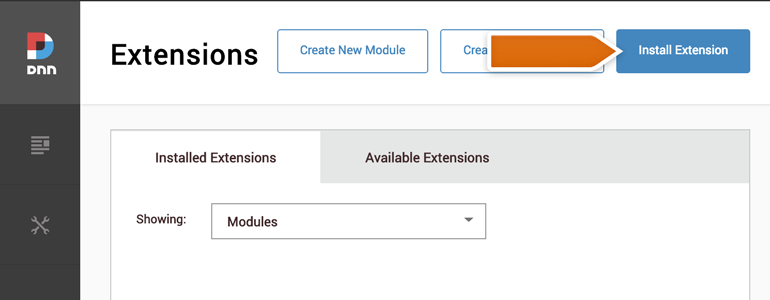
3) While in the Extensions, click on the Install Extension button.
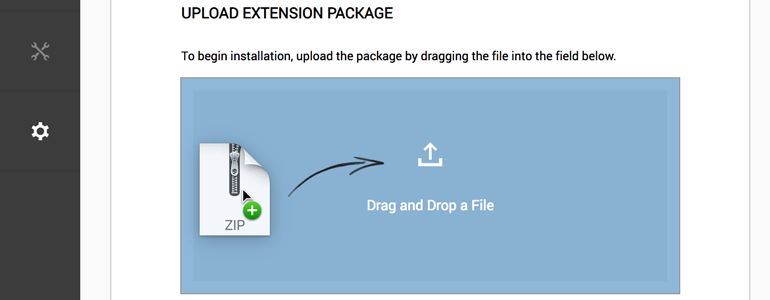
4) Drag and drop the downloaded plugin onto the designated area.
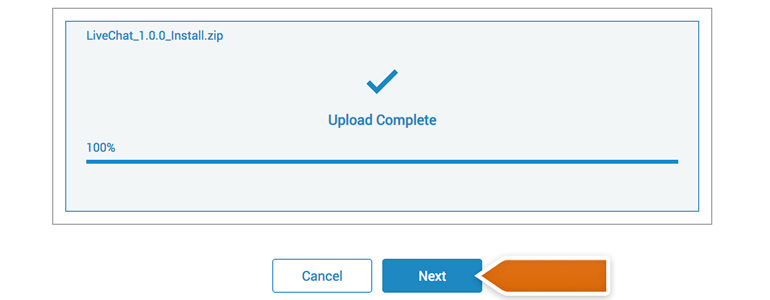
5) After the successful upload, click on Next to continue.
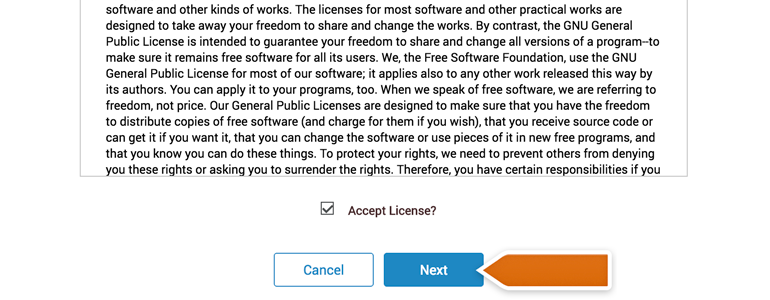
6) Go through the next two screens, until you will see license agreement. To proceed, accept the license and click on the Next button.
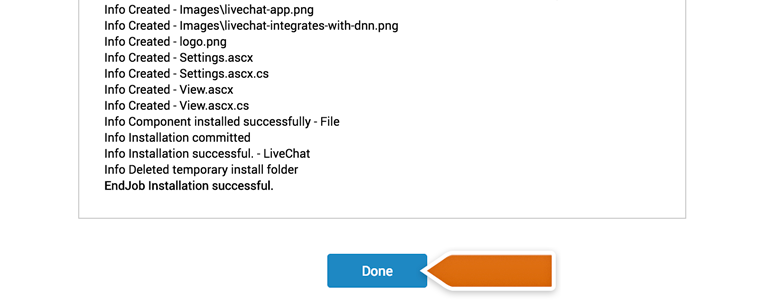
7) There's just one more thing: after accepting the license, you will see a Package Installation Report. All that you have to do here is to click on the Done button.
And that's it! LiveChat plugin is now added to your DotNetNuke website. To start answering your customers' queries, let's see how to link the plugin with your LiveChat licence!
DotNetNuke Chat: Configuration
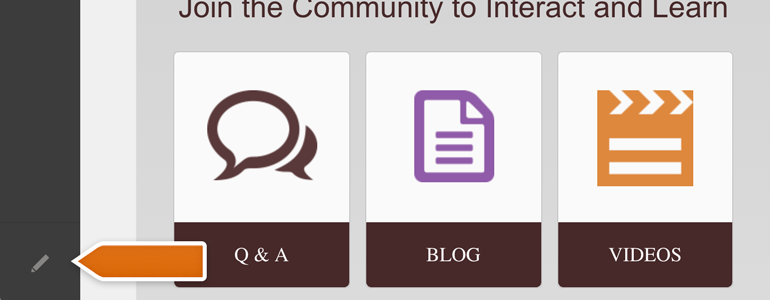
1) To configure the LiveChat plugin, click on the Edit Page button, available at the bottom left of your DNN's Administration panel.
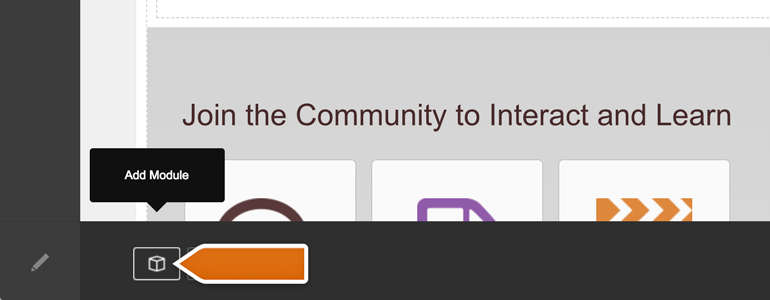
2) Click on the Add Module, available right next to a Edit Page button.
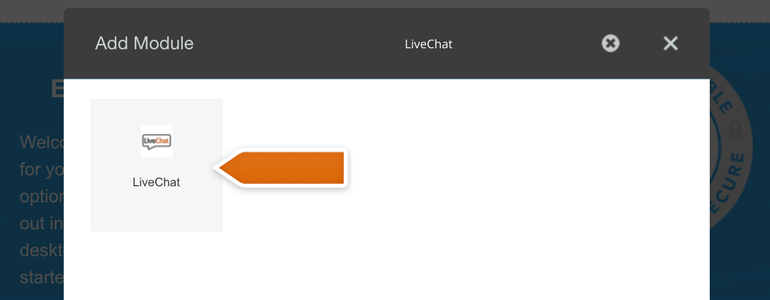
3) You will be prompted with a Add Module screen. There, search for LiveChat and click on the LiveChat icon.
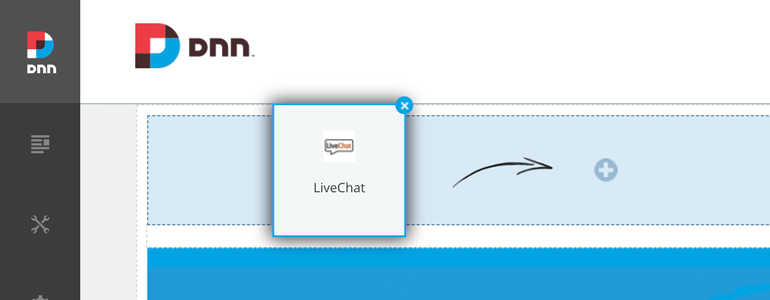
4) Drag LiveChat plugin and drop it at the top of your DNN's website, just like on the screenshot below.
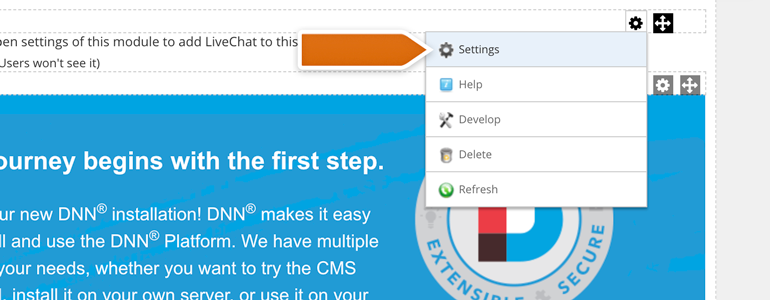
5) LiveChat is now added to your website but you still need to link the plugin with your LiveChat account. To do that, hoover your mouse over the plugin added to your website and go to Settings.
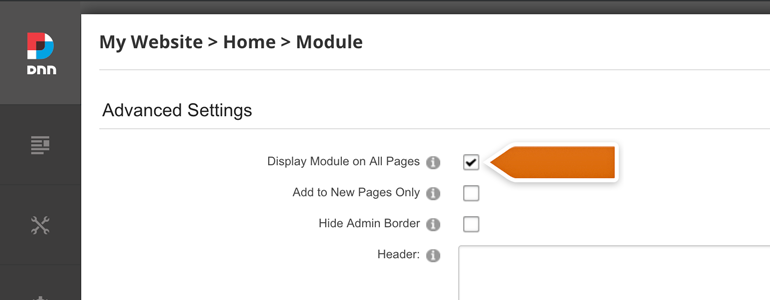
6) You will be prompted with a Module Settings page. There, scroll down a bit and open the Advanced Settings menu. All you have to do here is to enable the Display Module on All Pages option.
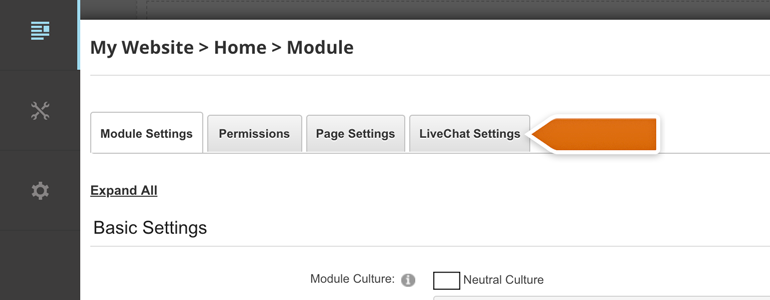
7) Now that you've ensured that LiveChat will be displayed on all pages, go to the LiveChat Settings category of your Module.
8) To link the plugin with your LiveChat account, click on the Sign in with LiveChat button.
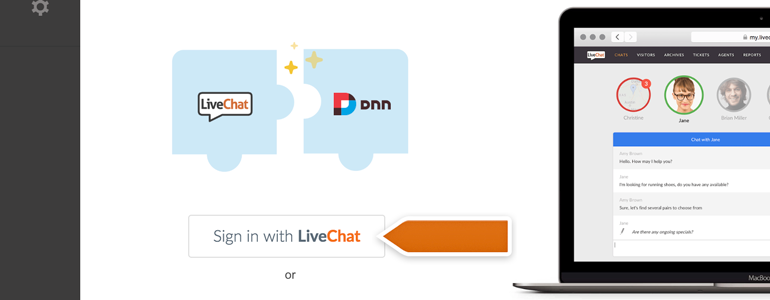
9) We’re almost there! To link your LiveChat account with DNN, click on Sign in with LiveChat button.
10) You will be prompted with a new window, asking you to log into LiveChat. To proceed, provide your LiveChat credentials and click on Sign in.

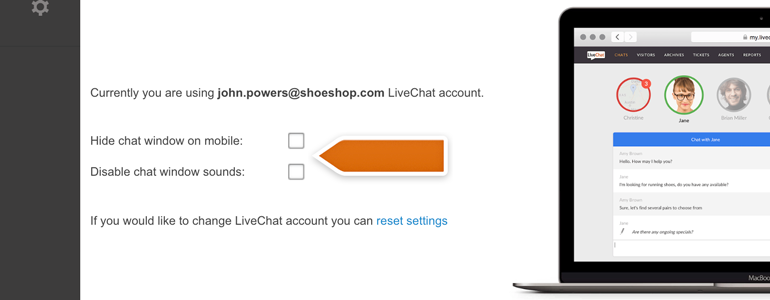
11) Now is the time to decide if you'd like to enable additional options offered by LiveChat plugin. With additional options, you can:
- Hide chat window for visitors browsing through your website on mobile;
- Disable the sound notifications played by a chat window on your website.
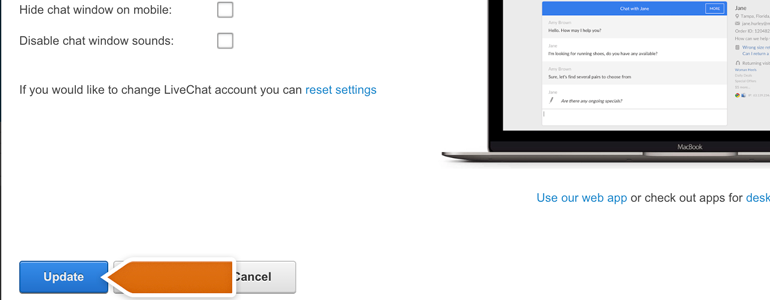
12) Now that your LiveChat account is linked with DotNetNuke and the advanced options are all in place, there is just one more thing to do. Simply click on the Update button, available at the bottom of the plugin's advanced options.
And that's it! LiveChat is now linked with DotNetNuke, and you can start closing more deals by providing your customers with exceptional support! Hopefully, you have found this article helpful but if you have any additional questions, feel free to start a chat with us - we are available 24/7/365!