 Help Center
Join up your web chat exchanges with CRM to create a full picture of your customers and leads. Display Gold-Vision information about your customers straight in your LiveChat window, and create new CRM records from your chats.
- Installation - learn how to integrate LiveChat with Gold-Vision;
- Configuration - learn how to configure your Gold-Vision integration
Installation
1) To integrate LiveChat with Gold-Vision, log into your Gold-Vision account and click on Tools button.
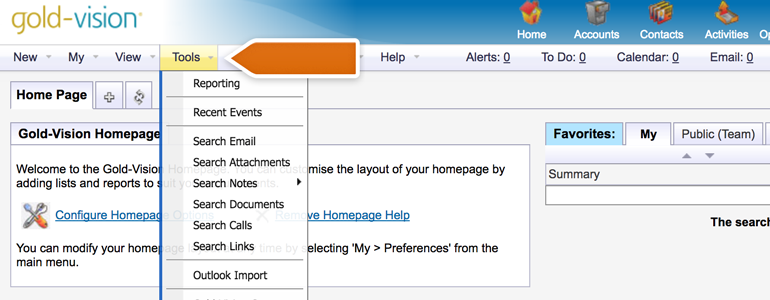
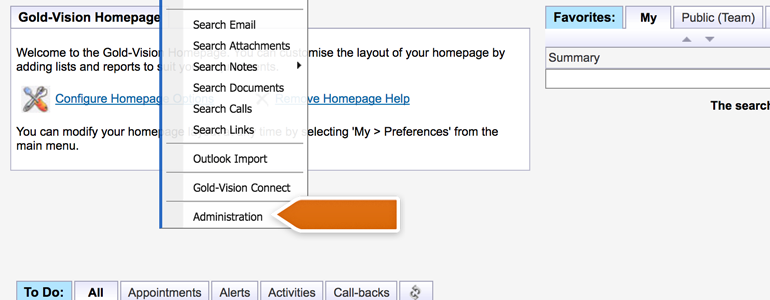
2) Click on Administration button available in the drop-down menu.
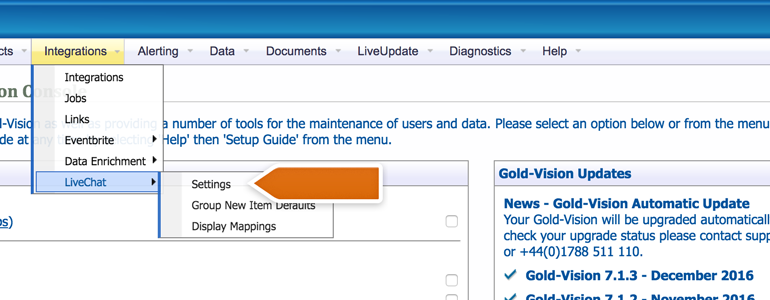
3) On the Gold-Vision Administration Console, click on LiveChat Settings available from the Integrations section.
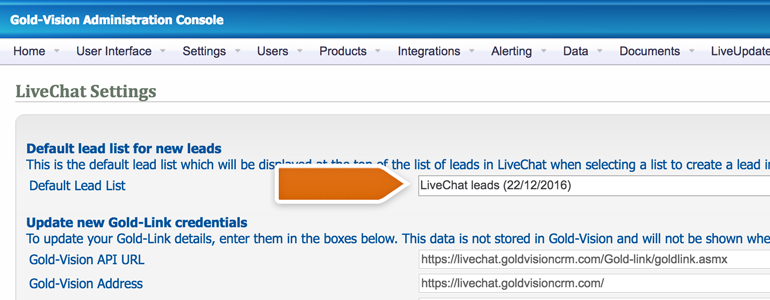
4) You will be taken to the LiveChat Settings panel. There, choose which list to display at the top of the list of leads in LiveChat when selecting a list to create a lead in.
5) Now, enter your Gold-Vision URL addresses and credentials.
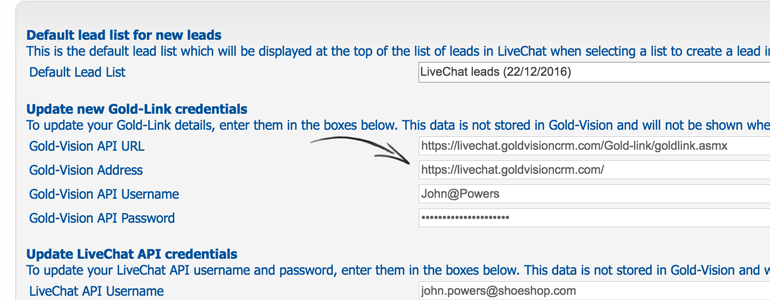
6) Underneath, provide your LiveChat email address and your LiveChat API key.
Click here to get your LiveChat API key.
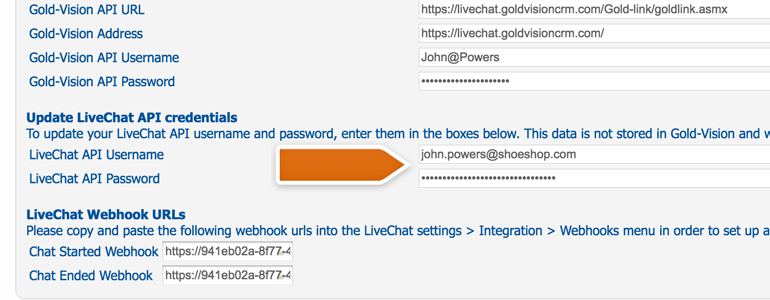
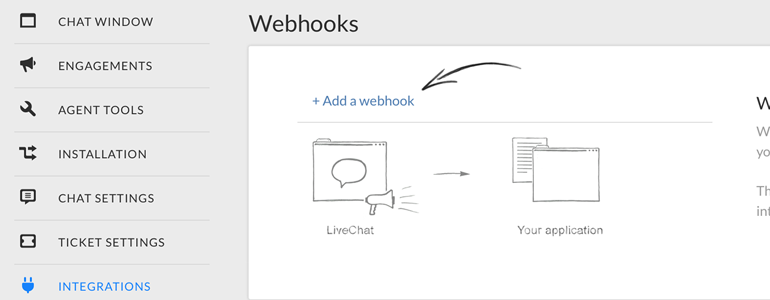
7) Now, go to Webhooks section in your LiveChat Settings. There, click on Add a webhook.
8) Choose chat starts as an event.
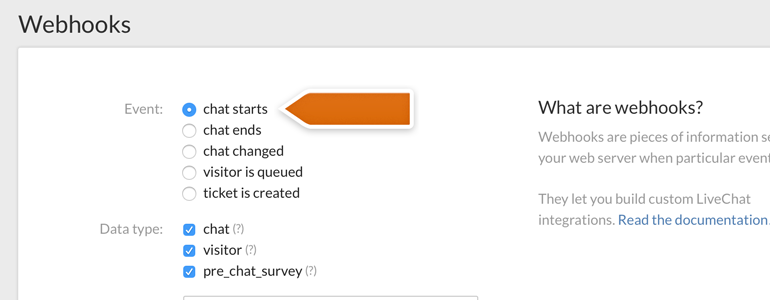
9) In the Data type section, mark chat, visitor and pre-chat survey. In the Target URL, paste the Chat started URL taken from Gold-Vision LiveChat Settings panel. Click on Add a webhook to continue.

To add chat ends webhook, repeat steps from 7 to 9.
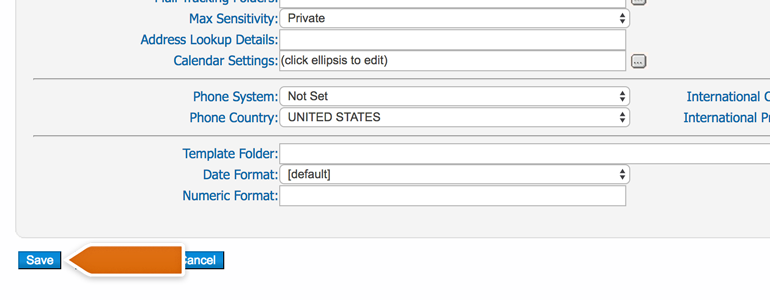
10) To finalize the installation, go back to Gold Vision LiveChat Settings and click on Save button.
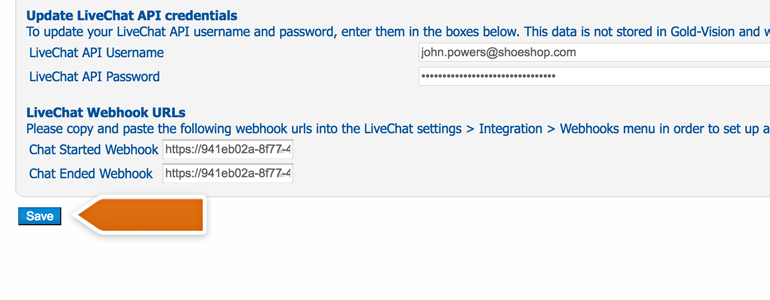
Done! Now your LiveChat is linked with Gold-Vision CRM. Proceed to the next step to configure the integration.
Configuration
- Users configuration - decide which Gold-Vision users will be able to create New Items during a chat;
- New Item Action configuration (per group) - define the default action for the Create New Contact and Create New Lead buttons available during a chat;
- Gold-Vision fields mapping configuration - decide which fields to pull from Gold-Vision CRM and display during a chat
Users configuration
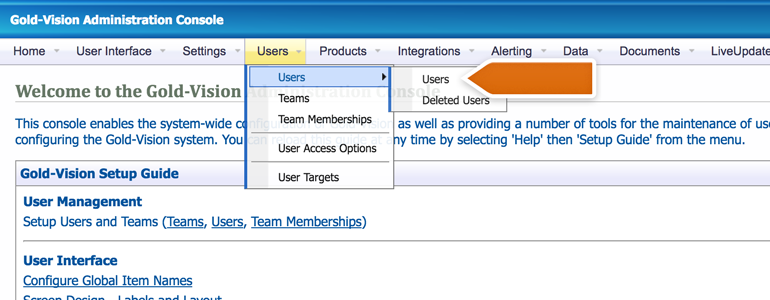
1) In your Gold-Vision Administration Console, choose Users available under Users menu.
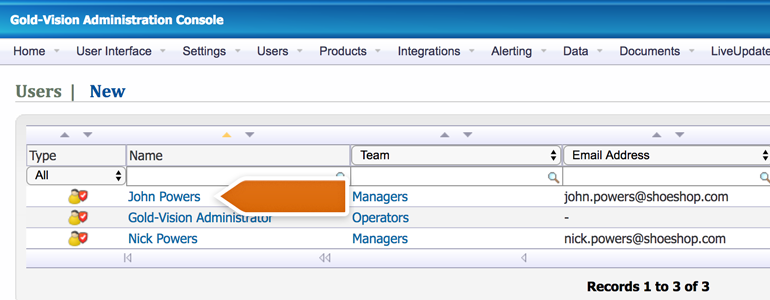
2) From the list of available users, choose the one who will have access to add new Leads and Contacts to Gold-Vision.
Remember that you can grant access to multiple users on your list.
3) On the next section, type your LiveChat email address into LiveChat login field.
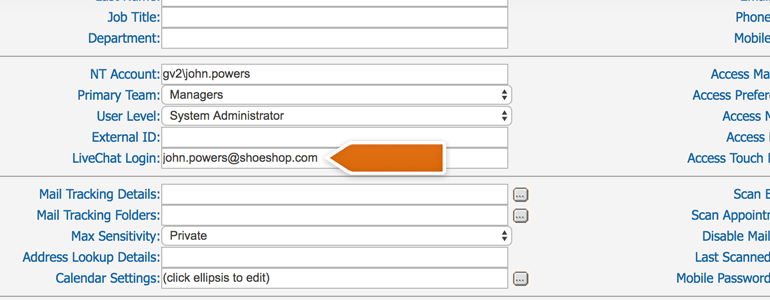
4) Click on Save to proceed.
Done! From now on, your Gold-Vision users can update your CRM during a chat.
New Item Action configuration (per group)
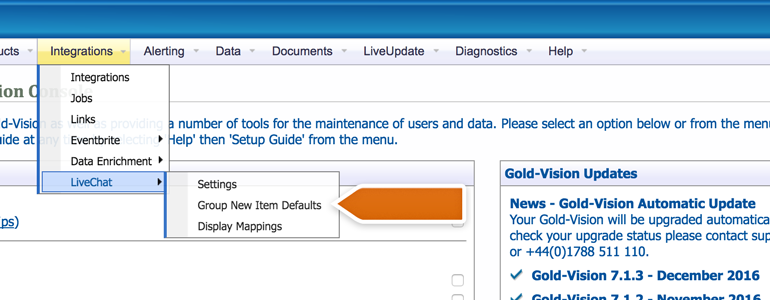
1) In your Gold-Vision Administration Console, choose LiveChat Group New Item Defaults available under Integrations.
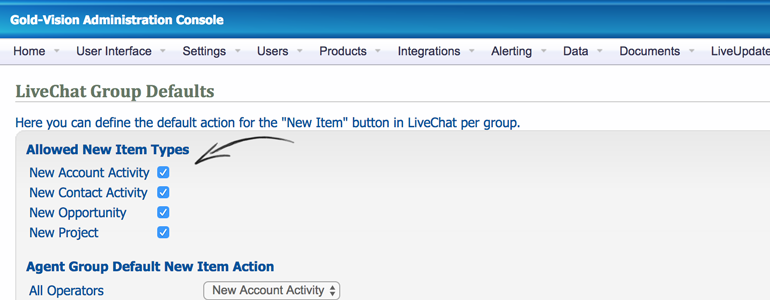
2) From there, choose which New Item Types you would like to allow for your users to create.
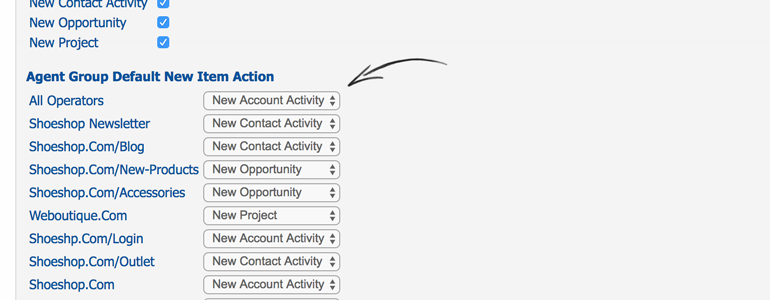
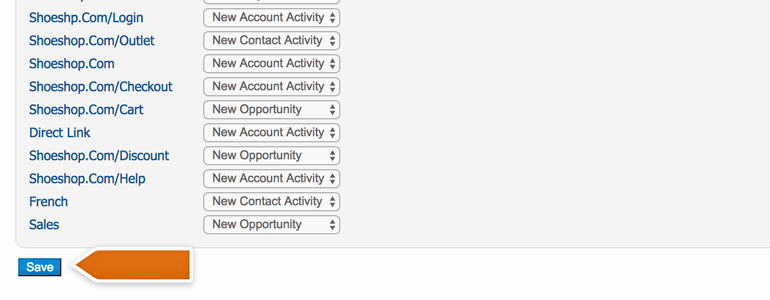
3)Now, choose the default action for the New Item button, available for each of your groups.
4) To finalize, click on Save button.
Gold-Vision fields mapping configuration
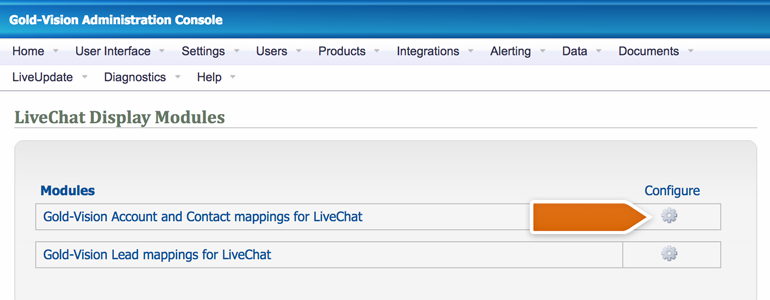
1) In your Gold-Vision Administration Console, choose LiveChat Display Mappings available under Integrations.
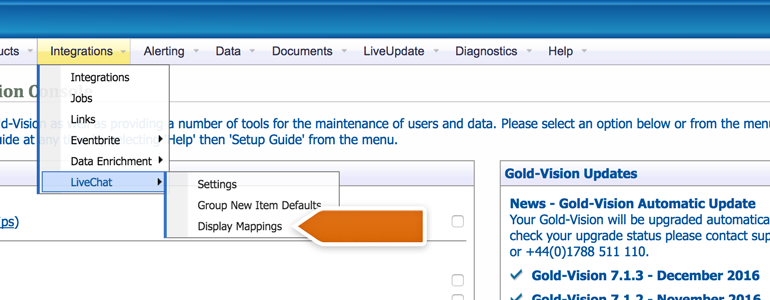
2) There, choose which module would you like to configure and click on Gear button.
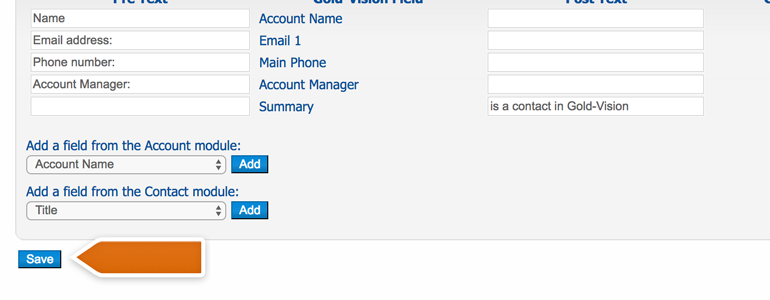
3) On the next section, choose which fields to display in LiveChat.
You can drag and drop fields to set the order in which they are displayed in LiveChat

4) Click on Save to finalize fields mapping configuration.
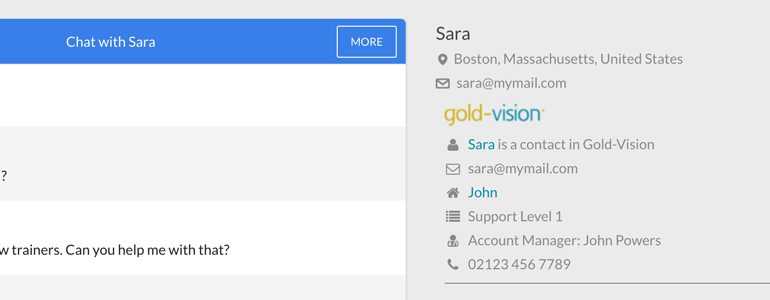
Done! Now your Gold-Vision integration is fully configured and ready to go! And here's how it'll look like during a chat with your customer:
Hopefully, you have found this article helpful but if you have any additional questions, feel free to start a chat with us - we are available 24/7/365!