 Help Center
The new chat widget by default comes with an embedded-only option - we have deprecated the old pop-up mode for our chat widget. This article will help you choose the best alternative option, adjust your current settings, and migrate to the new chat widget.
Use the embedded chat widget
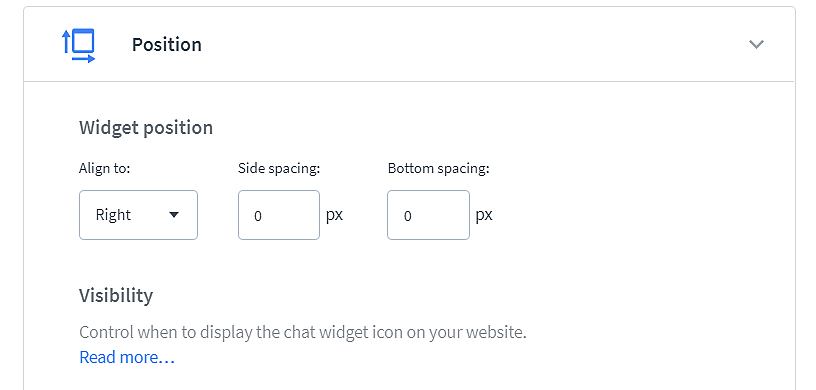
Our embedded chat widget is the most comfortable way for your customers to contact you. It gives them easy access to your agents, and it's the quickest way for them to get help instantly. One of the reasons, why some of our customers opted for the pop-up chat widget in the past was their website layout, for example, when the embedded chat widget covered an important element of the website. With the new chat widget, you can adjust the position on the chat widget in the Agent App. Go to Settings>Chat widget>Customise> Position where you can:
- move the chat widget to the left side of the page
- change bottom and side spacing
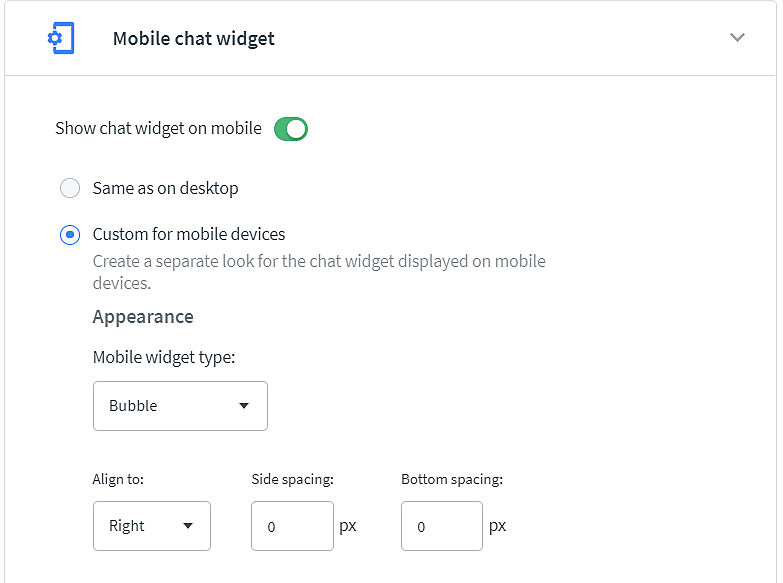
You can also set custom settings for the chat widget displayed on mobile devices. To do that go to Settings>Chat widget>Customise>Mobile chat widget
You can read more about our new customization options here.
You can also hide our default minimized view and prepare your own minimized button to maximize the chat widget.
Use our new chat page
We've prepared a landing page you can link to from your website. Upgrade your chat widget to the new one, and you will be able to use the link https://direct.lc.chat/your_license_number/. Log into LiveChat, go to Settings>Channels>Chat page, and copy the link from there. Fill free to use it on your social media, email footers, and email campaigns.
Use direct chat link
If you want to recreate the old chat widget behavior to a tee, you can use the direct chat link with JavaScript and HTML snippets. Just create a chat button on your website and open a new window with direct chat link to your website:
const liveChatButton = document.getElementById('livechat-button') liveChatButton.addEventListener('click', () => { window.open('https://secure.livechatinc.com/licence/<your_license_number>/open_chat.cgi', 'livechat', 'width=450,height=500') })
and then add the HTML of the button anywhere you whish to place it:
<button id="livechat-button"> Chat with us! </button>
Make sure to replace <your_license_number> with your license number, which can be found in the LiveChat app in the link to the Chat page.
Such implementation does not allow for tracking the customers browsing your website, so the Customers section of the LiveChat app will only show the customers who clicked on your button.
If you have other custom CSS customization, you can read more on how to migrate them to the new chat widget here.