 Help Center
Do your chat visitors report bugs to your team through LiveChat chat? If yes, you can pass transcripts of such chats to your projects in Jira to make the work of your debugging team easier.
Follow the steps below to create a Zap which will pass an issue to Jira after the 'Bug' tag is added to a chat.
Creating the Jira – LiveChat Zap
Creating this Zap consists of four main parts:
- Setting up the trigger - choosing an event that will start data passing
- Adding a filter - determining which chats will get through the destination app
- Configuring the action - setting up what happens in the target app
- Launching the Zap - turning the integration on
Setting up LiveChat trigger
The first step to set up this integration is to determine a condition that will trigger an action in your target account.
1) Log in to Zapier and click on Make a Zap in the upper menu.

2) Choose LiveChat as the Trigger App.
3) Select Chat changed as the Trigger.
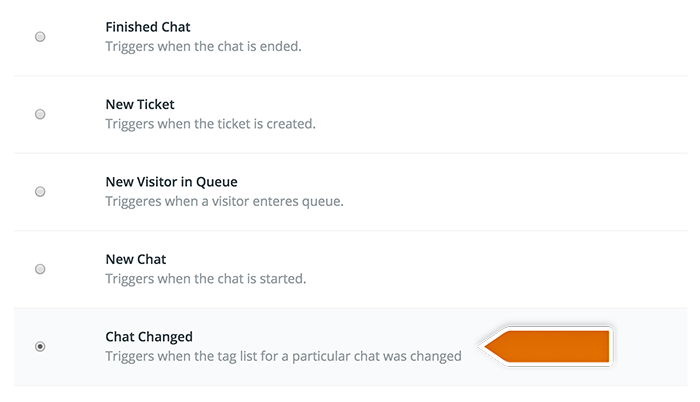
4) Click on Save + Continue to proceed.
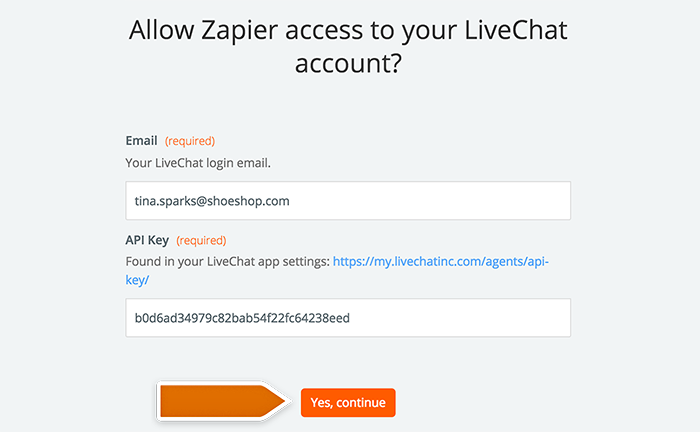
5) Click on Connect a New Account and then provide your LiveChat login email and the API key. Next, click on Yes, continue to accept.
6) You can rename the account and then click on Save + Continue.
7) Select Fetch & Continue to test this step and make sure it is working properly.
Adding a filter
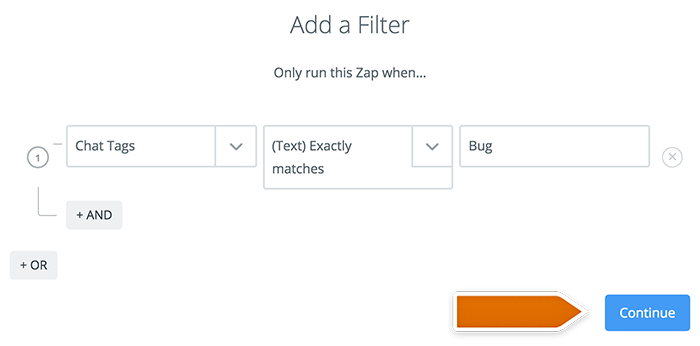
The second step is adding a filter that will only pass the chats with a 'Bug' tag further.
8) Go to the filter section in Zapier and choose the tag of the chats that you want to pass to Jira.
9) Then confirm by clicking on Continue button.
Configuring the action in Jira
High time to configure what will happen in your target app after the tag is added to a chat.
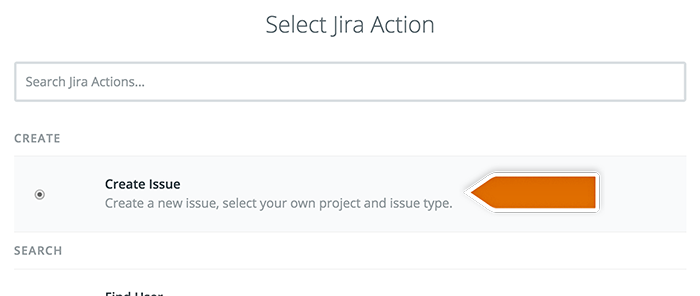
10) Choose Jira as Action App.
11) Then choose Create issue as the action and confirm by clicking on Save + Continue.
12) Connect your Jira account by providing your Base URL, Username and Password in the pop-up window.
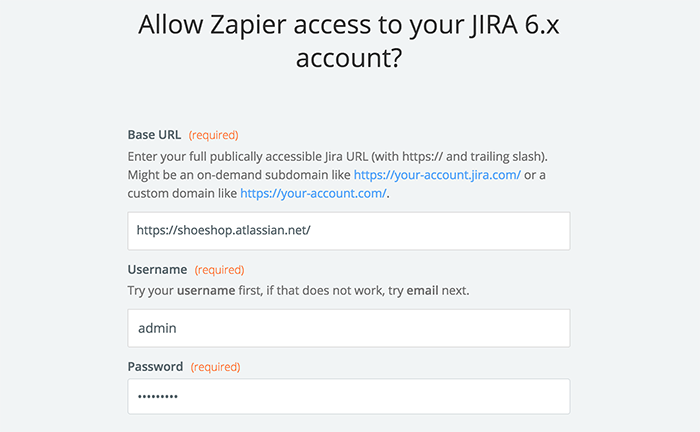
13) Click Yes, continue button.
14) Select Jira account and confirm the choice by clicking on Save + Continue.
15) Next, set up the template.
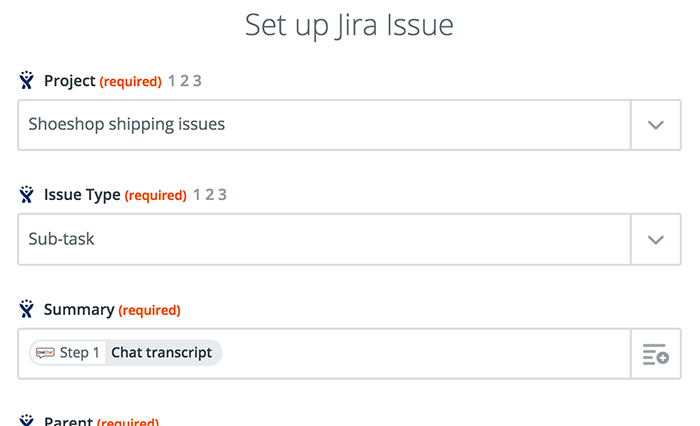
16) After you finish, click on Continue button down the page to proceed.
17) Zapier will ask you to test new Zap. Follow the instructions to make sure your Zap is working correctly.
18) Then click on the Finish button.
Launching the Zap
Ready to go live? Let's turn this integration on then.
19) Turn the Zap on by clicking on the grey switch and start passing information from LiveChat to Jira.

Done! You have just linked your LiveChat with Jira through Zapier. An issue will be passed to Jira after a 'bug' tag is added to a chat.