Help Center
Groups are very useful if you have multiple departments handling different cases, e.g., Sales and Support. They can significantly shorten case resolution time and reduce annoying transfers between agents working in different departments.
Group feature is available in Team, Business and Enterprise plans.
Create a group
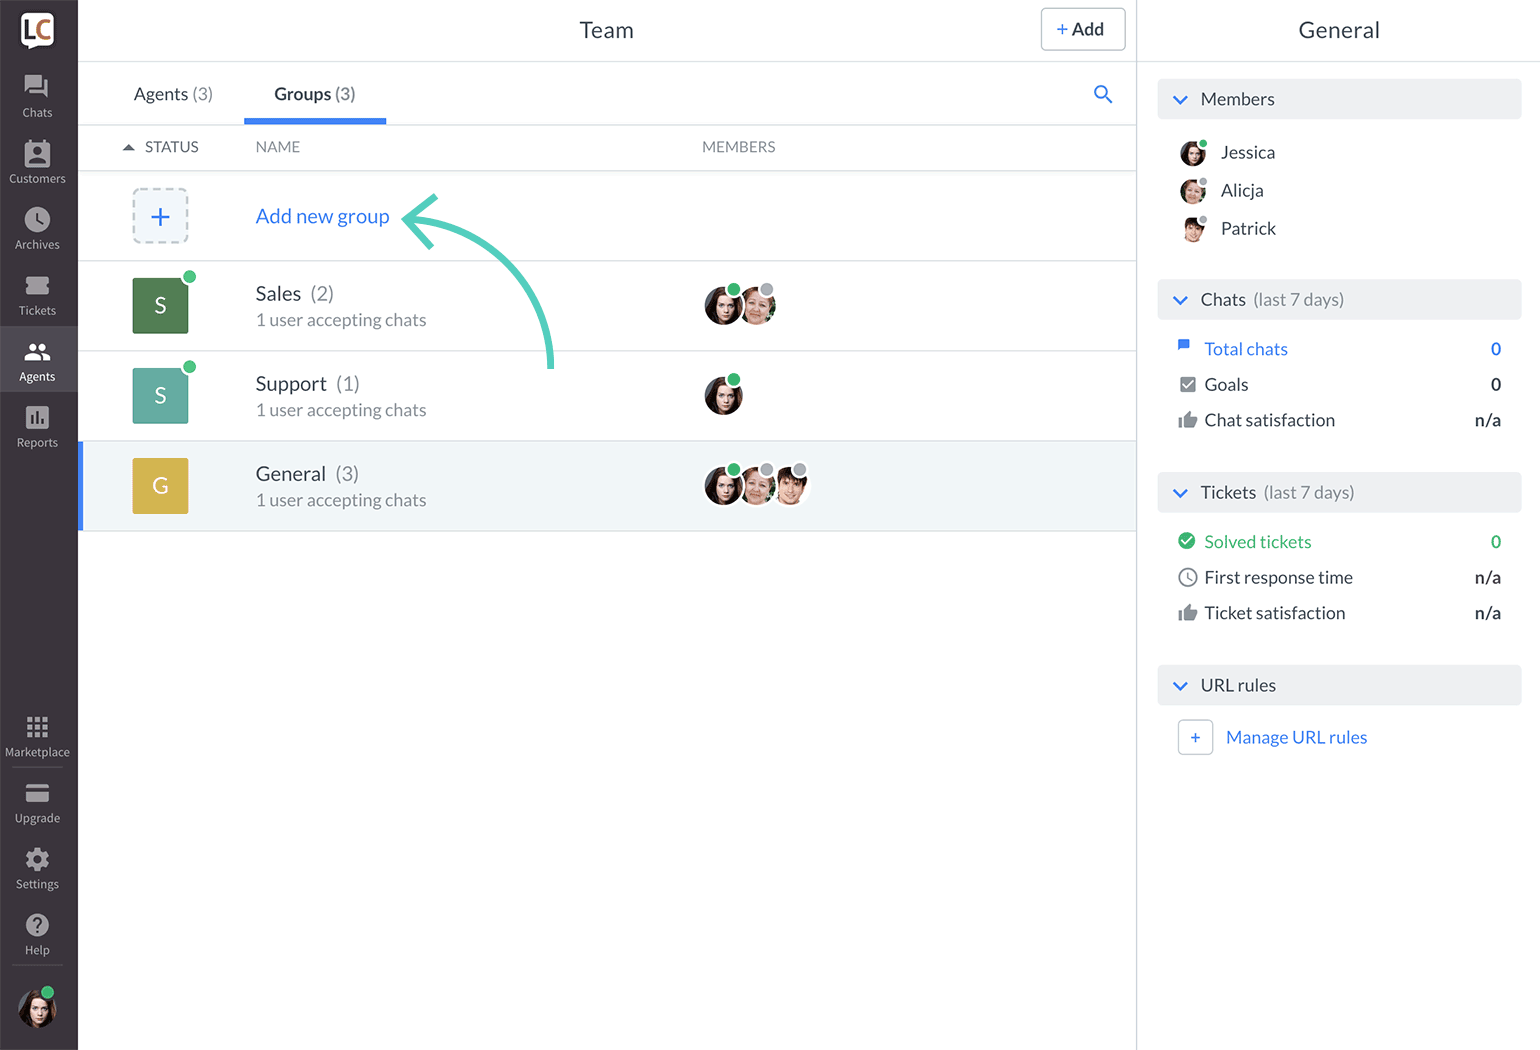
1) First, go to Agents → Groups and click on Add new group.
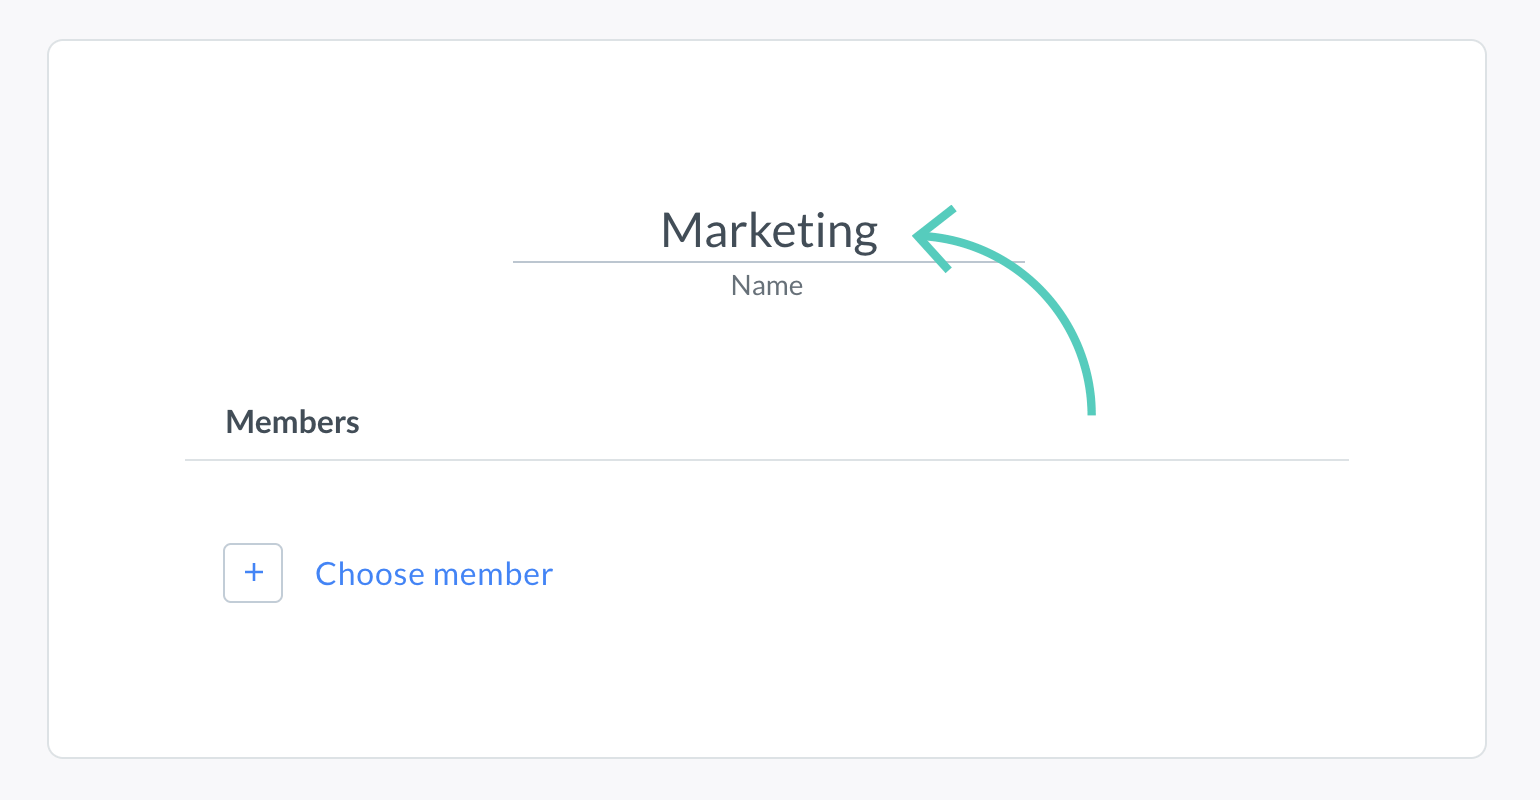
2) Enter a name of the group.
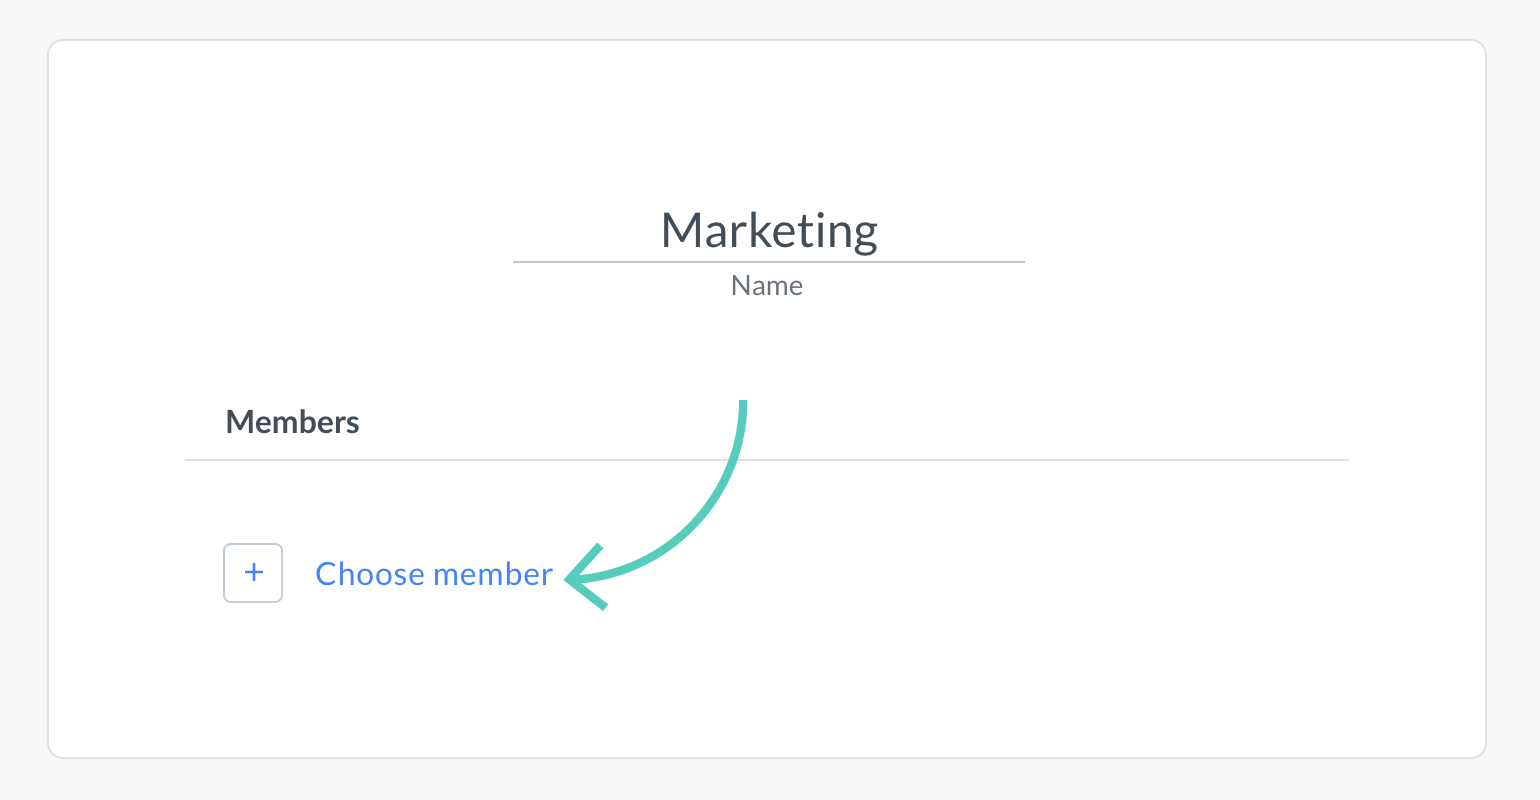
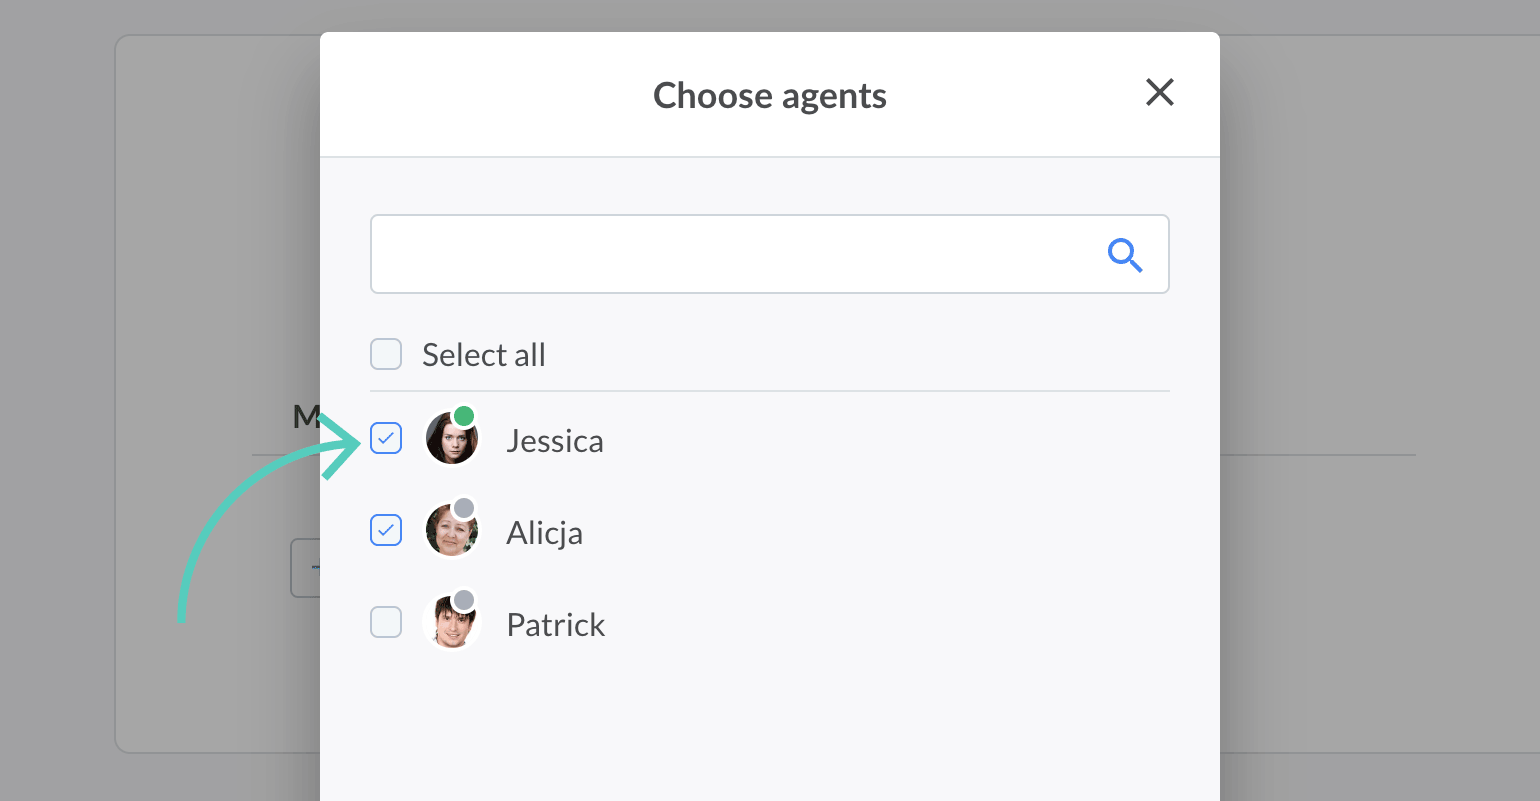
3) Click on Choose member.
4) Select agents, you want to assign to this group by checking a box next to their name.
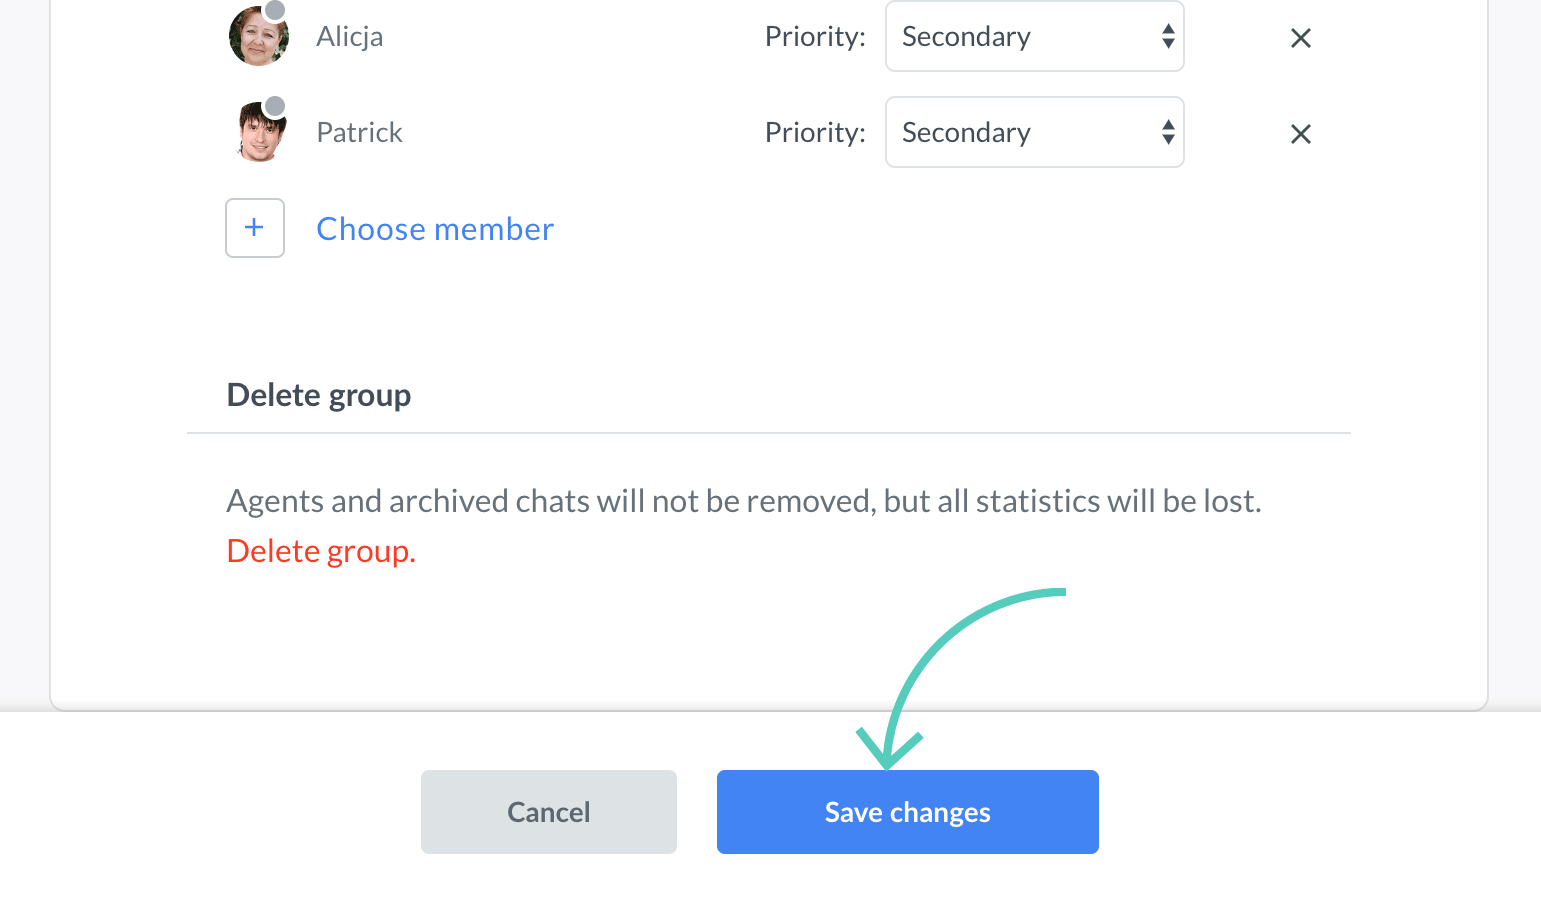
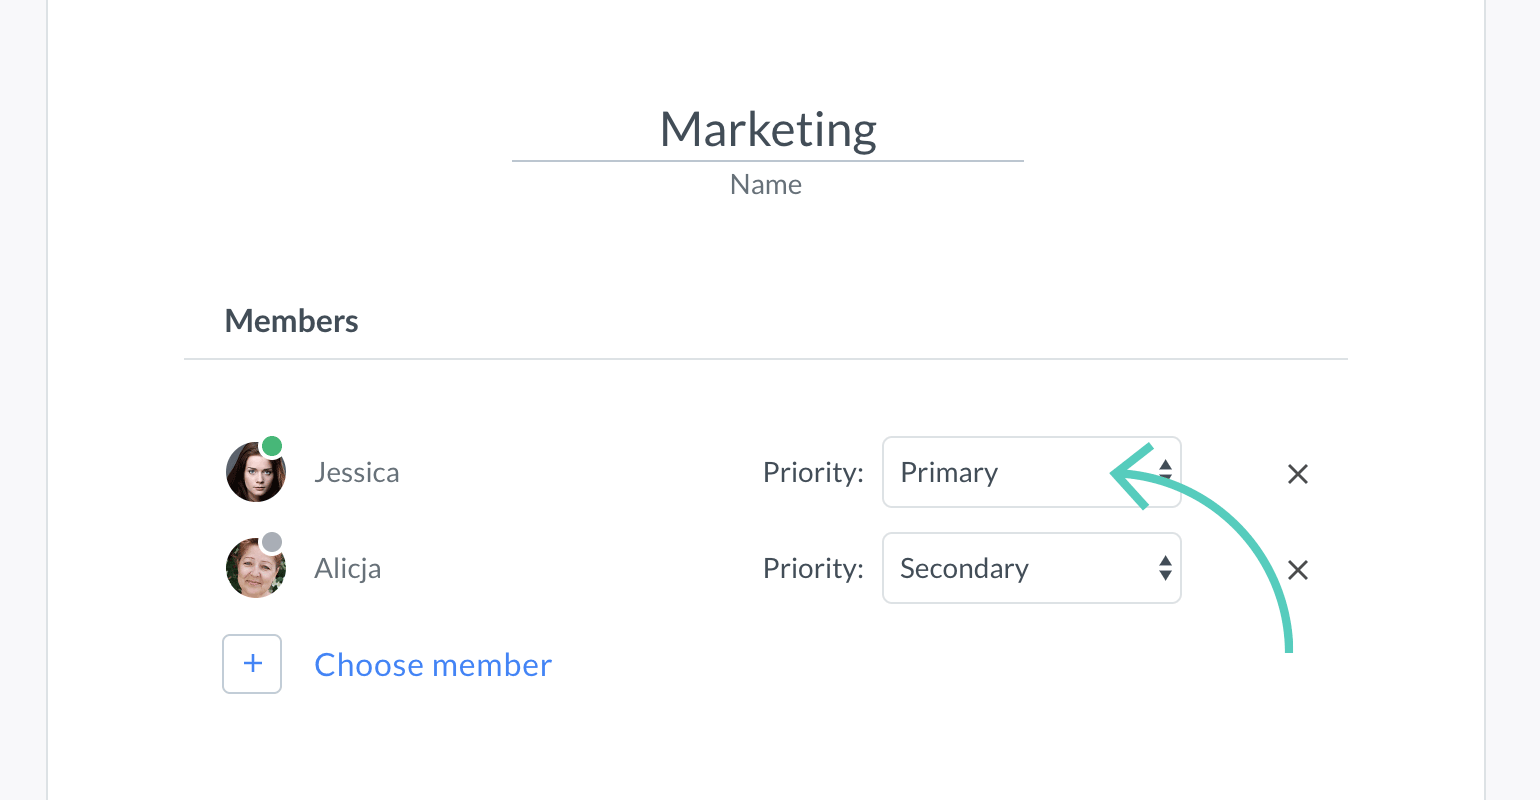
5) Then, choose priority (read more about priority) for every agent.
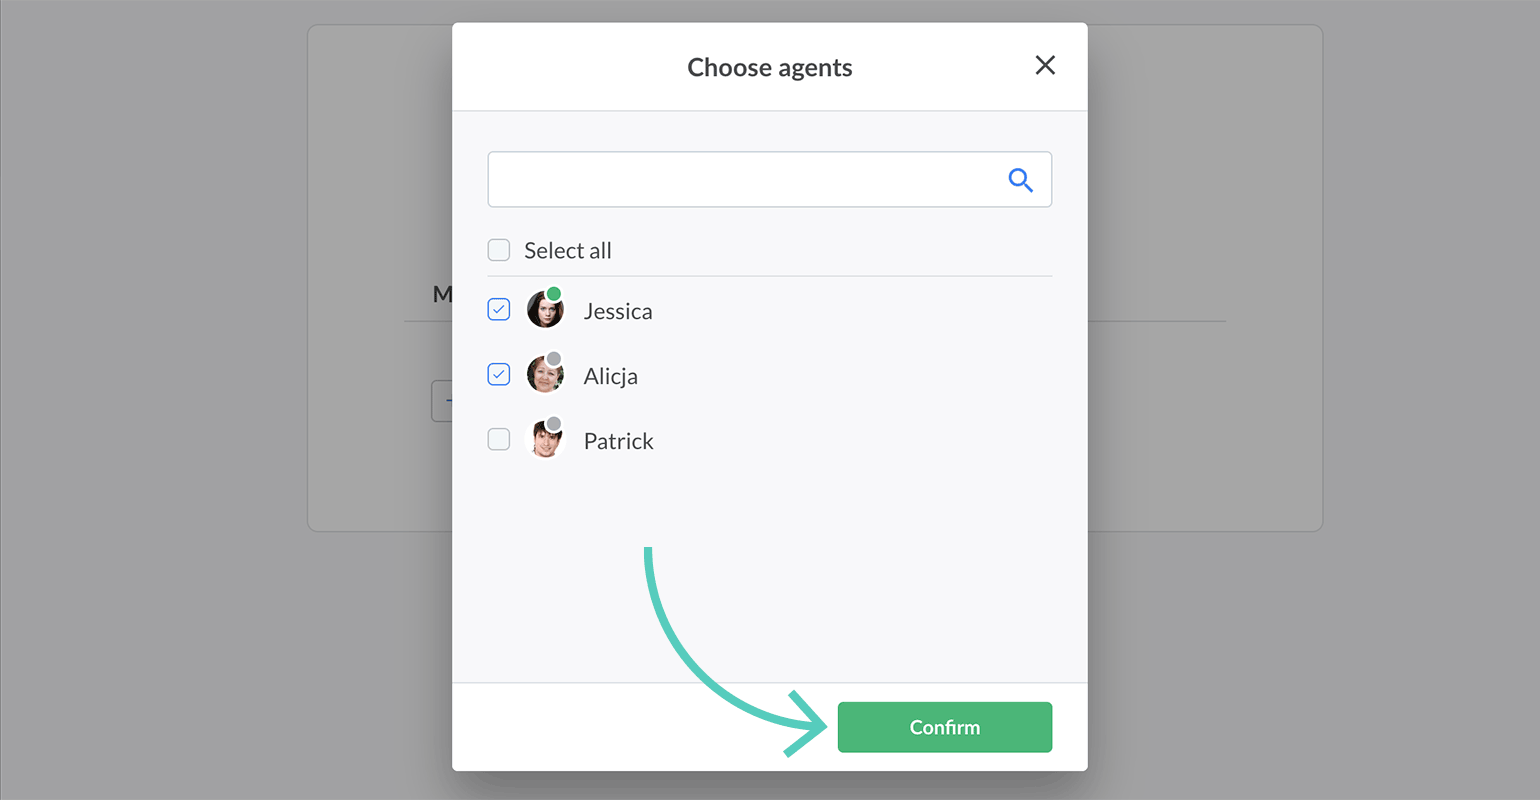
6) Next, click on Confirm.
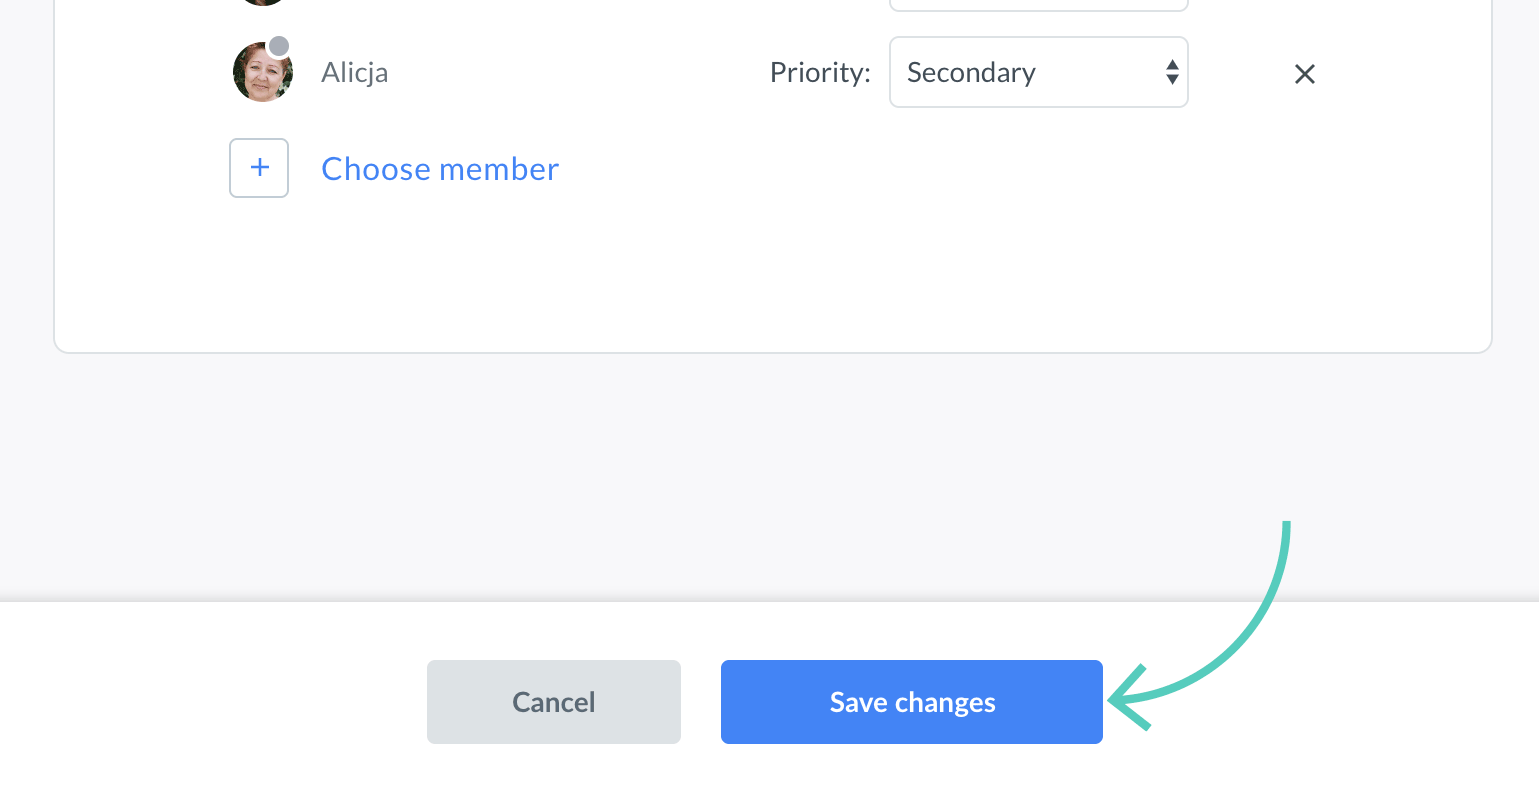
7) Finally, click on Save changes.
You can create as many groups as you wish. Also, you can assign one agent to multiple groups.
Edit a group
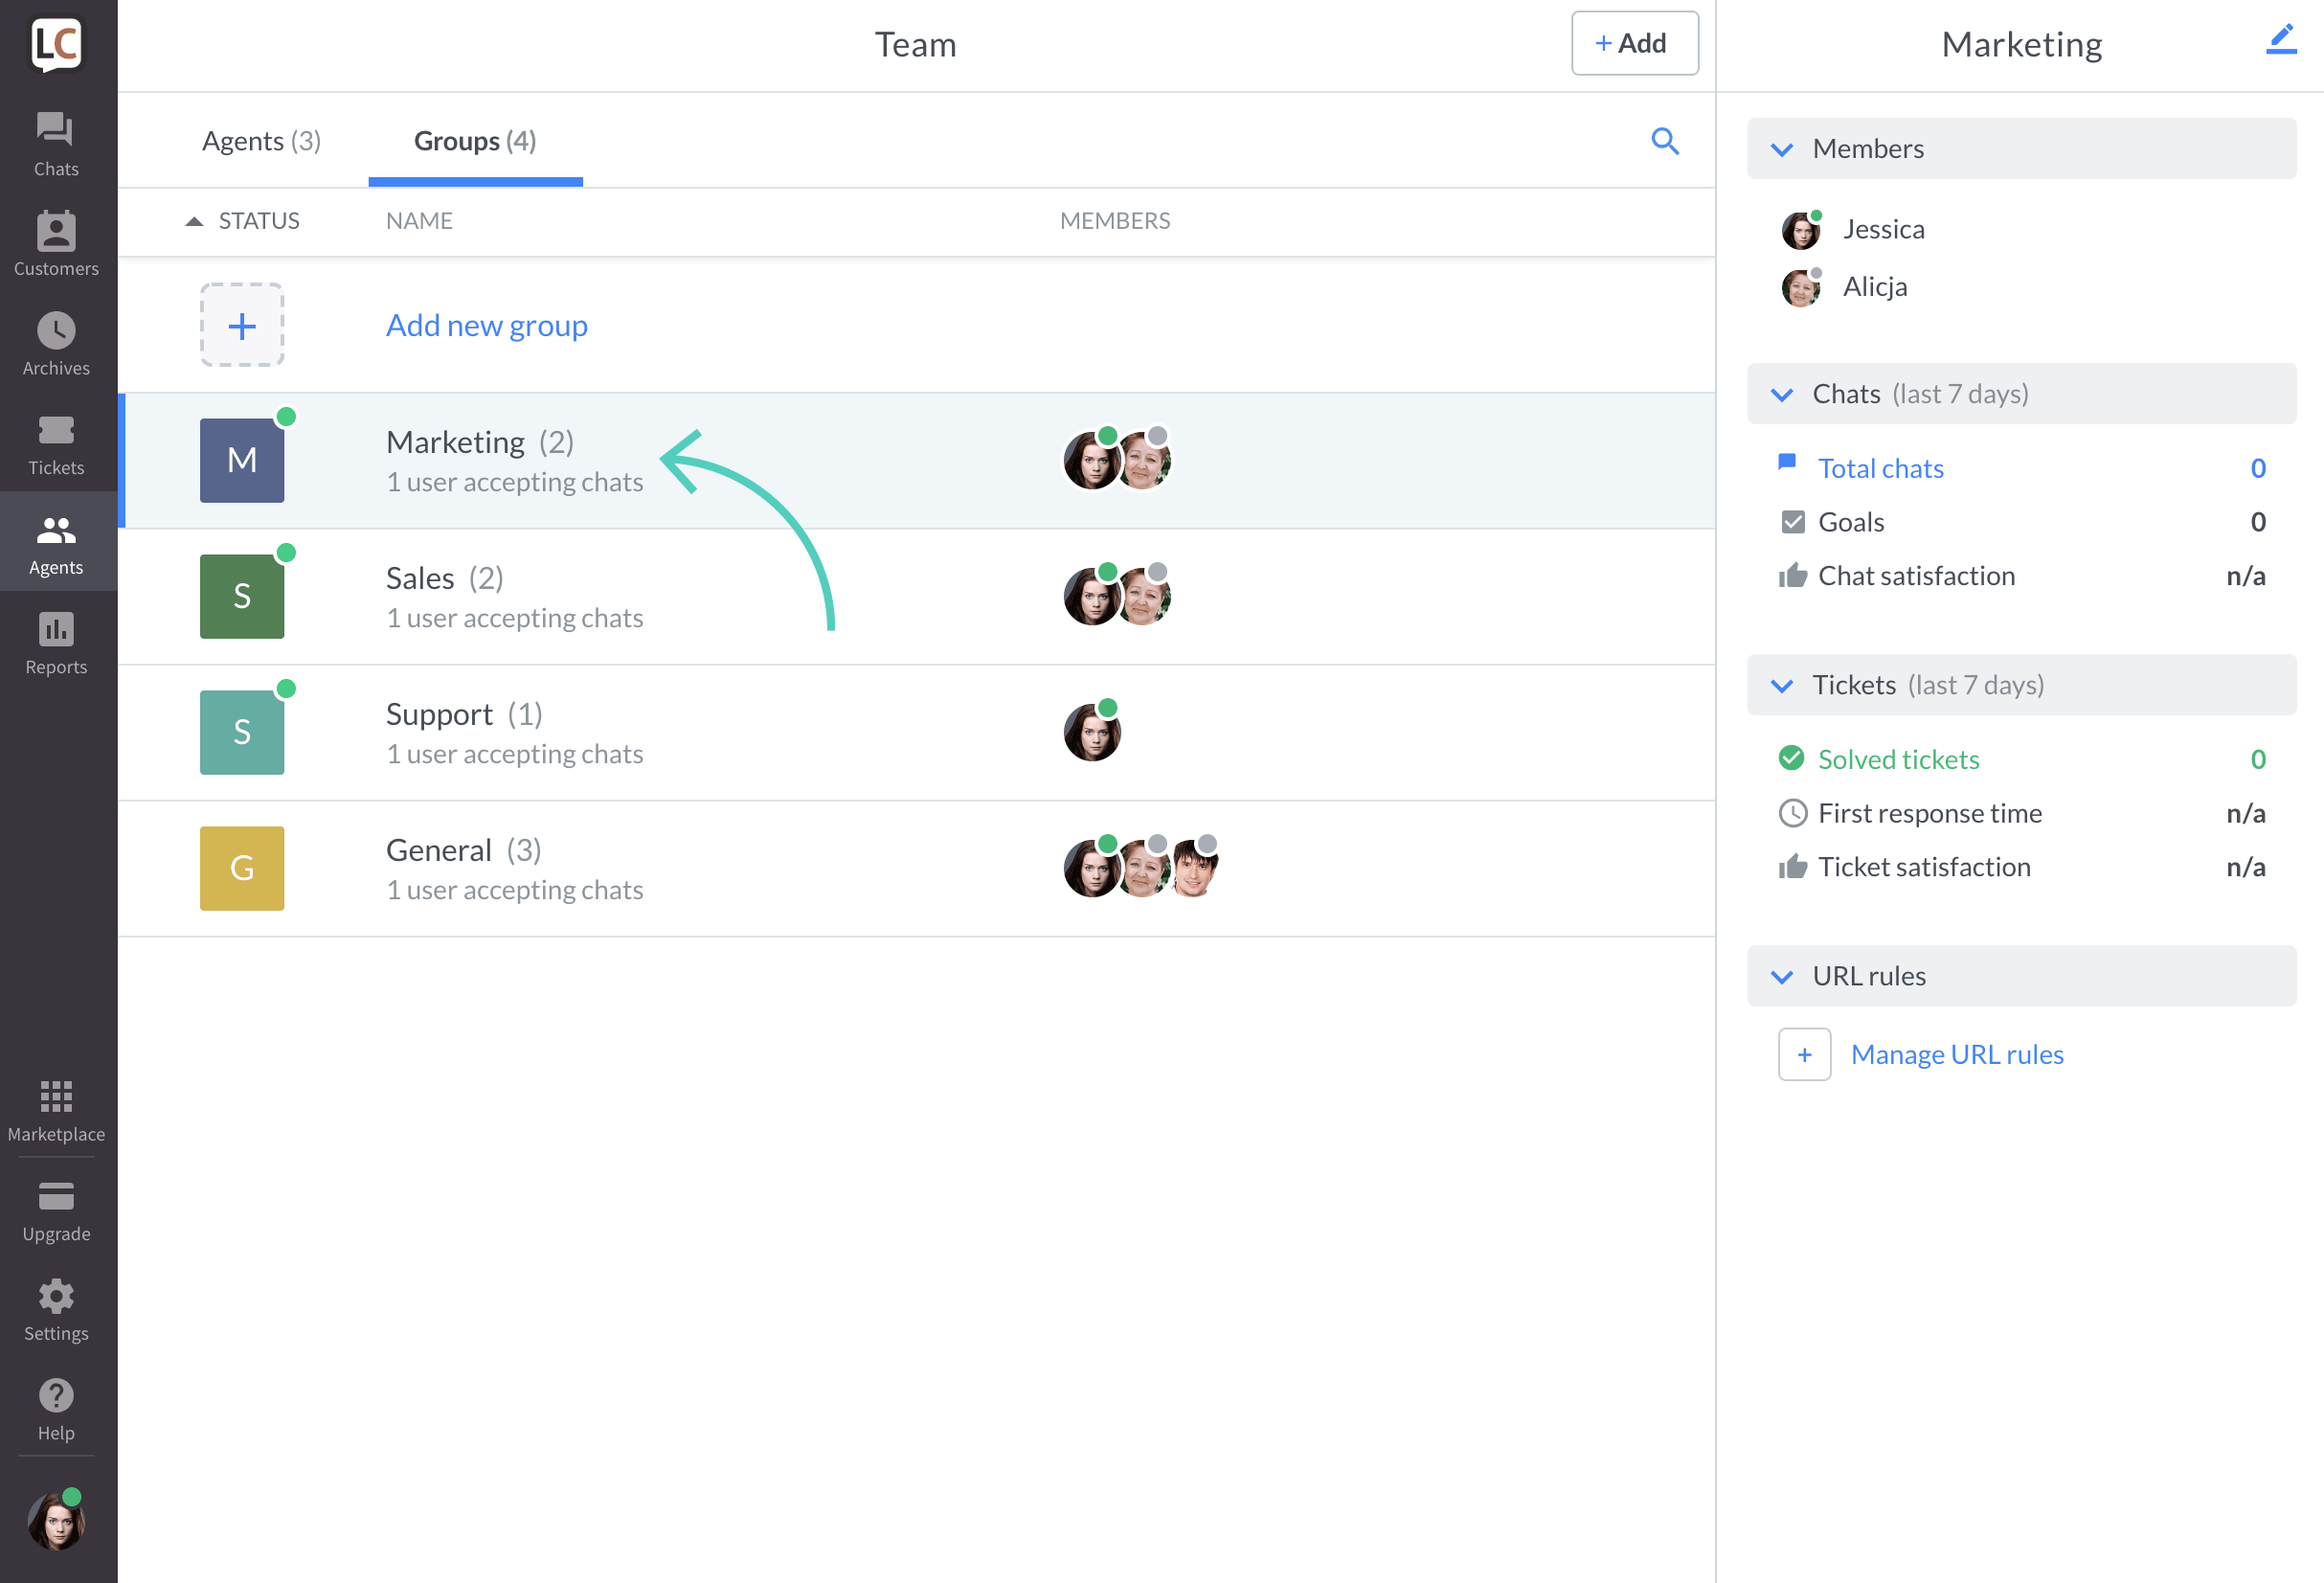
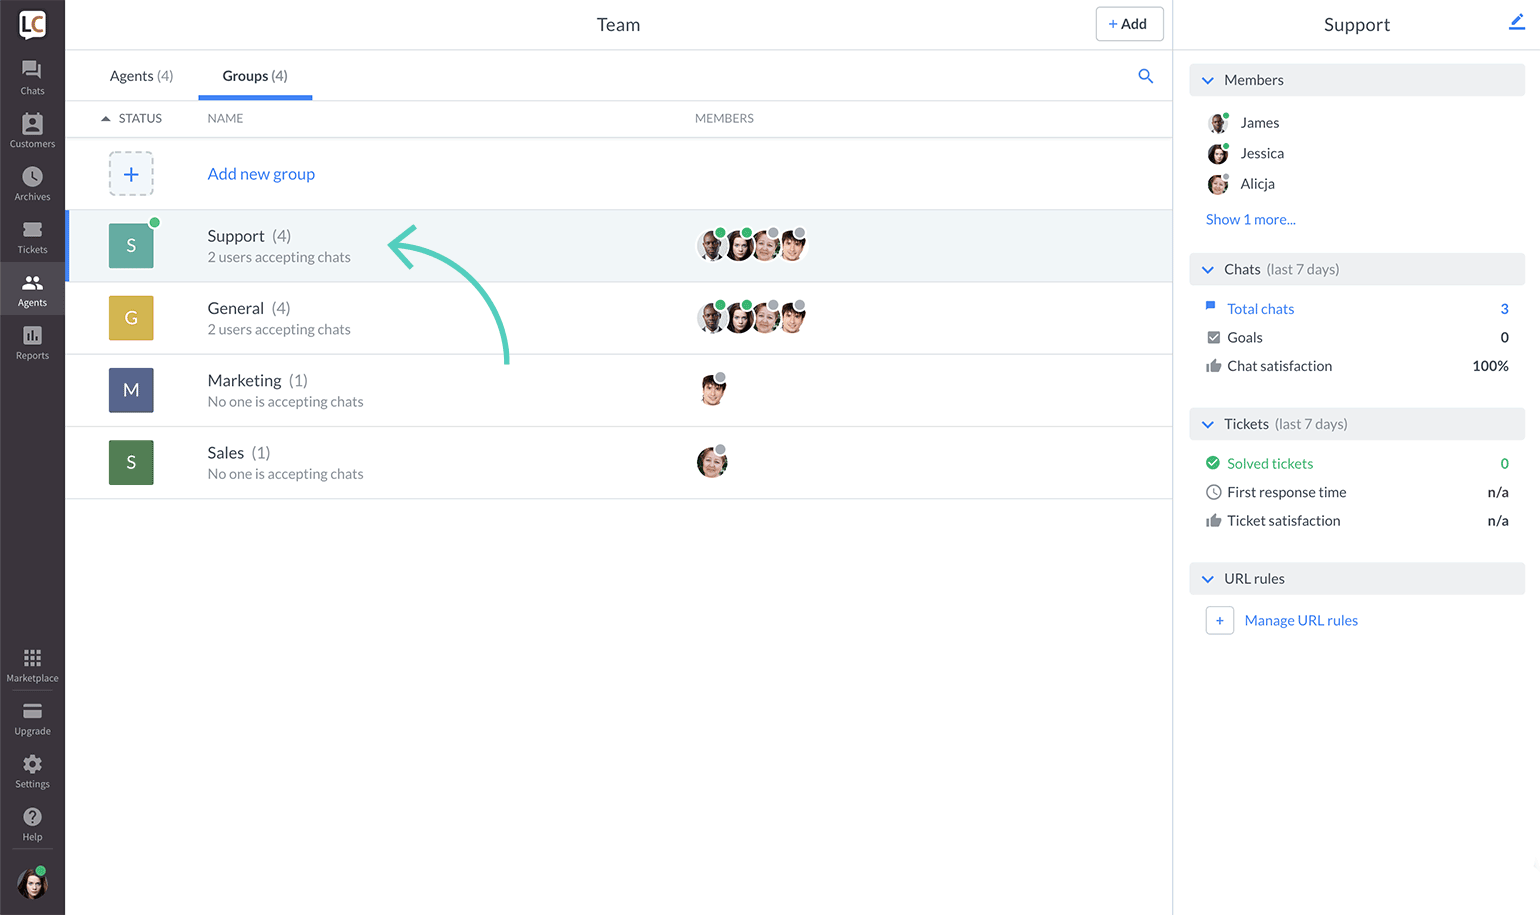
1) First, go to Agents → Groups and select a group you want to edit.
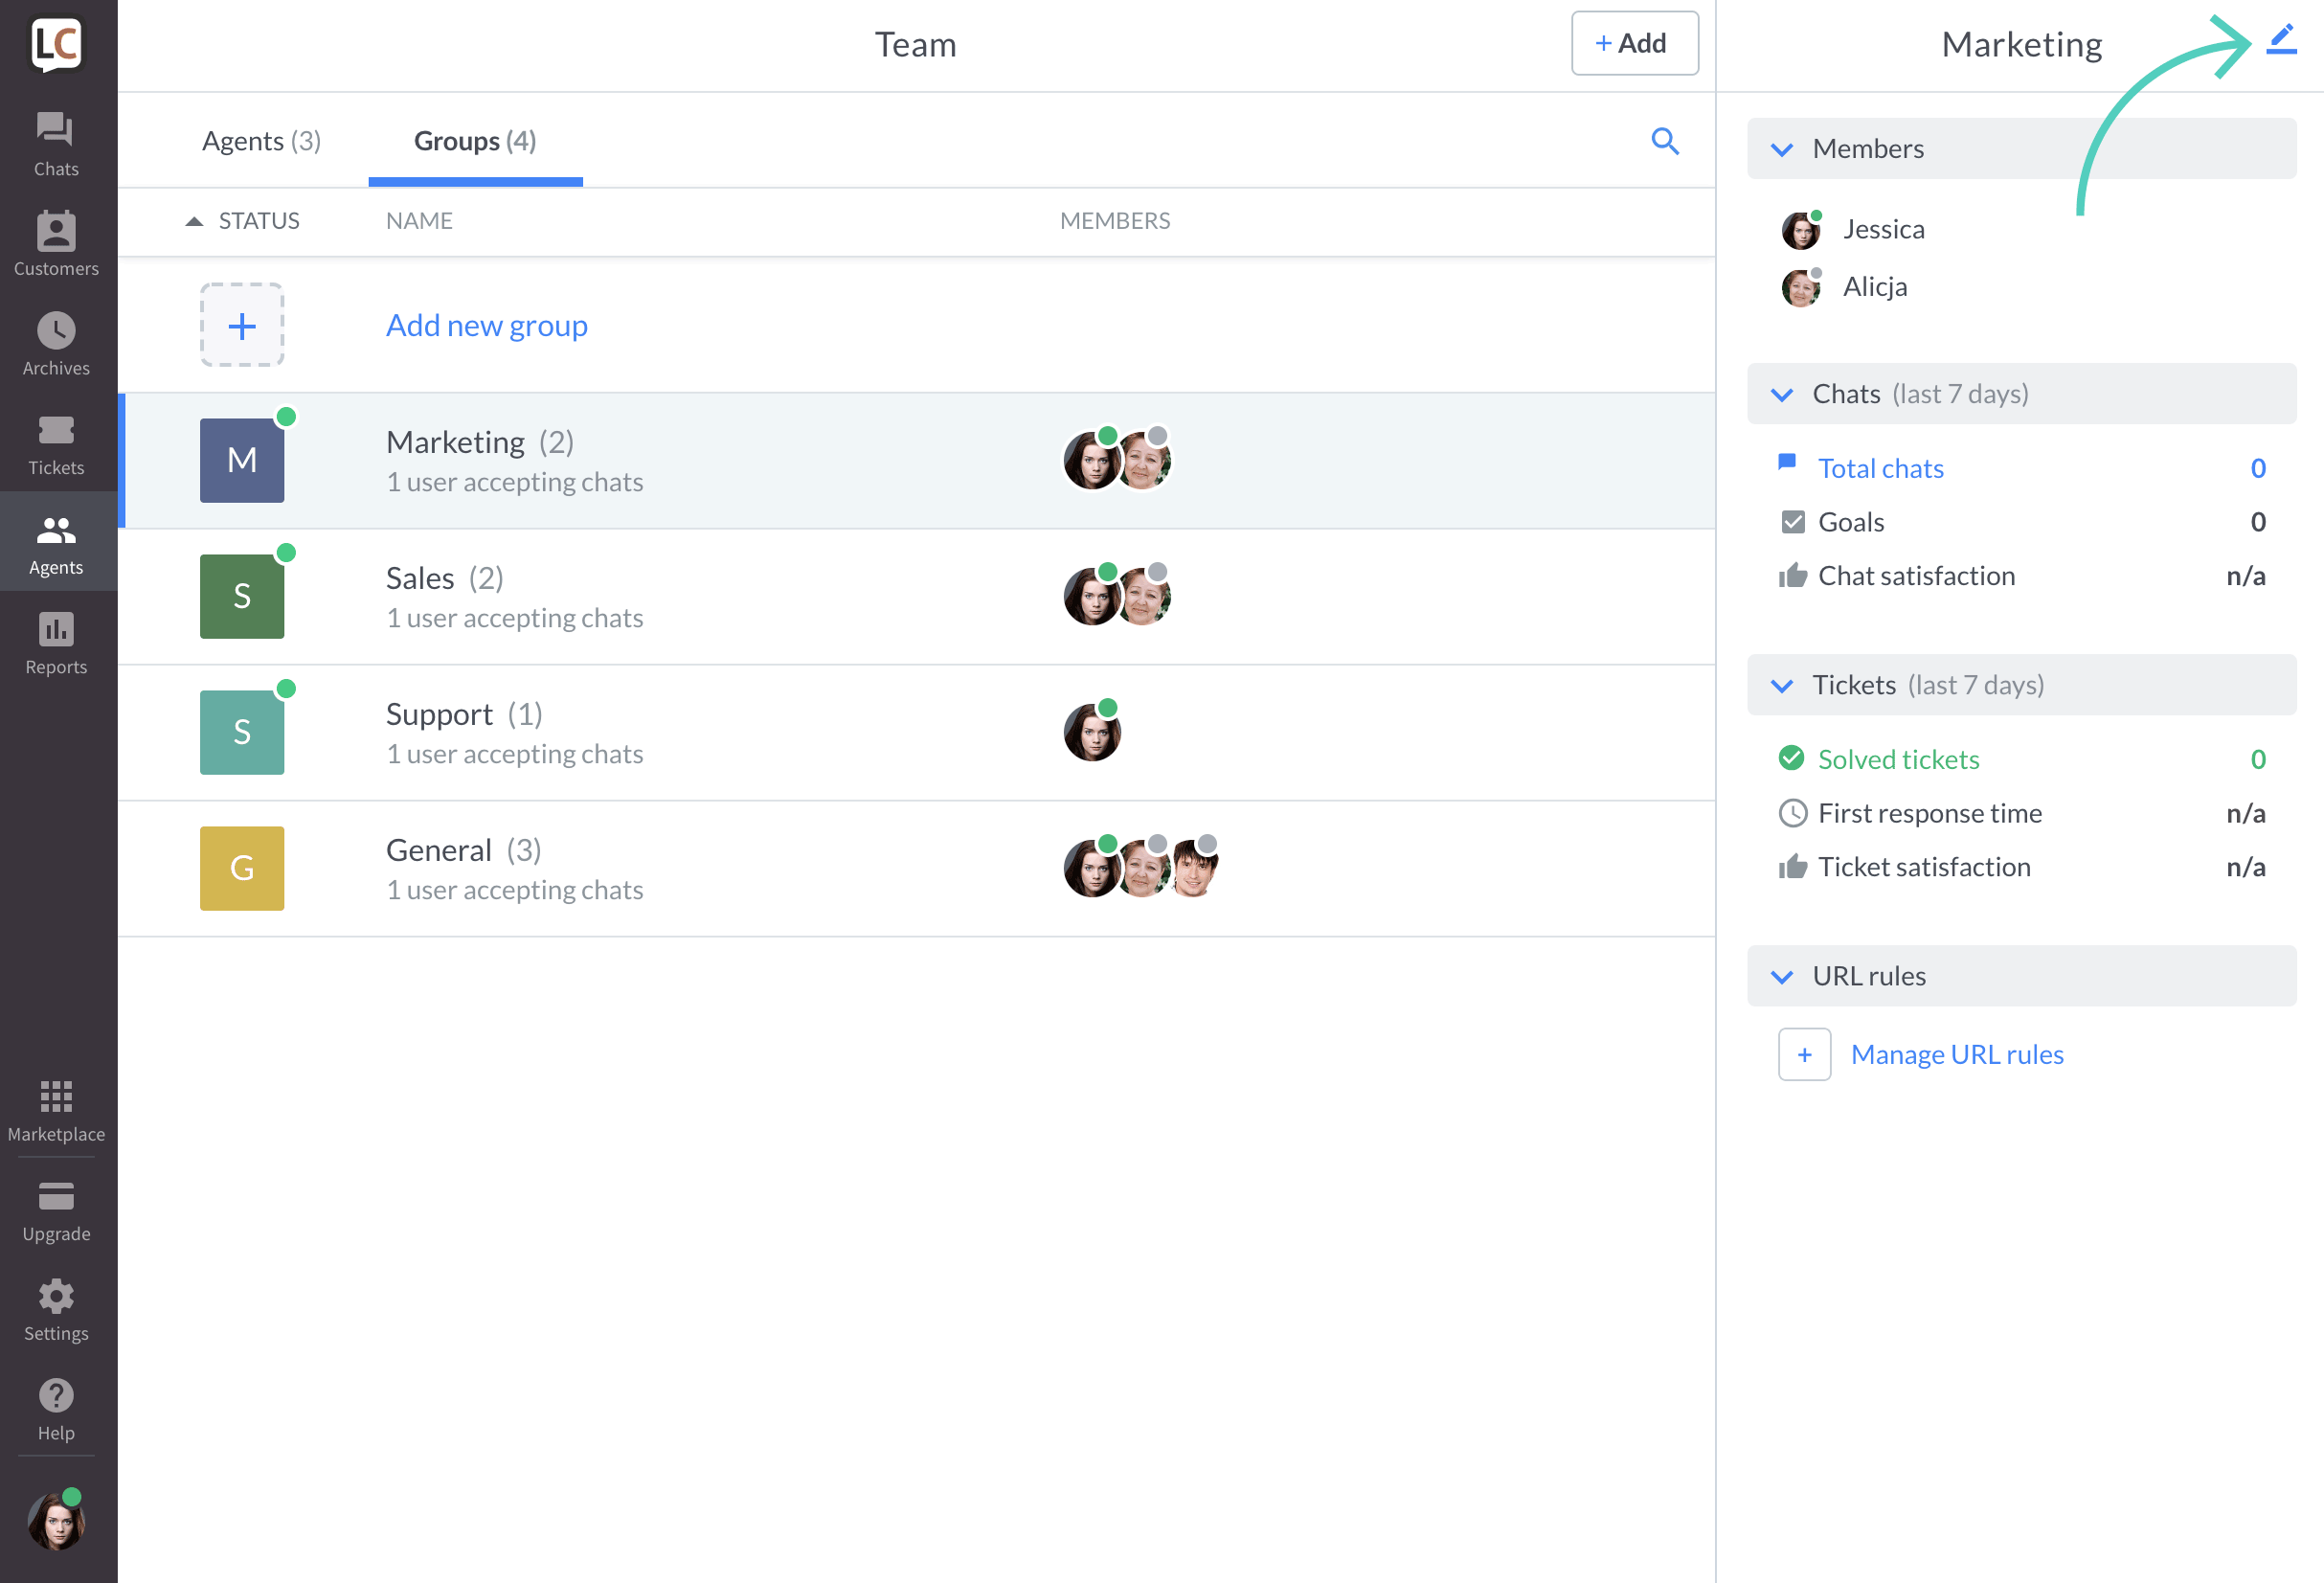
2) Click on the pencil icon in the top right corner.
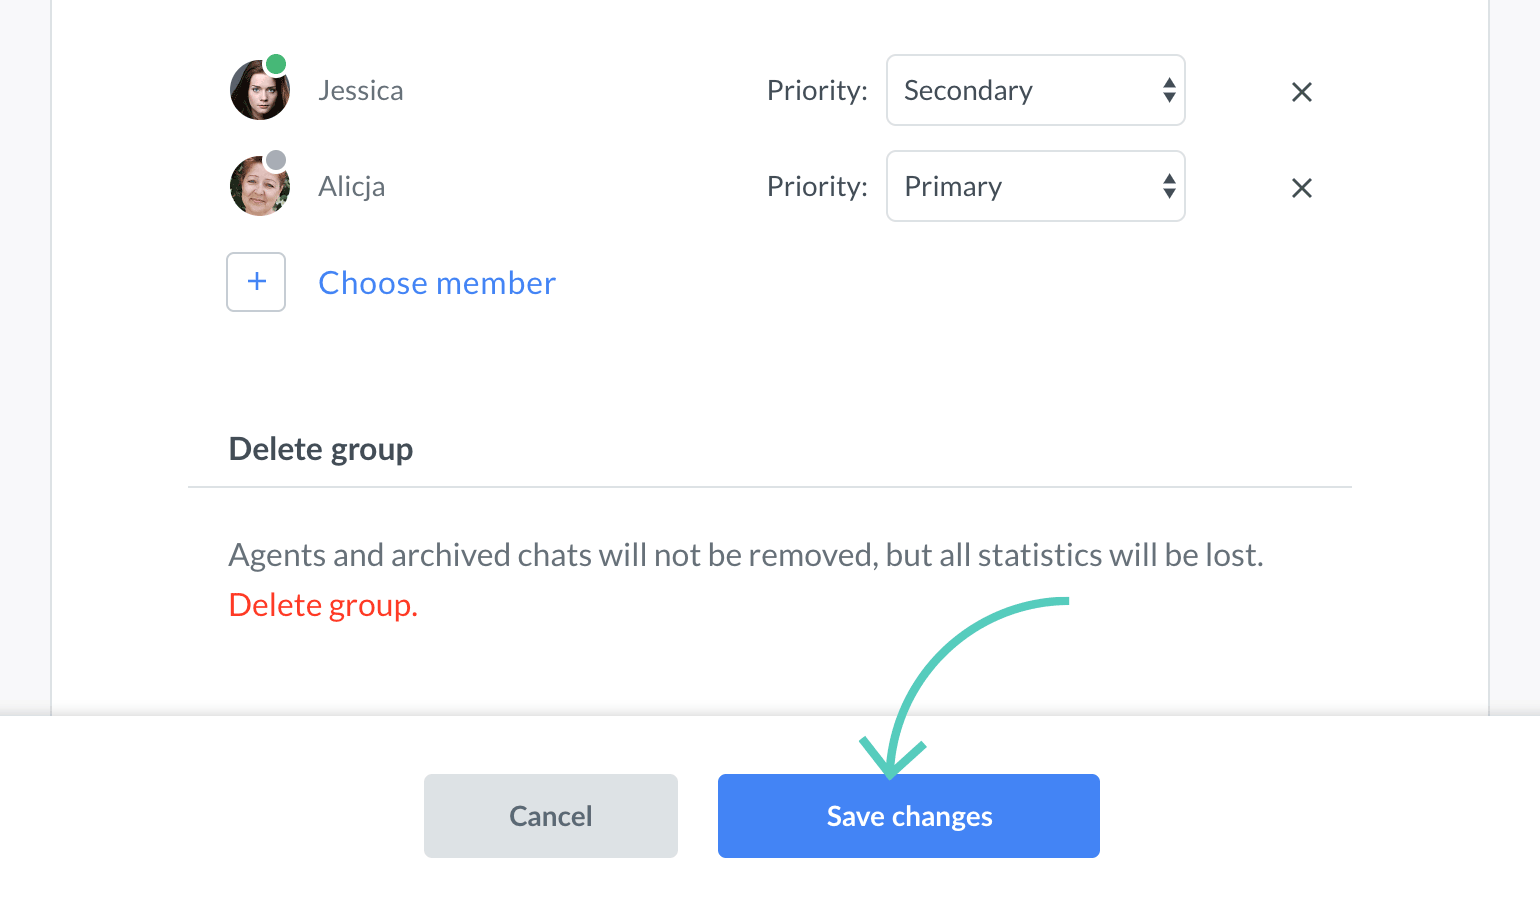
3) You can change the name of the group, add and/or remove agents, and choose priority.

4) To finalize, click on Save changes.
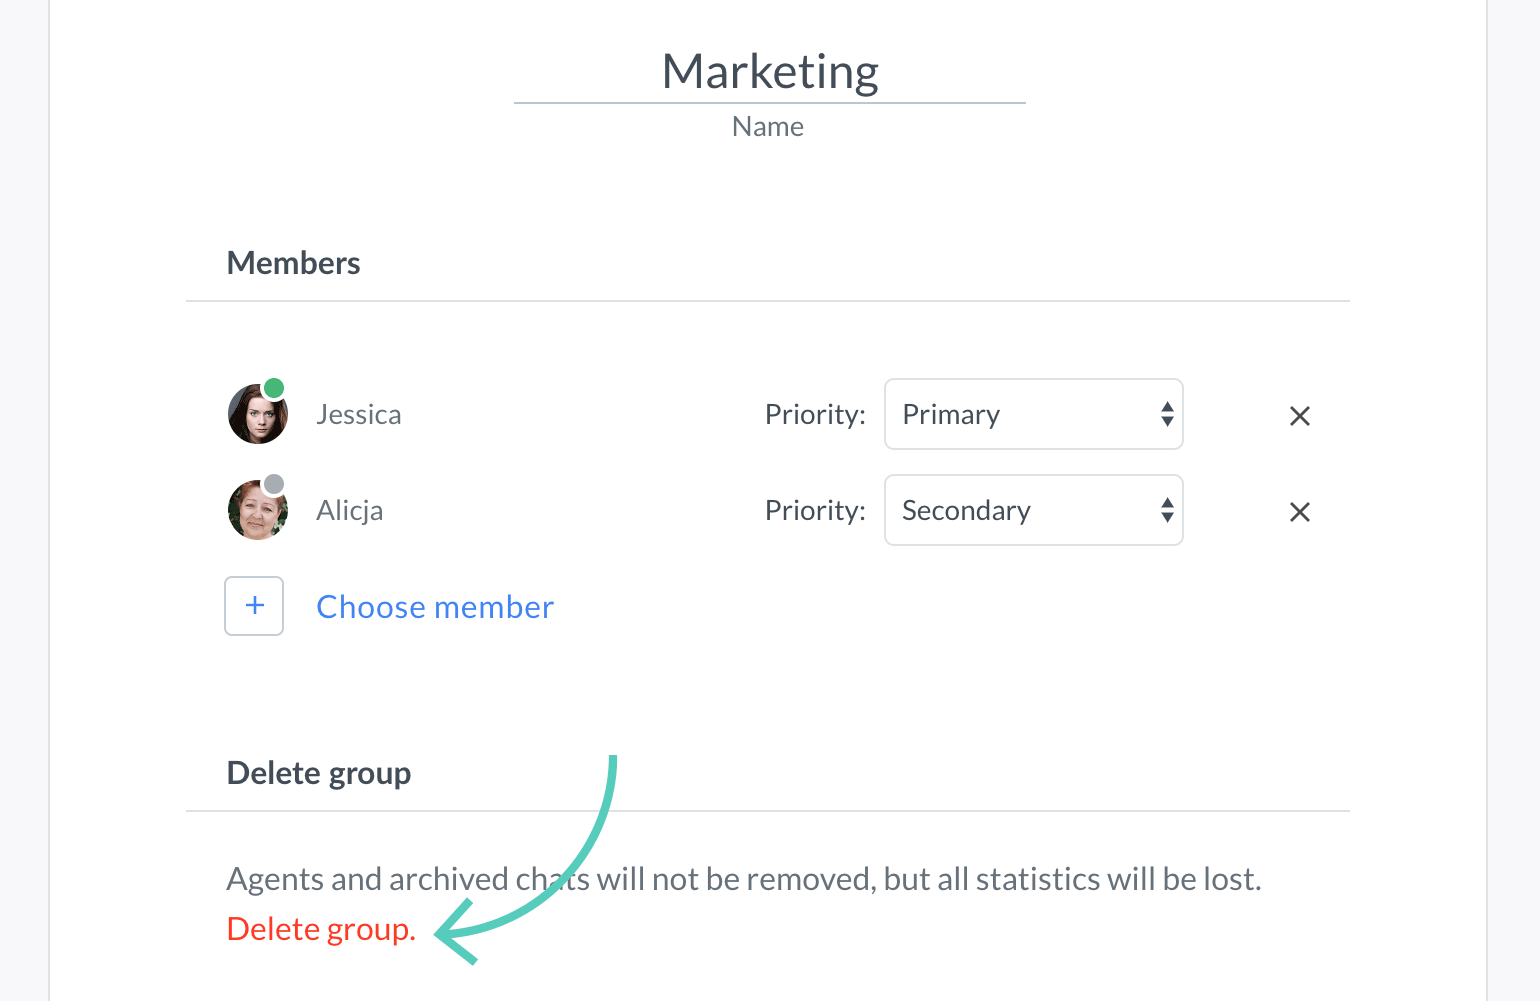
Delete a group
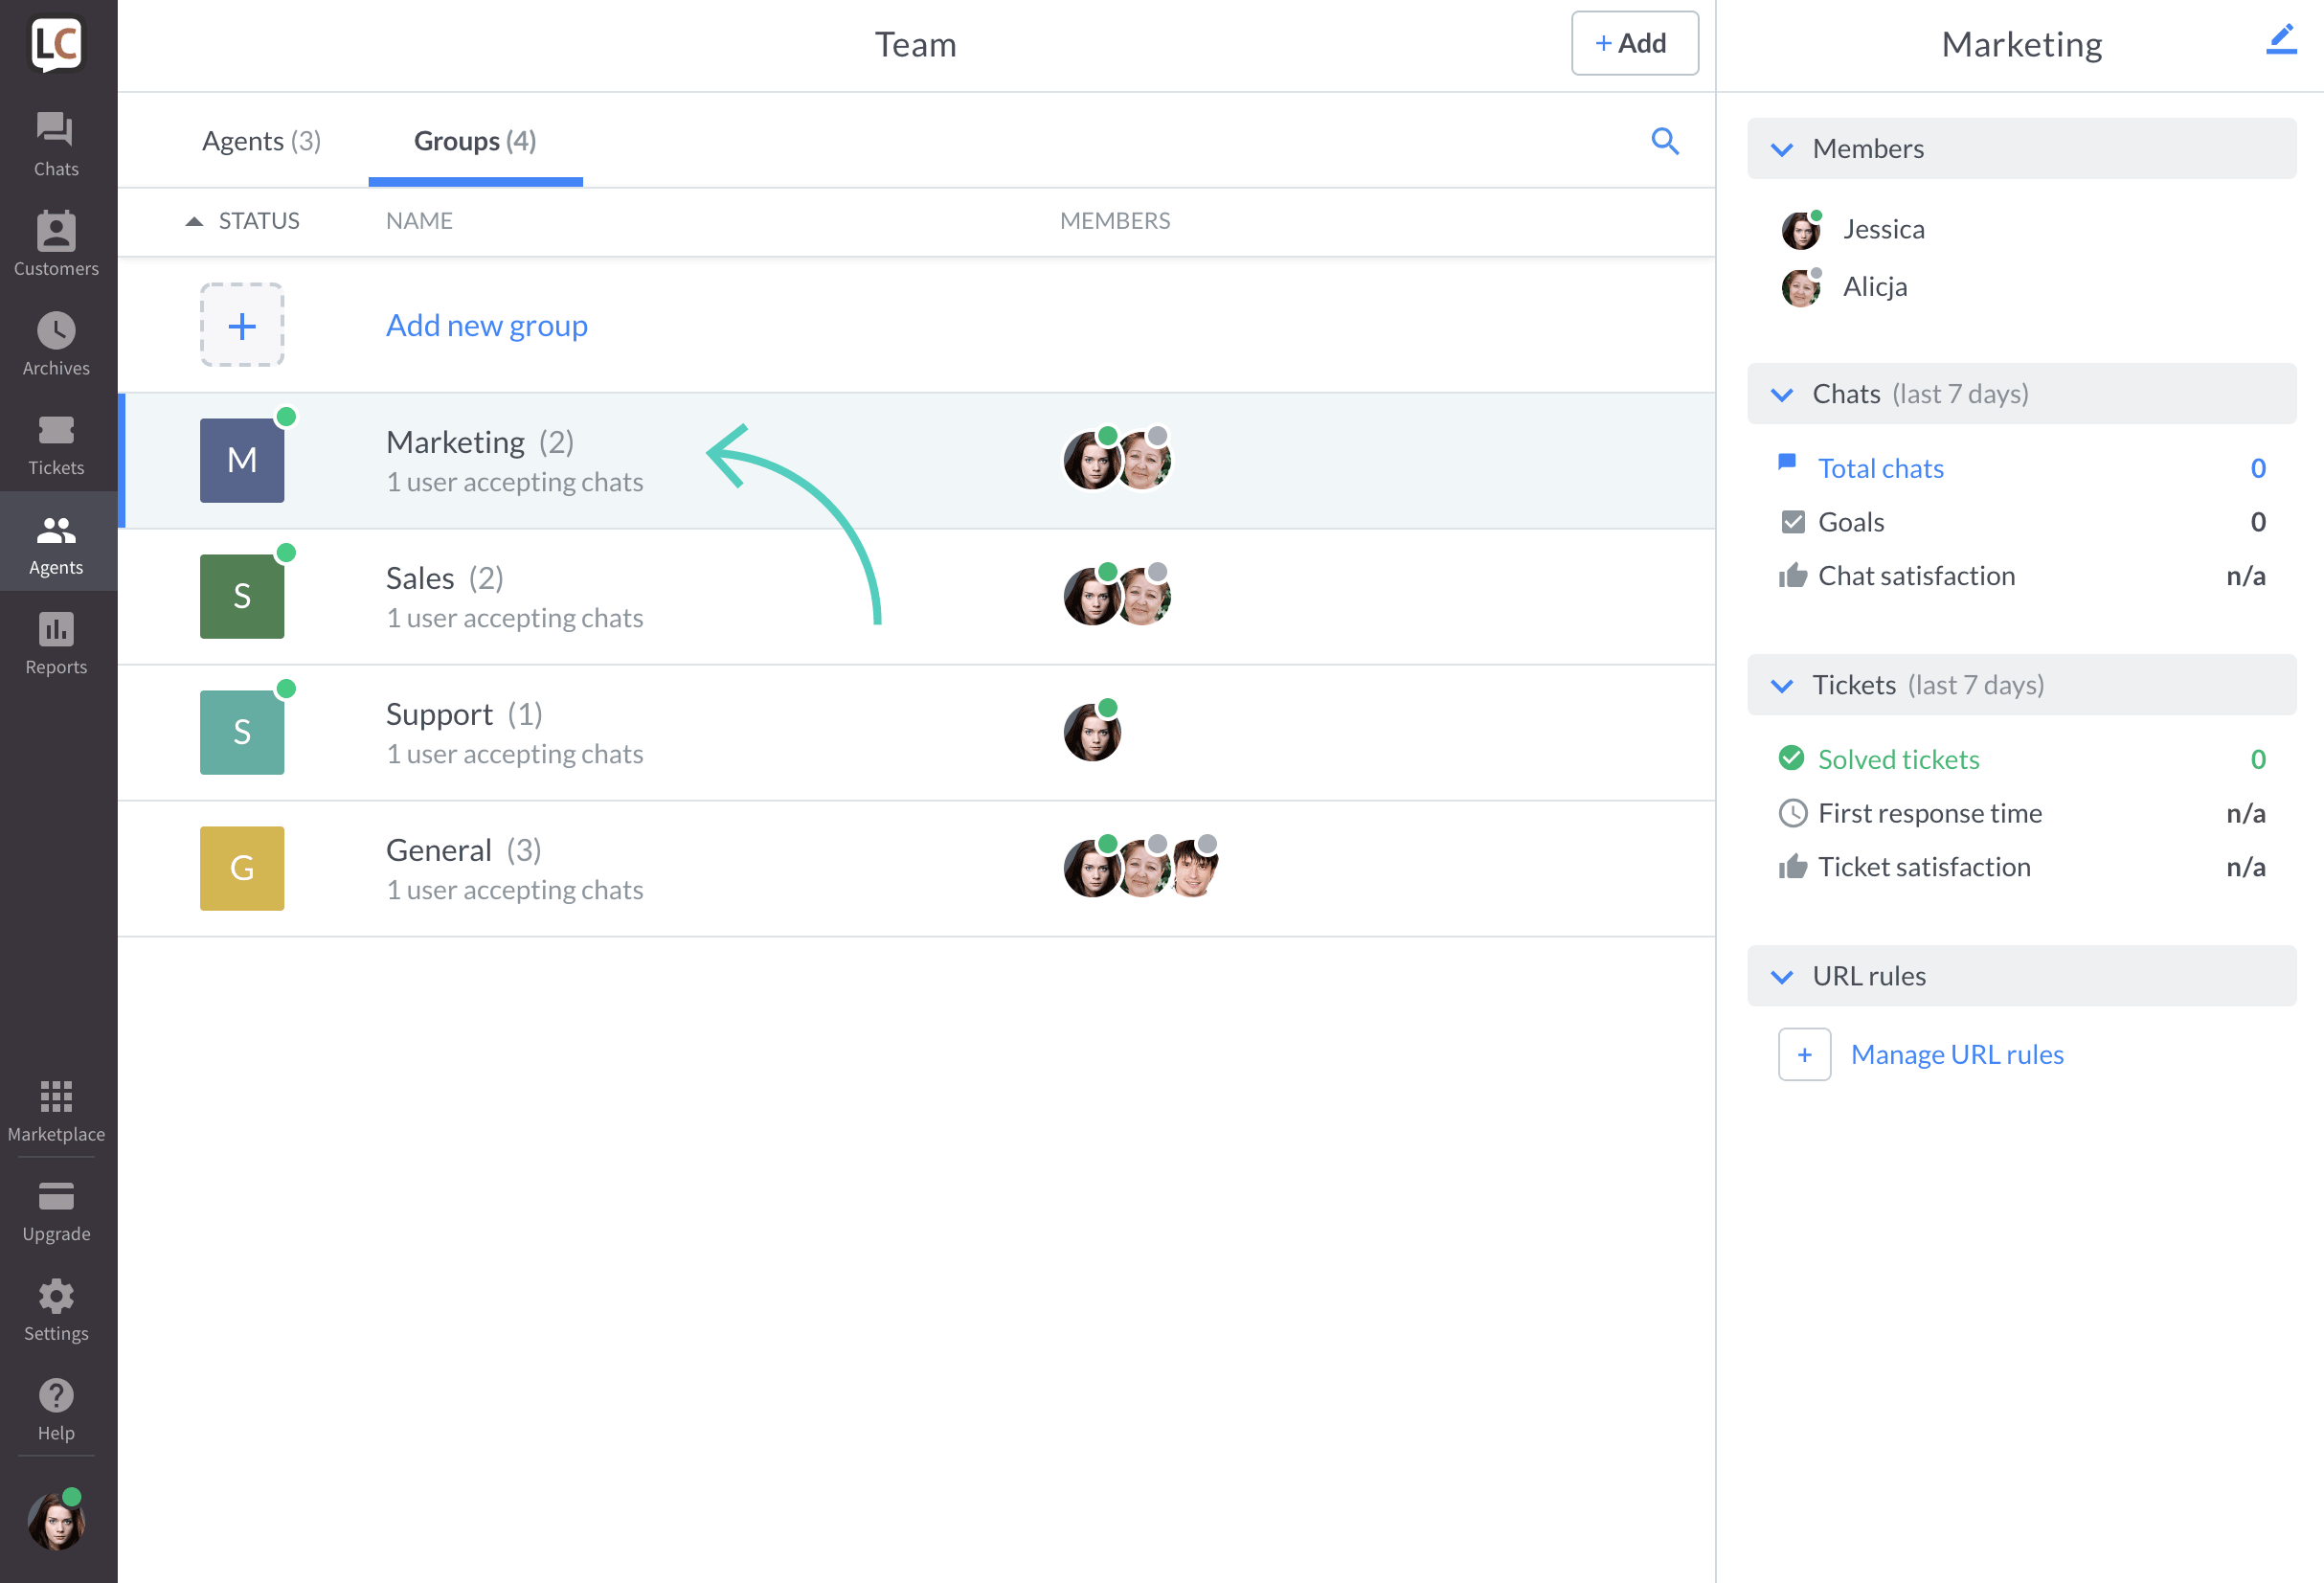
1) First, go to Agents → Groups and select a group you want to delete.
2) Click on the pencil icon in the top right corner.
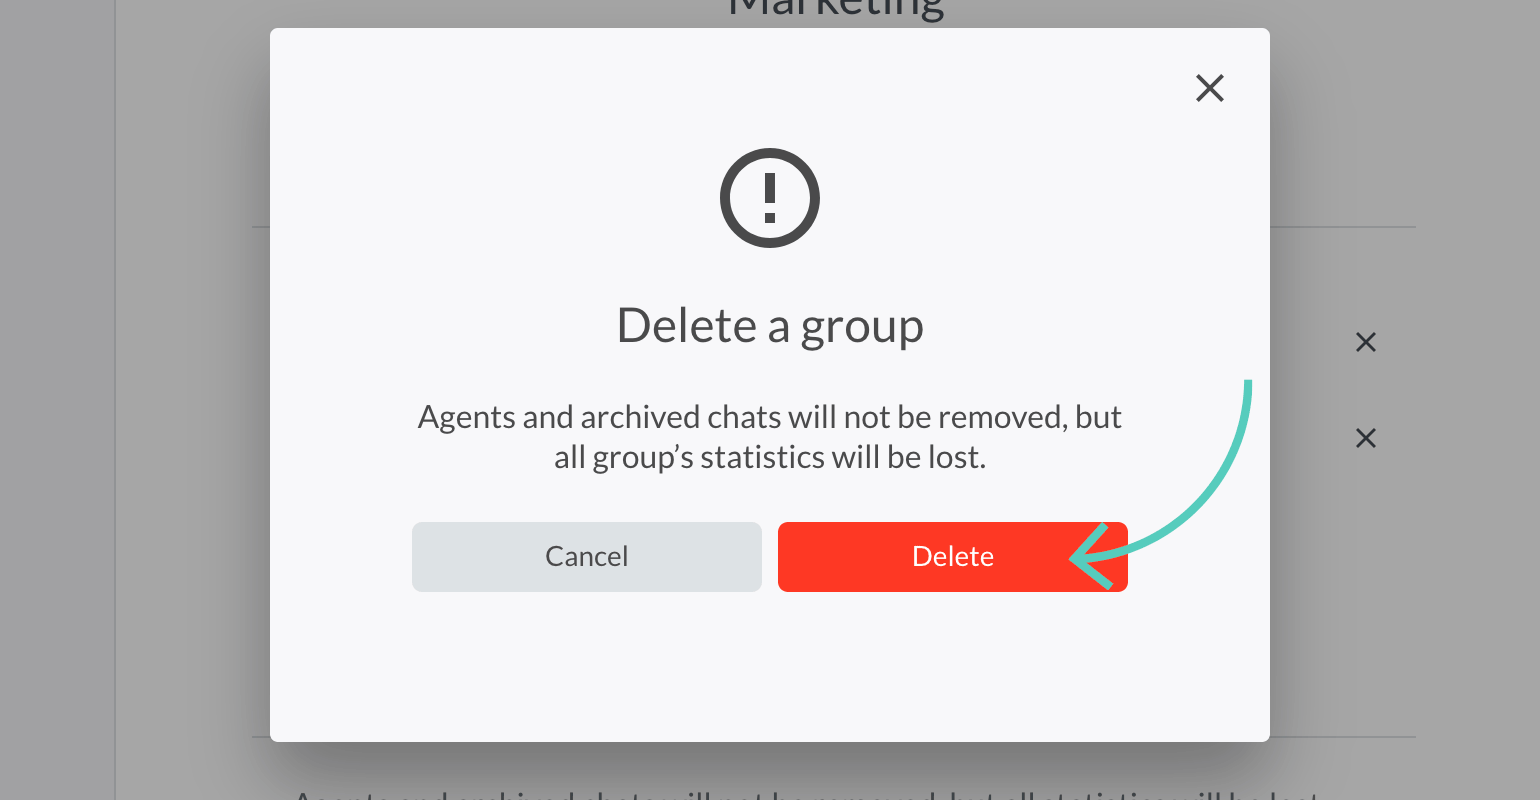
3) Then, click on Delete group.
4) To confirm, click on Delete.
Assign groups to websites and pages
You can assign a different group to each site or page you're using. For example, when a chat starts on a pricing page, it will be routed to your sales team. This way, you are able to manage all your pages and sites using one LiveChat license.
Things like chat widget appearance, language, greetings and many more can be set for each group. So the chat widget matches the site/page's design and its purpose. Want to learn more? Read assign groups to multiple sites and pages tutorial.
You can create group-specific canned responses. This way agents don't need to go through a neverending list of canned responses that they never use. Learn how to create canned responses for groups.
Add group selection to pre-chat survey
You can add a group selection to your pre-chat survey to let customers choose the right department before they start a chat. To do that, follow these steps:
1) Log in and go to Settings → Chat surveys & forms → Pre-chat survey. If pre-chat survey is turned off, you need to turn it on by clicking on the switch in the top right corner.

2) Click on Add element.

3) Choose Group selection from the list.

4) Enter question, choice name, and group assigned to the choice. You can add more choices if needed.

5) When you are done, click on Save changes to finalize the setup.

Now, your site's visitors will be able to choose a department at the beginning of every chat.

Note that your visitor will be connected with a member of the group selected in the pre-chat survey according to routing rules. But even if the chosen group has different settings than the one in which the chat has started, chat widget's look and language will not change. That's because the settings loaded with a tracking code at the start cannot be force-refreshed after the survey is submitted.
Handling multiple businesses with LiveChat? Bulletproof your setup with audits, training sessions, health checks and other professional services.
Agent priority in a group
Set agent priority to decide who should get chats first in a group. There are two settings:
- Primary—agents with primary priority always get chats first.
- Secondary—agents with secondary priority only get chats if all agents with primary priority can't take any more chats.
This feature is useful when you want to have a back-up for certain groups. For example, your sales team can be a back-up for your support team. And help out when there are too many support cases coming in. All you need to do is add sales agents to support group and set secondary priority for them.
Change agent priority in a group
1) First, go to Agents → Groups and select a group you want to edit.
2) Click on the pencil icon in the top right corner.
3) Then, click on priority field and select an option from the list.
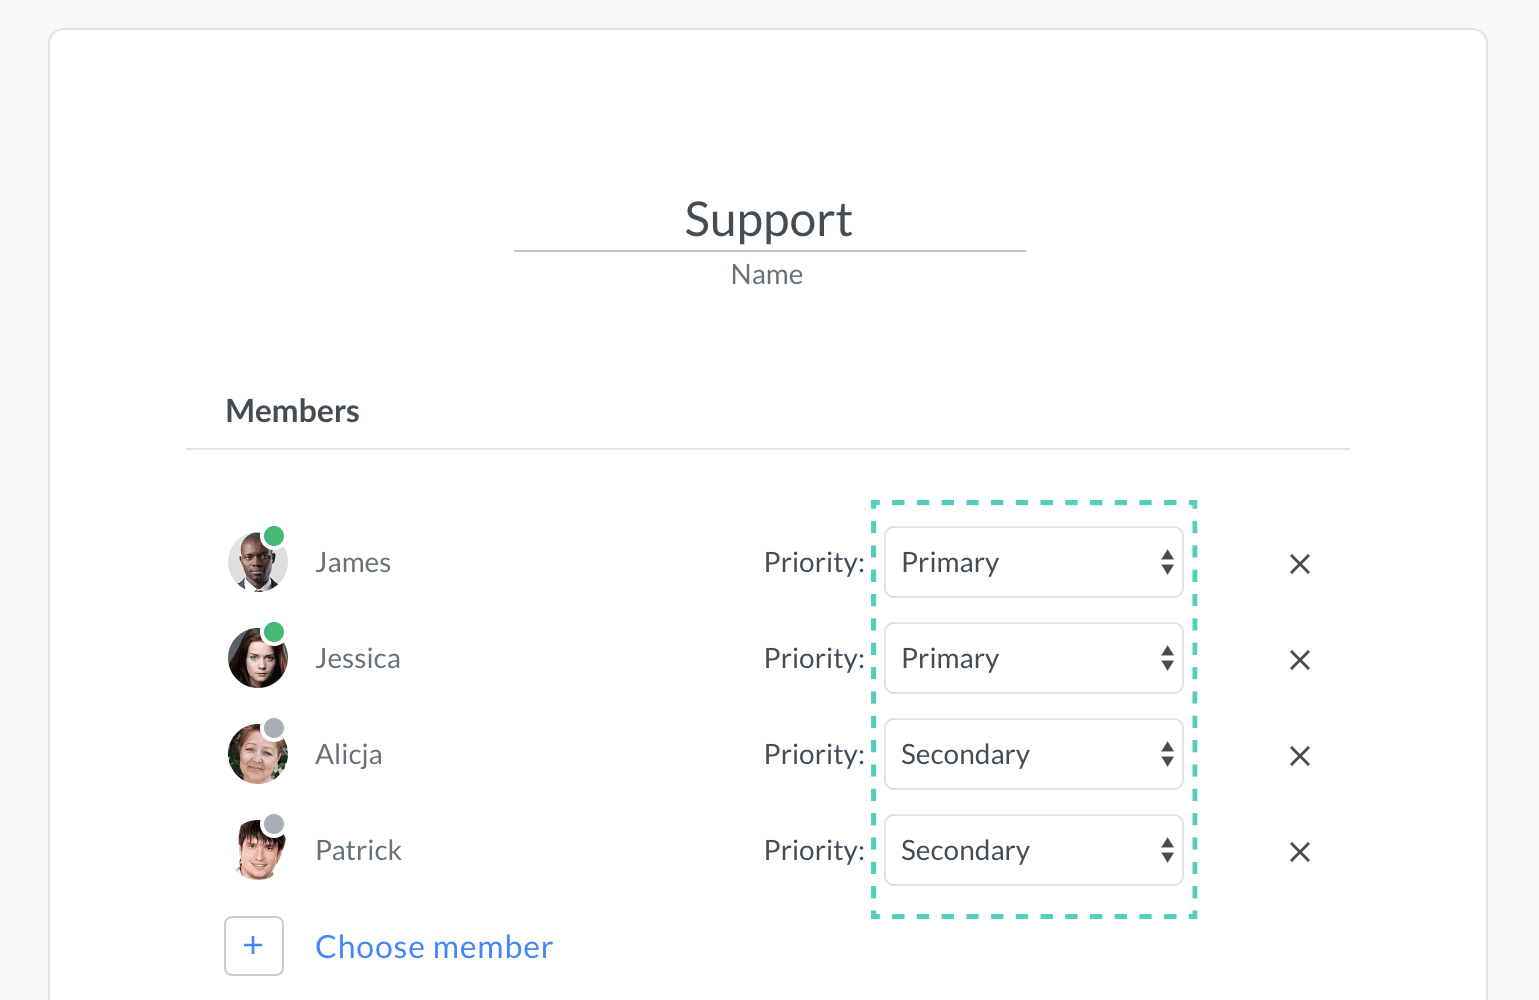
4) To finalize, hit Save changes.