 Help Center
At LiveChat, we know how important it is to take a proper care of your customers' medical information. That is why we prepared a short guide that will help you make your chat HIPAA compliant and PCI compliant!
All features allowing you to prepare your LiveChat for HIPAA and PCI compliance regulations are available from our Enterprise plan. If you'd like to learn more, click here to visit our official pricing page.
To make your LiveChat HIPAA and PCI compliant, you will need to follow a few simple steps described below:
- Make sure that your LiveChat is hosted on the US datacenter
- Preparing your chat window
- Preparing your LiveChat app for agents
- Signing a BAA
1. LiveChat HIPAA compliant: Make sure that your LiveChat is hosted on the US datacenter {#prepare-chat-window}
HIPAA regulations require that your customers' medical data will not leave the United States territory. Because of that, you should first make sure that your LiveChat license is created in our datacenter located in the United States.
If you are not sure whether your LiveChat is situated in the US, you can always start a chat with one of our Support Heroes - they are available 24/7/365 and are always ready to provide you with all the necessary information about your current datacenter!
2. LiveChat HIPAA compliant: Preparing your chat window
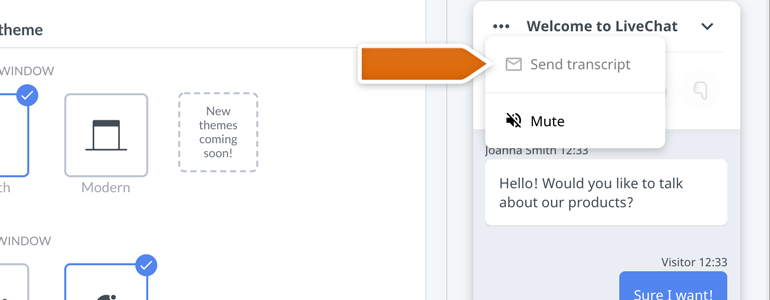
By default, LiveChat window give your customers the possibility to send the transcript of their conversation to any email address that they provide. To make your chat both HIPAA and PCI compliant, you have to make sure that this option is disabled.
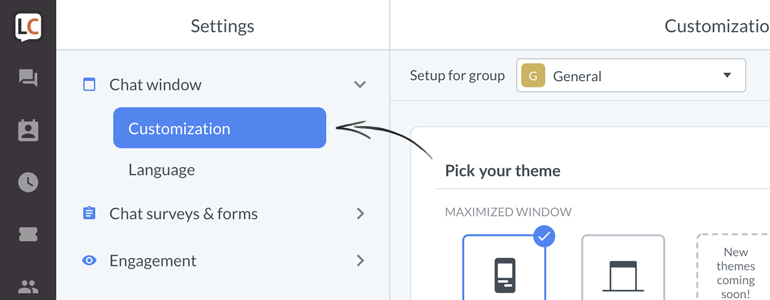
1) To do that, go to the Customization section of your Chat window settings.
2) Now, scroll down to the Additional tweaks section of your chat window customization.
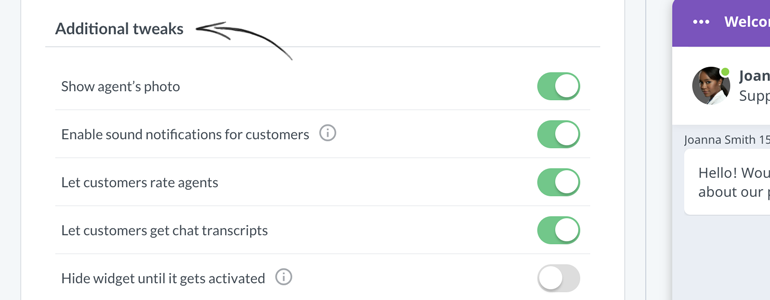
3) From the list of available tweaks, make sure to switch off the Let customers get chat transcripts option. That will prevent your customers from sending the transcript of their conversation to the provided email address.
And that's it! Now that your chat window is ready for HIPAA and PCI compliance, let's see how to take care of your LiveChat app for agents as well.
3. LiveChat HIPAA compliant: Preparing your LiveChat app for agents
LiveChat does not directly handle the HIPAA and PCI compliance for you. Because of that, you have to make sure that all of your customers' medical data are kept entirely on your end.
Below you will find a few simple steps that will not only tell you how to make sure that your customers' data will be kept only on your end. They will also tell you how to prepare your LiveChat app for HIPAA and PCI compliance:
- Set up the automatic transcript deletion upon the end of each chat conversation;
- Set up the storage of chat transcripts on your server;
- Check what integrations your LiveChat is linked with;
- Disable the ticket form for your customers;
- Disable the option to send and receive files by your agents;
- Restrict the access to your LiveChat app;
- Set up the password policy for your agents.
Set up the automatic transcript deletion upon the end of each chat conversation
Let's start with setting up the automatic deletion of each new finished conversation. This can be done by setting up a webhook that will fire each time a customer will finish a chat with your company's representative.
Note that as our Chats reports are based on the conversations started by your customers, setting up the webhook that will automatically delete each chat conversation will also disable your Chats reports. If you’d like to keep track of your chats at your side, check out the Set up the storage of chat transcripts on your server chapter, available below.
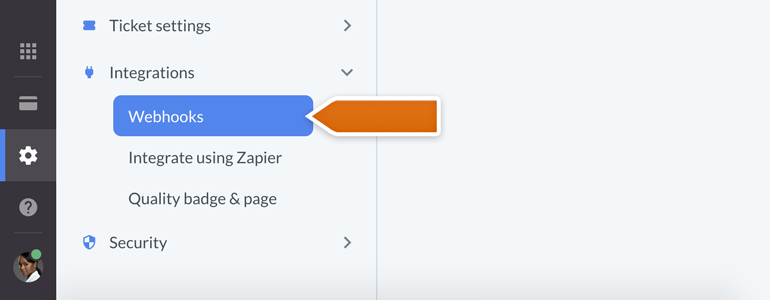
1) First, go to the Webhooks section of your Integrations settings.
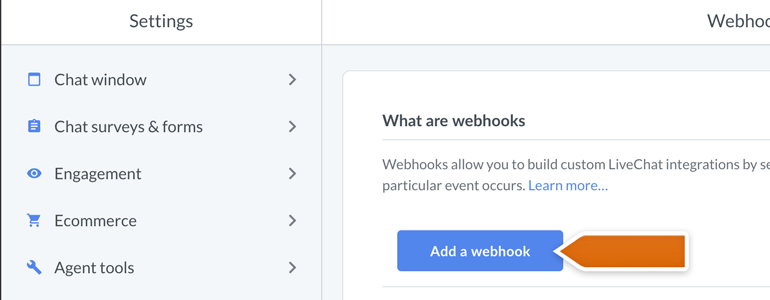
2) Now, click on the Add a webhook button.
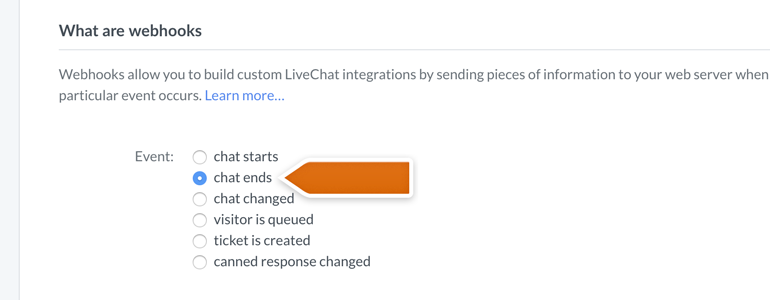
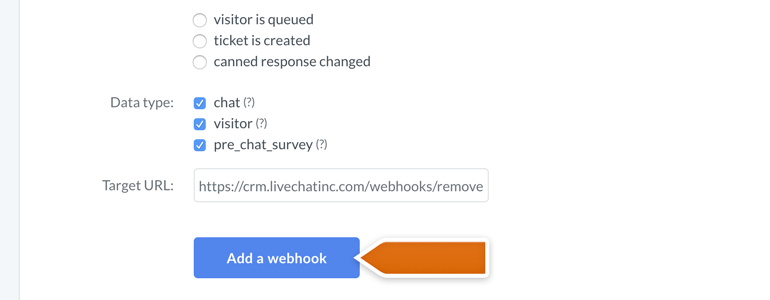
3) Once again, you will be prompted with a new Webhook configurator. From the list of available settings, choose chat ends as the webhook event.
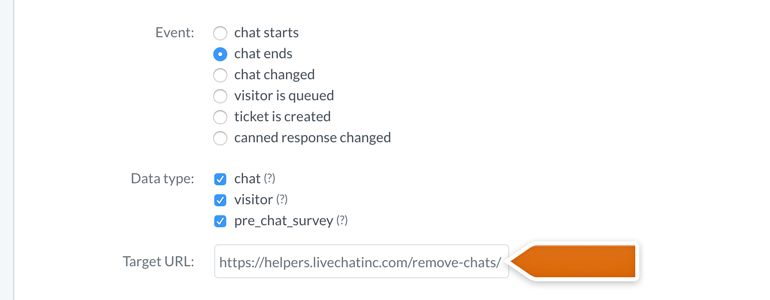
4) Now, select chat, visitor and pre_chat_survey as the webhook's data type and paste the following address into the Target URL section:
https://helpers.livechatinc.com/remove-chats/
5) To finalize, click on the Add a webhook button.
And that's it! Now that your webhook is ready, let's see how to make sure that your LiveChat is not sending your customers' data to a 3rd-party integration.
Check what integrations your LiveChat is linked with {#check-your-integrations}
Out of the box, LiveChat gives you the option to integrate your license with various 3rd-party software. It's a great way to improve your everyday workflow, but it can also mean that you are sending your customers' medical data to software that is not compliant with HIPAA and PCI regulations.
To avoid such situations, you should check any integration installed on your license, whether it is a native integration or integration created with the use of webhooks, like Zapier. If it's necessary, you can also disable it. How to do that?
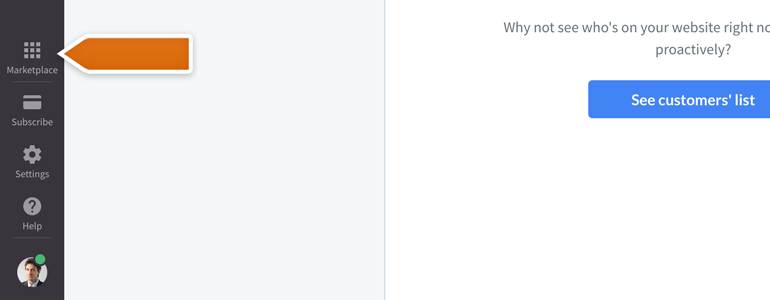
1) First, visit your LiveChat's Marketplace.
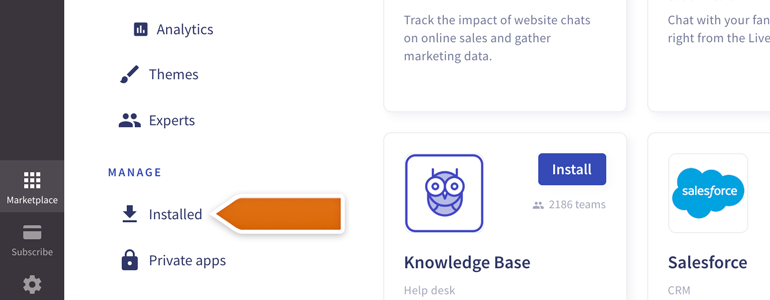
2) Now, go to the Installed section of your Marketplace.
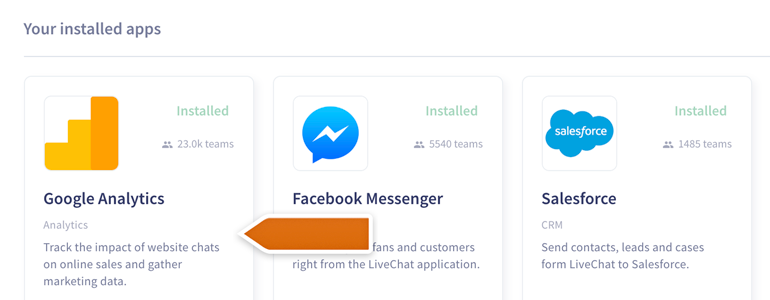
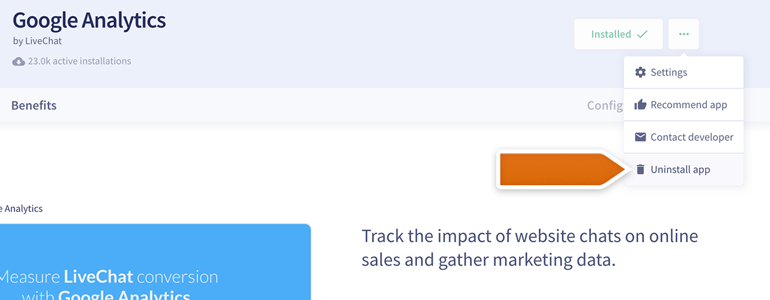
3) Here you can check out with which integrations your LiveChat is linked with. If you decide that some of those integrations are not HIPAA and PCI compliant, you can delete them from your account. To do that, choose one of your installed integrations.
4) On the next screen, uninstall the integration by clicking on the Uninstall app button, available under the ellipsis menu.
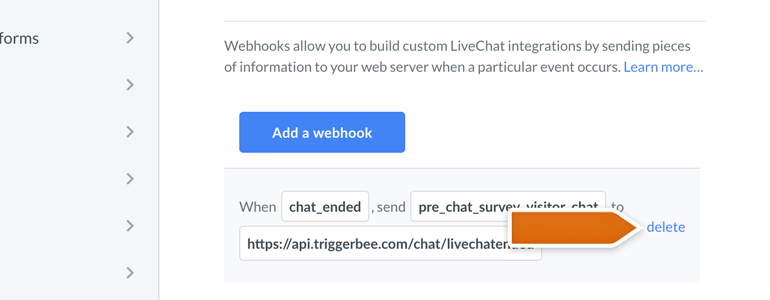
5) All that is left is to check whether your LiveChat is linked with 3rd party software via webhooks, like Zapier. To do that, once again visit the Webhooks section of your Integrations settings.
6) Here, check which webhooks your LiveChat is linked with and if there's a software that is not HIPAA and PCI compliant, simply hover your mouse over the webhook's address and click on Delete.
And that's it! Now that your integrations have been taken care of, let's see how to set up the storage of chat transcripts on your server.
Set up the storage of chat transcripts on your server
Setting up the automatic forwarding of your transcripts will allow you to take full control of how your customers’ medical data will be processed after the chat conversation has finished.
To make sure that the transcripts of your customers' conversations will go straight from LiveChat to your company's server, we recommend using our Webhooks. You can also use our Transcripts forwarding feature as well, but note that the transcripts will be processed through our email provider.
When setting up a webhook that will retrieve and process the transcripts of your chats, you may require a developer's help. If you don't have one, you can always hire one of our certified experts!
Disable the ticket form for your customers {#disable-ticket-form}
Note that you and your agents can still use our built-in ticketing system. If you and your agents will decide to do so, note that all messages sent via the ticketing system will be processed through our email provider.
Our ticketing system also allows your website visitors to leave you offline messages, whenever your agents are not available to chat. If you'd like to disable this particular option, you can do that by following a few simple steps below.
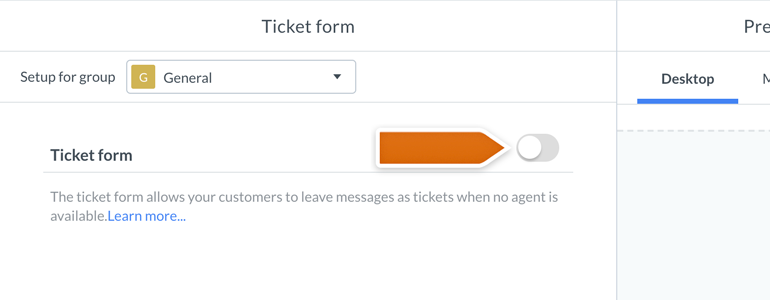
1) To disable the option allowing your customers to leave offline messages, go to the Ticket form section of your Chat surveys & forms.

2) While there, toggle off the switch responsible for enabling/disabling the Ticket form on your license.
3) All that is left now is to Save changes made to your Ticket form section.
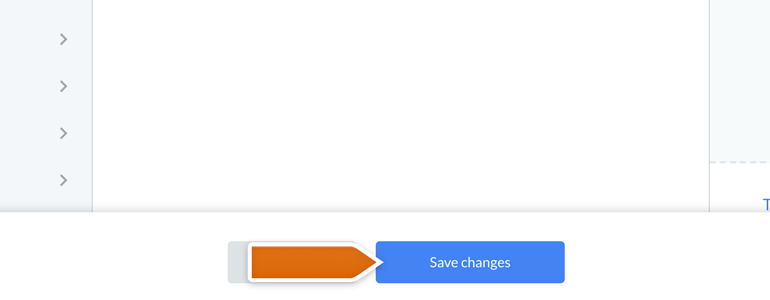
And that's it! Your Ticket form is now disabled, making sure that LiveChat will not process any sensitive information that your customers might have left while your agents are offline.
Disable the option to send and receive files by your agents {#disable-file-sharing}
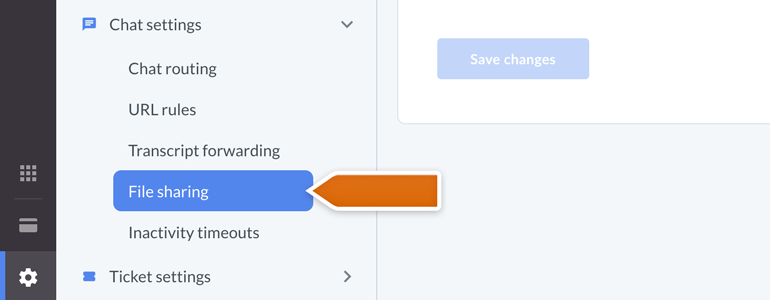
1) To disable the option to send and receive files by your agents, go to the File sharing section of your Chat settings.
2) There, deselect the for agents and for visitors options. To finalize, click on the Save changes button.
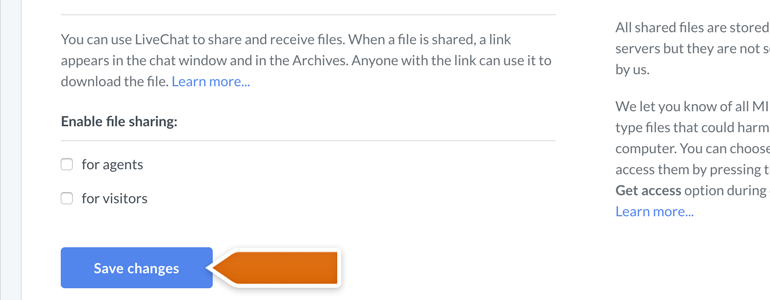
File sharing is now disabled, making sure that your agents or your customers will not receive or send any data files that can breach the HIPAA and/or PCI regulations.
Restrict the access to your LiveChat app
Another step that you need to take is to restrict access to your LiveChat app, so that your chat representatives will be able to log in only from a specific location. This can be done by setting up the list of IP addresses that can access your LiveChat app, like the IP address of your office.
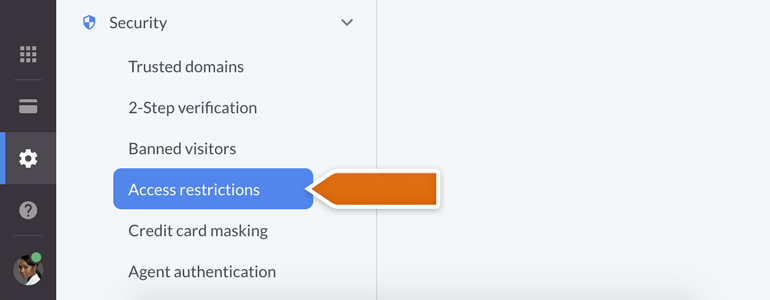
1) To do that, go to the Access restriction section of your Security settings.
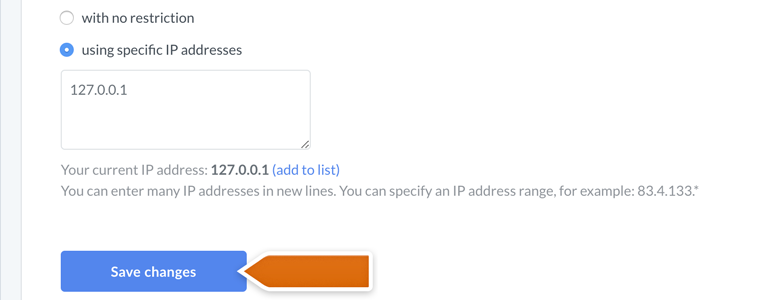
2) While there, select the Using the specific IP addresses option. In a text area below, provide the list of IP's that you'd like to grant access to LiveChat.

3) To apply the list of provided IP's, click on Save changes button.
And that's it! Now your agents can log into LiveChat only from specific IP addresses, and you can rest assured that your account will not be accessed from unverified locations.
Set up the password policy for your agents {#password-policy}
Setting up the strict password policy for your agents should be a mandatory concern for your company's security policy. The good practice would be to inform your agents that their passwords should contain at least 6 signs, with special characters mixed with numbers, capital and lower case letters.
In addition to that, you can use set up one of the two advanced login methods offered by LiveChat: 2-step verification with Google or Single Sign-on. To learn more about how to set up SSO at LiveChat, you can check out our official tutorial available here. As to setting up the 2-step verification with Google:
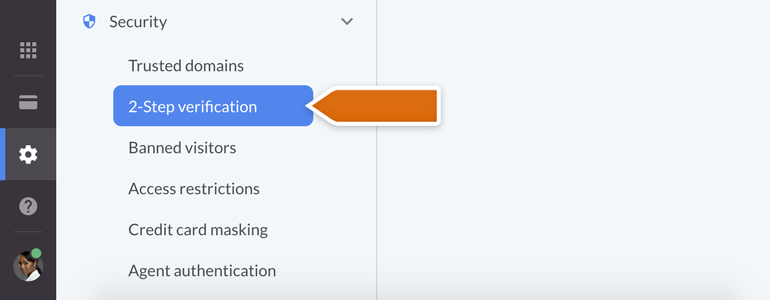
1) First, proceed to the 2-Step verification section of your Security settings.
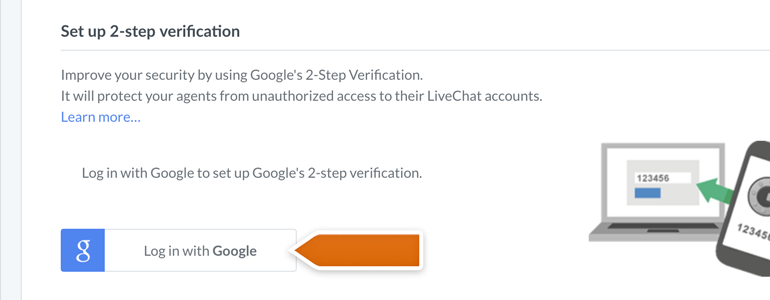
2) While there, click on the Log in with Google button to link LiveChat with your Google Account.
3) After linking LiveChat with your Google Account, choose Use Google Account with 2-Step Verification to log in option. To apply your new password policy, click on Save changes.
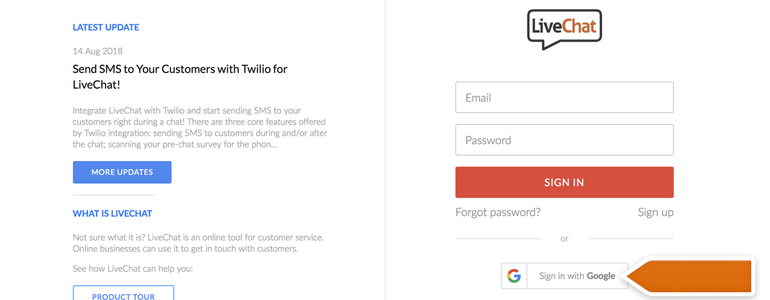
From now on, whenever your LiveChat agents will try to log in to LiveChat, they will need to use the Sign in with Google option. And that will make their login process much more secure!
4. LiveChat HIPAA compliant: Signing a BAA
Signing a Business Associate Agreement with LiveChat is available in our Enterprise plan. If you'd like to learn more, click here to visit our official pricing page.
As a company who's dealing with customers' medical information, you may want to sign a Business Associate Agreement with LiveChat. If that's the case, we opened a dedicated sales@livechatinc.com email address, where you can get our proposition of BAA.
LiveChat HIPAA compliant: What's next?
If you'd like to learn more about what steps should you take to prepare your LiveChat for HIPAA and PCI compliance, don't hesitate to start a chat with us - we will be more than happy to provide you with any additional information that you may require!
Also, feel free to reach us via our official sales@livechatinc.com email address, where our Sales Department is always ready to guide you through the process of signing a BAA agreement and adjusting your LiveChat for the HIPAA and PCI regulations.