 Help Center
ProjectManager allows you to create a file in your ProjectManager.com account when your chat is finished. Use this opportunity to track the success rate and the amount of chats completed on your website!
We prepared a short tutorial on how to integrate LiveChat with ProjectManager with the use of Zapier. We hope that you will enjoy it!
- Make a Zap! - learn how to create a new Zap and set up LiveChat as a Trigger App
- Configure your Zap! - learn how to configure your Zap and choose ProjectManager as your Action App
- Launch your Zap! - finalize the configuration and start using your new Zap!
Make a Zap!
1) To make a Zap, log into Zapier and click on Make a Zap available in the upper menu.
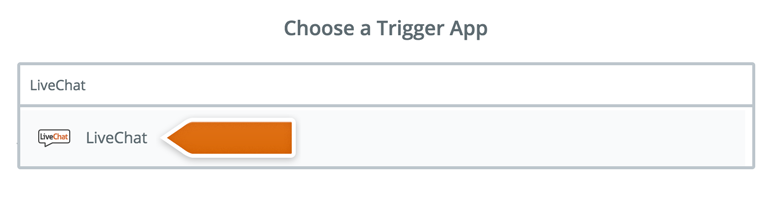
2) You will be taken to Choose a Trigger App section. There, type LiveChat into the search field and choose our app.
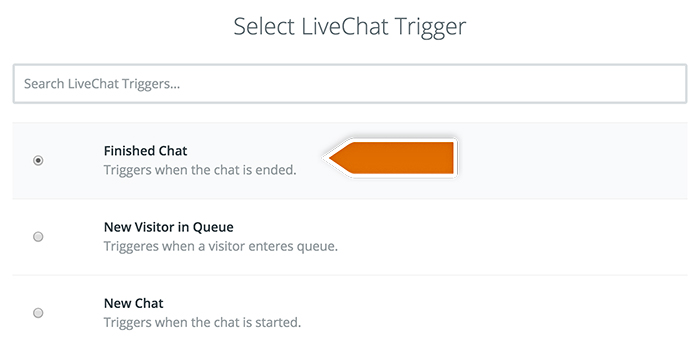
3) From the Select LiveChat Trigger section, choose Finished Chat.
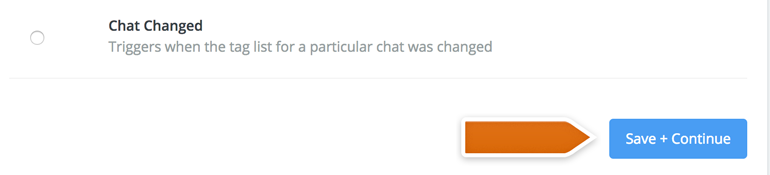
4) To proceed, click on Save + Continue button available under the list of triggers.
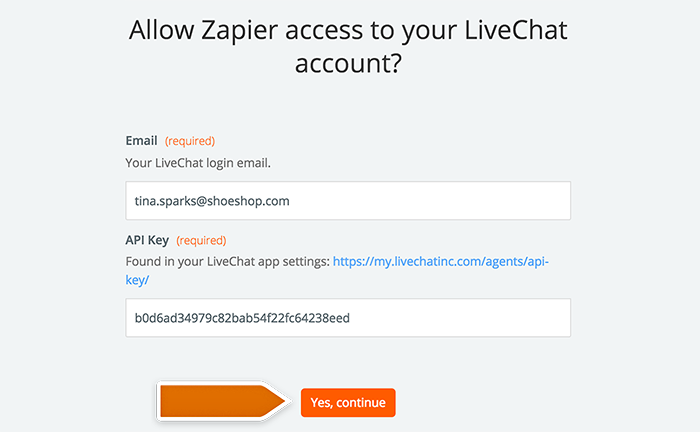
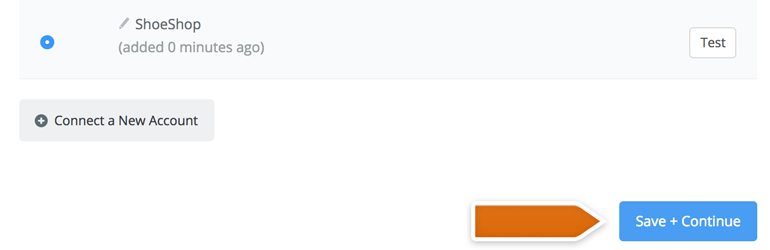
5) Now, click on Connect a New Account and provide your LiveChat Email and API Key. To proceed, click on the Yes, continue button.
Click here to get your LiveChat API key.
6) On the next section, click on Save + Continue button.
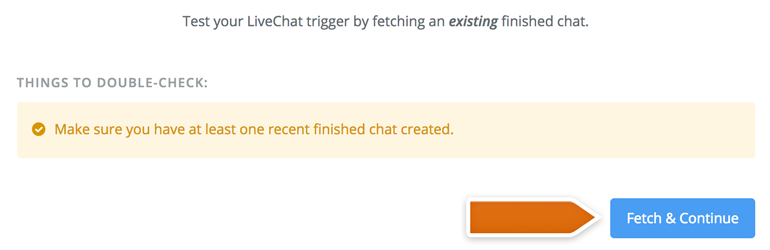
7) Now it is time to test your LiveChat - Zapier integration. To do that, click on Fetch + Continue.
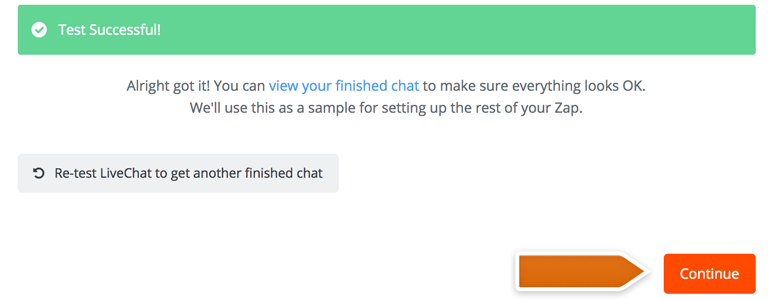
8) If the test will be successful, all that is left for you is to click on the Continue button.
Done! In the next step, we will continue with the Zap configuration.
Configure your Zap!
Now it is time to configure the Action that Zapier will make when you finish a chat with your customer.
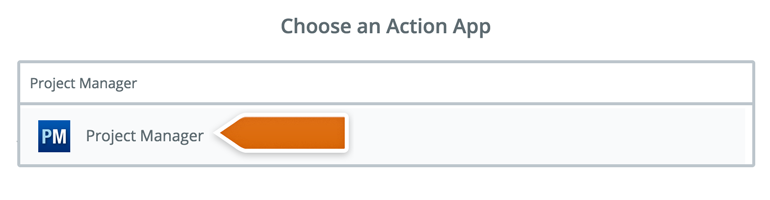
1) On the Choose an Action App section, type ProjectManager into the search field and choose the app from the list.
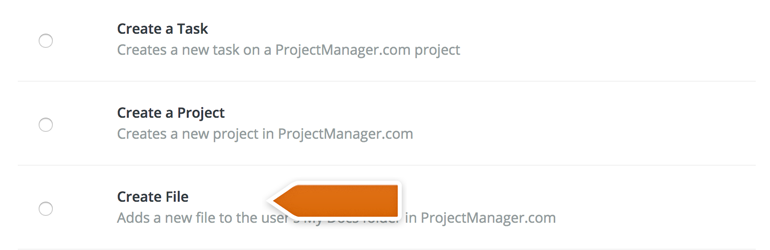
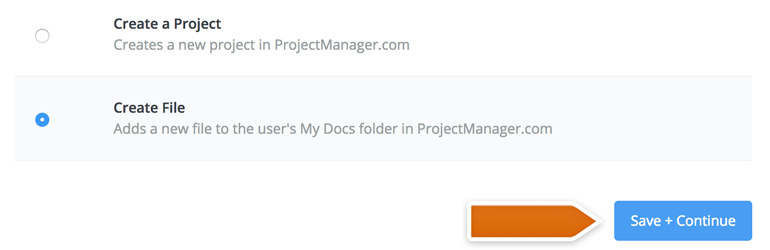
2) Next, choose Create File as the Zap's action.
3) To proceed, click on Save + Continue button.
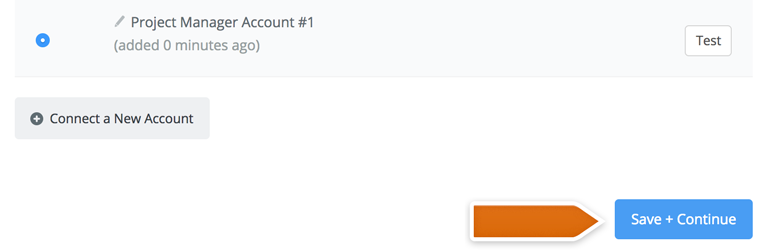
4) Now it is time to add your ProjectManager account to Zapier. To do that, click on Connect a New Account button.

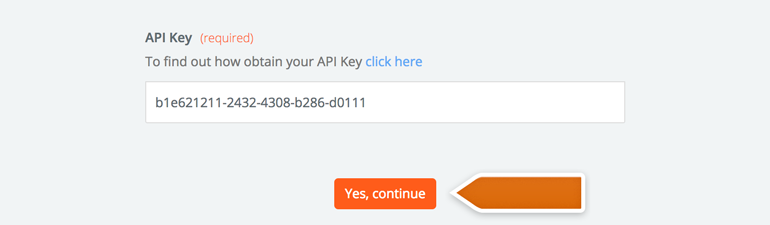
5) A new window will pop-up. There, provide your ProjectManager's API key and click on Yes, continue button.
6) Click on Save + Continue to proceed.
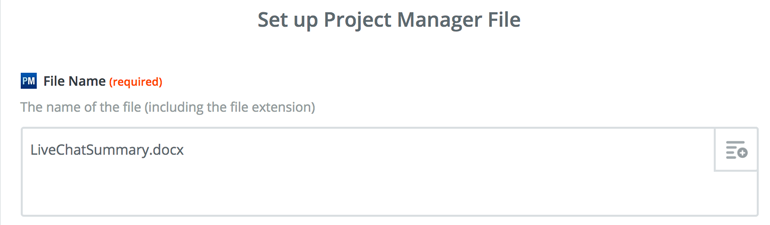
7) On the next section, set up your ProjectManager File. In the File Name field, type the name of the document that will be created in your ProjectManager account.
When typing the name of your document, remember to add a file's extension as well, for example LiveChatSummary.docx
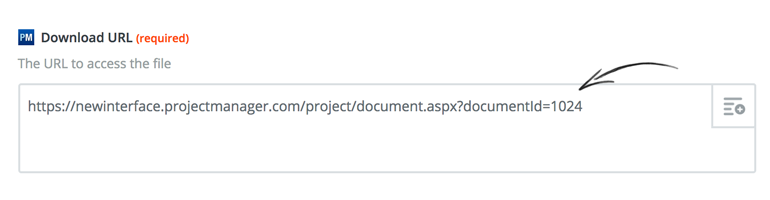
8) Next, copy the following URL:
- https://newinterface.projectmanager.com/project/document.aspx?documentId=1024
and add it to the Download URL field.
You can change the URL's ID from 1024 to any ID number that you would like to assign to a file.
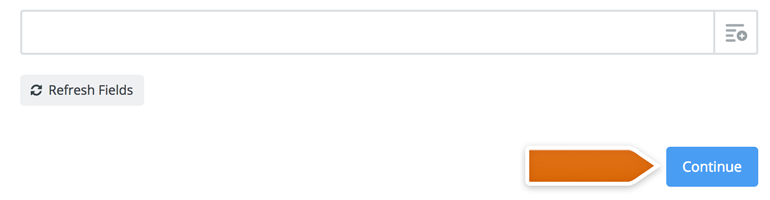
9) To proceed, click on Continue button.
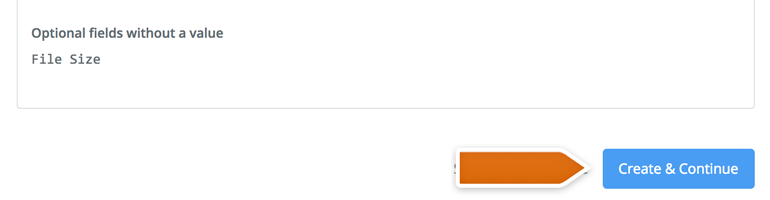
10) On the next section, you will see a summary of a file that will be created in your ProjectManager account. It is also time to test if LiveChat is successfully integrated with ProjectManager.
To proceed, click on Create & Continue.
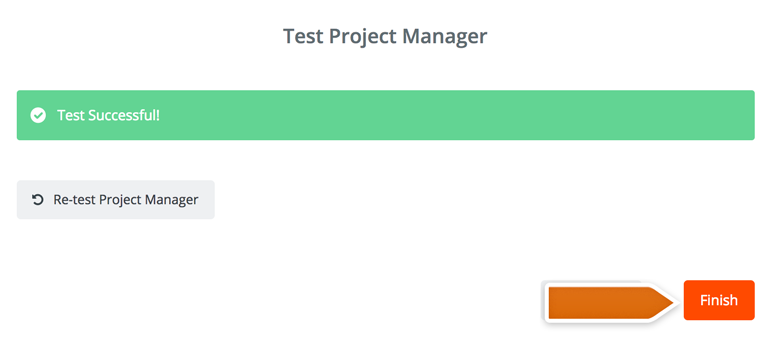
11) If everything is fine, you will receive a confirmation that the test was successful. To finalize the configuration, click on Finish button.
Done! Now your LiveChat is integrated with ProjectManager. All that is left to do is to turn on your new Zap.
Launch your Zap!
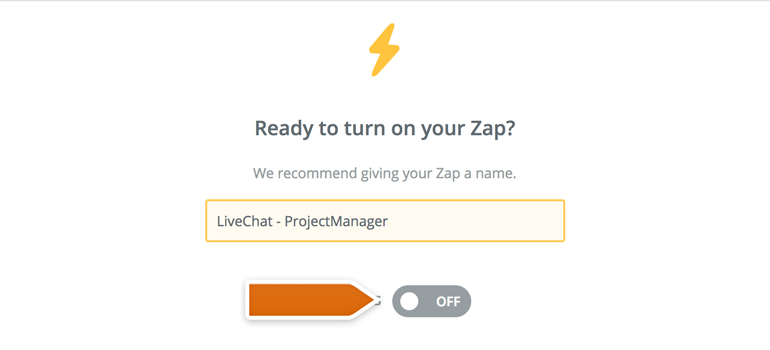
To launch your Zap, click on the Grey Switch. That will start passing the information from LiveChat to ProjectManager. Also, don't forget to Name your Zap so that you will be able to find it on your Zapier Dashboard more easily!
Done! Now, your ProjectManager integration is ready and each time your chat will finish, the new file will be created in your ProjectManager account.