 Help Center
Add LiveChat to your WordPress website and gain an additional channel of communication with your website visitors. The installation consists of a few easy steps and only takes a few minutes.
You can also download LiveChat for WordPress plugin here.
If you have any questions, check out the FAQ article, or start a chat with us!
Install LiveChat on your WordPress site
To begin, log in to your WordPress admin panel, then follow these steps:
1) Go to the Plugins section in your WordPress Dashboard.

2) Click on the Add New button.

3) Type LiveChat in the search bar. You’ll find it in the top right.

4) In the search results, you will find LiveChat - WP live chat plugin for WordPress plugin. Click on Install Now to proceed.

5) Wait a few seconds until the plugin is installed, then click on the Activate button.

6) You will be taken to the Plugins section of your WordPress admin. There, click on the Settings button available under the LiveChat plugin.

7) If you don’t have a LiveChat account yet, enter your email address and name and click on Sign up.

8) If you have a LiveChat account already, click on the Log in link at the bottom of the form and log in to your LiveChat account.

9) Now, LiveChat has been added to your website. If you have just signed up for LiveChat, check your inbox for an email containing a link that allows you to set up a password for your LiveChat account

Once you've set it up, you can access the LiveChat app anywhere you want. Log in and start chatting with your customers.
If you run into any problems or get stuck at any point, check out this Troubleshooting article and start a chat with us.
Connect to a different LiveChat license
If for whatever reason you need to connect your LiveChat plugin with a different LiveChat license, e.g., you joined forces with another website, also using the LiveChat plugin, and you want to merge your support/sales team in one license, or you signed up for a new license rather than logged in your existing one by mistake, here are the steps to do it:
This feature is available from the 4.1.3. version of the LiveChat plugin. If you are using an older version, you will be prompted to update. You can do it in the Plugins section of your WordPress dashboard.
1) In the WordPress dashboard go to LiveChat.
2) Click on Disconnect.

3) Confirm by clicking on Disconnect in the modal that pops up.

4) Click on Log in and enter your LiveChat credentials (the email and password connected with the LiveChat license you want to be using).

All done! Log in and start chatting with your customers.
Get more out of the LiveChat integration
We prepared additional resources that help you make your website or online store even better.
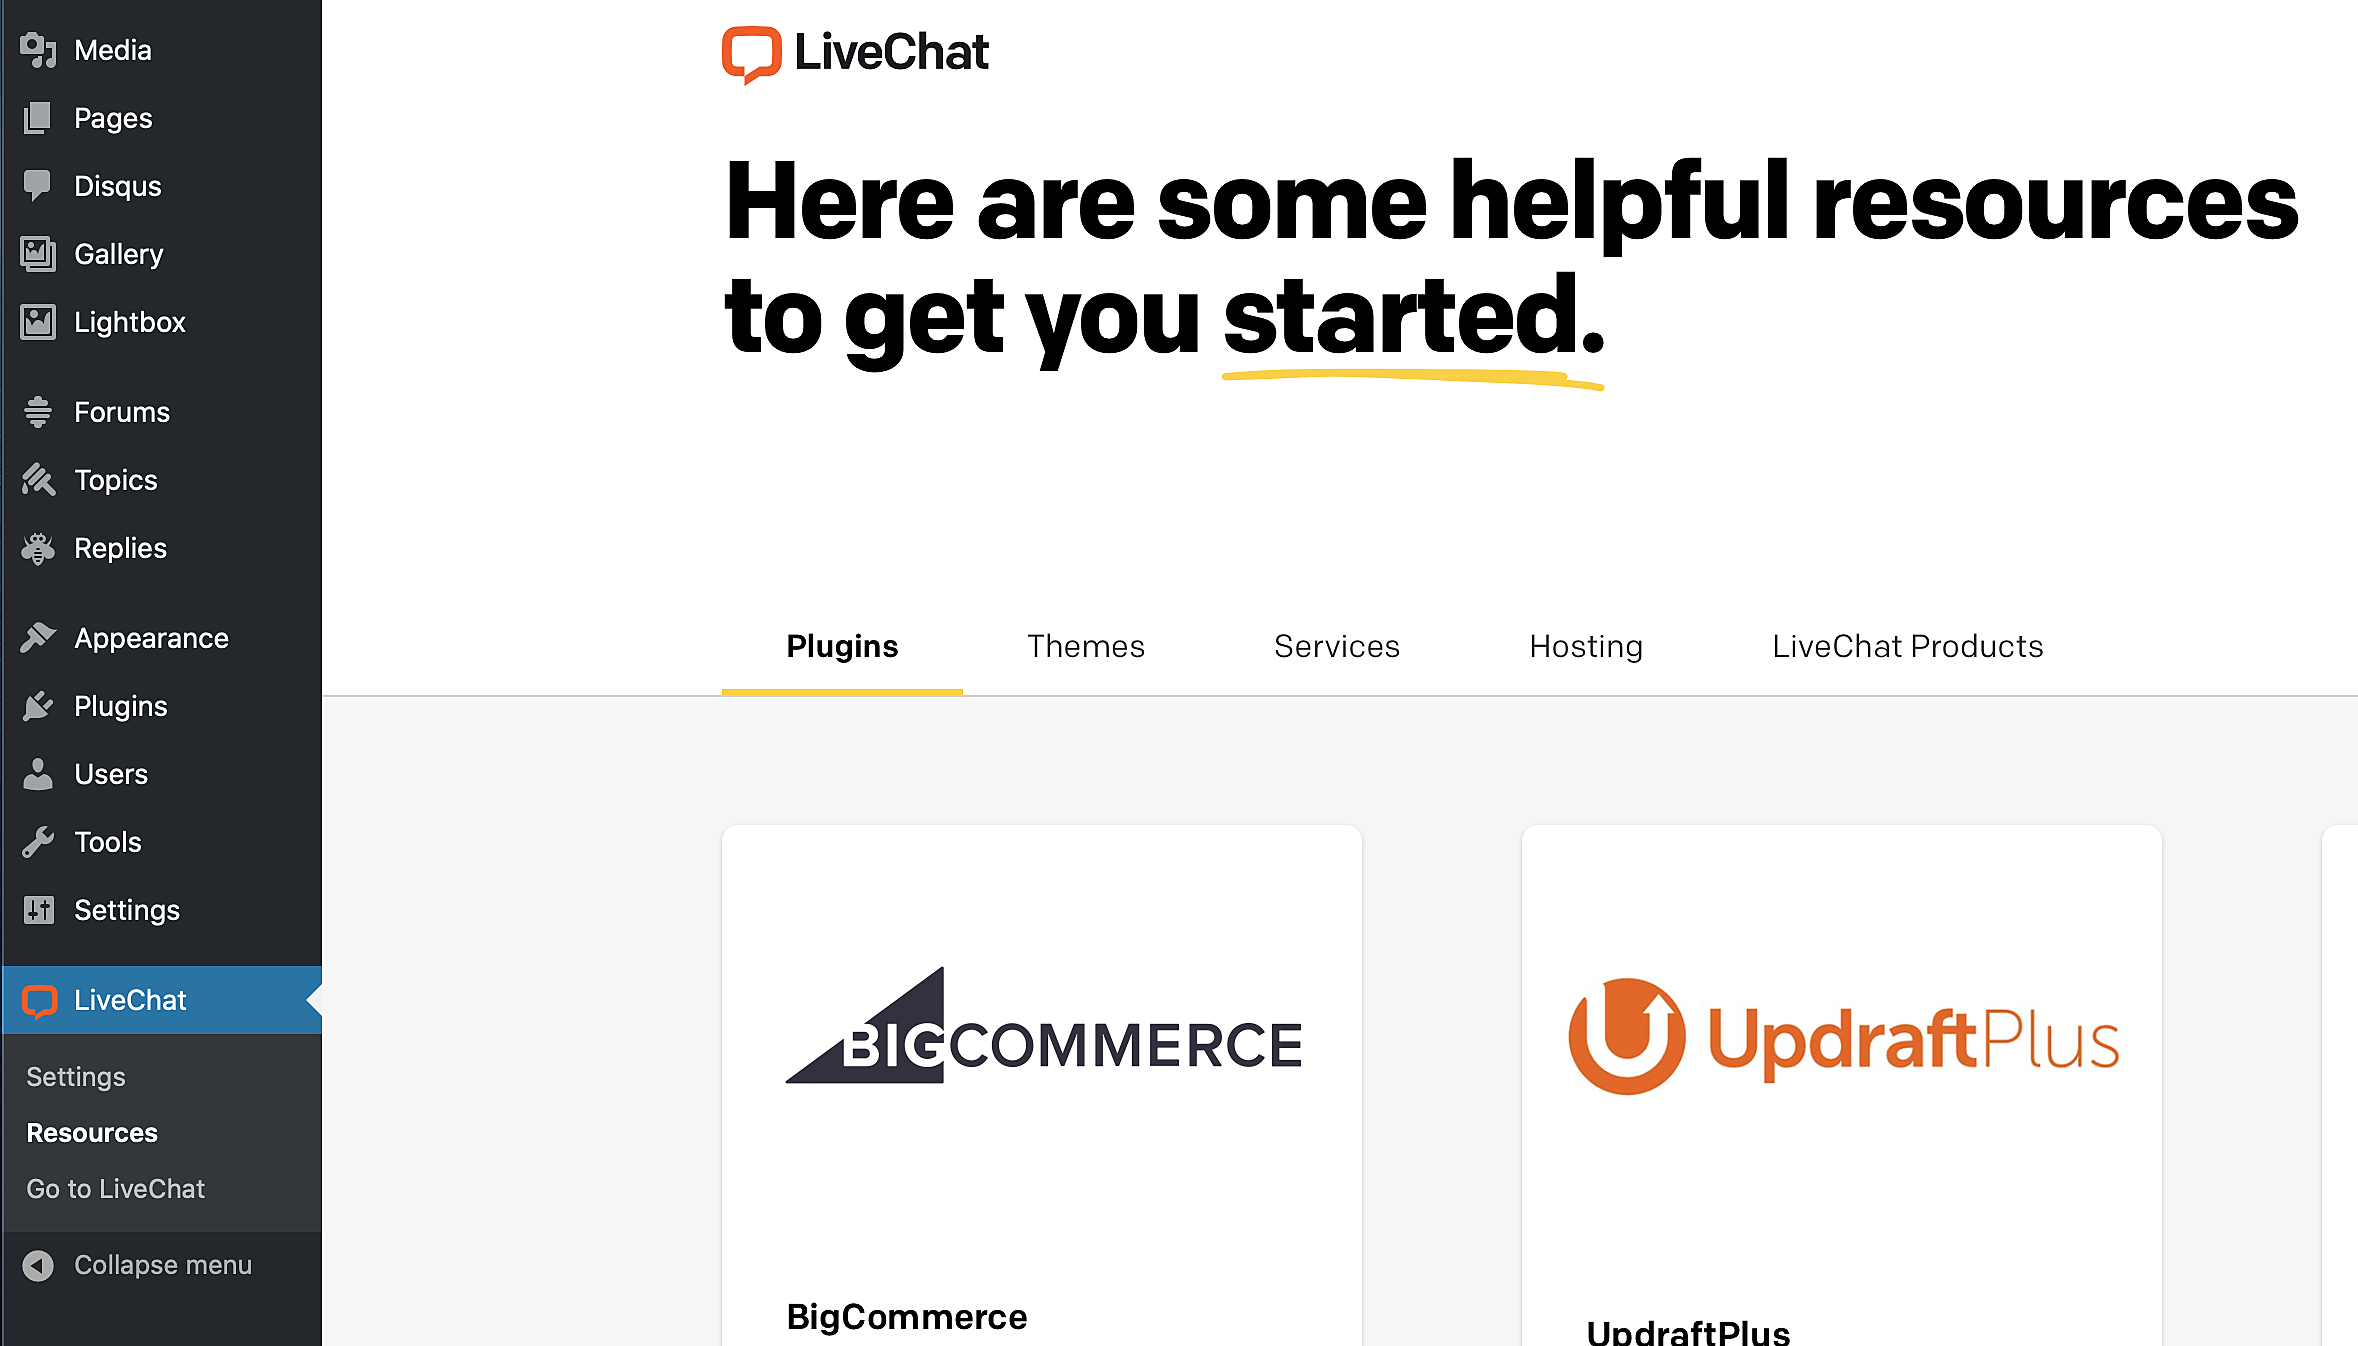
You'll find them in the WordPress admin under LiveChat > Resources.